In this guide we’ll show you how to connect your Messenger to your Chaty widget.
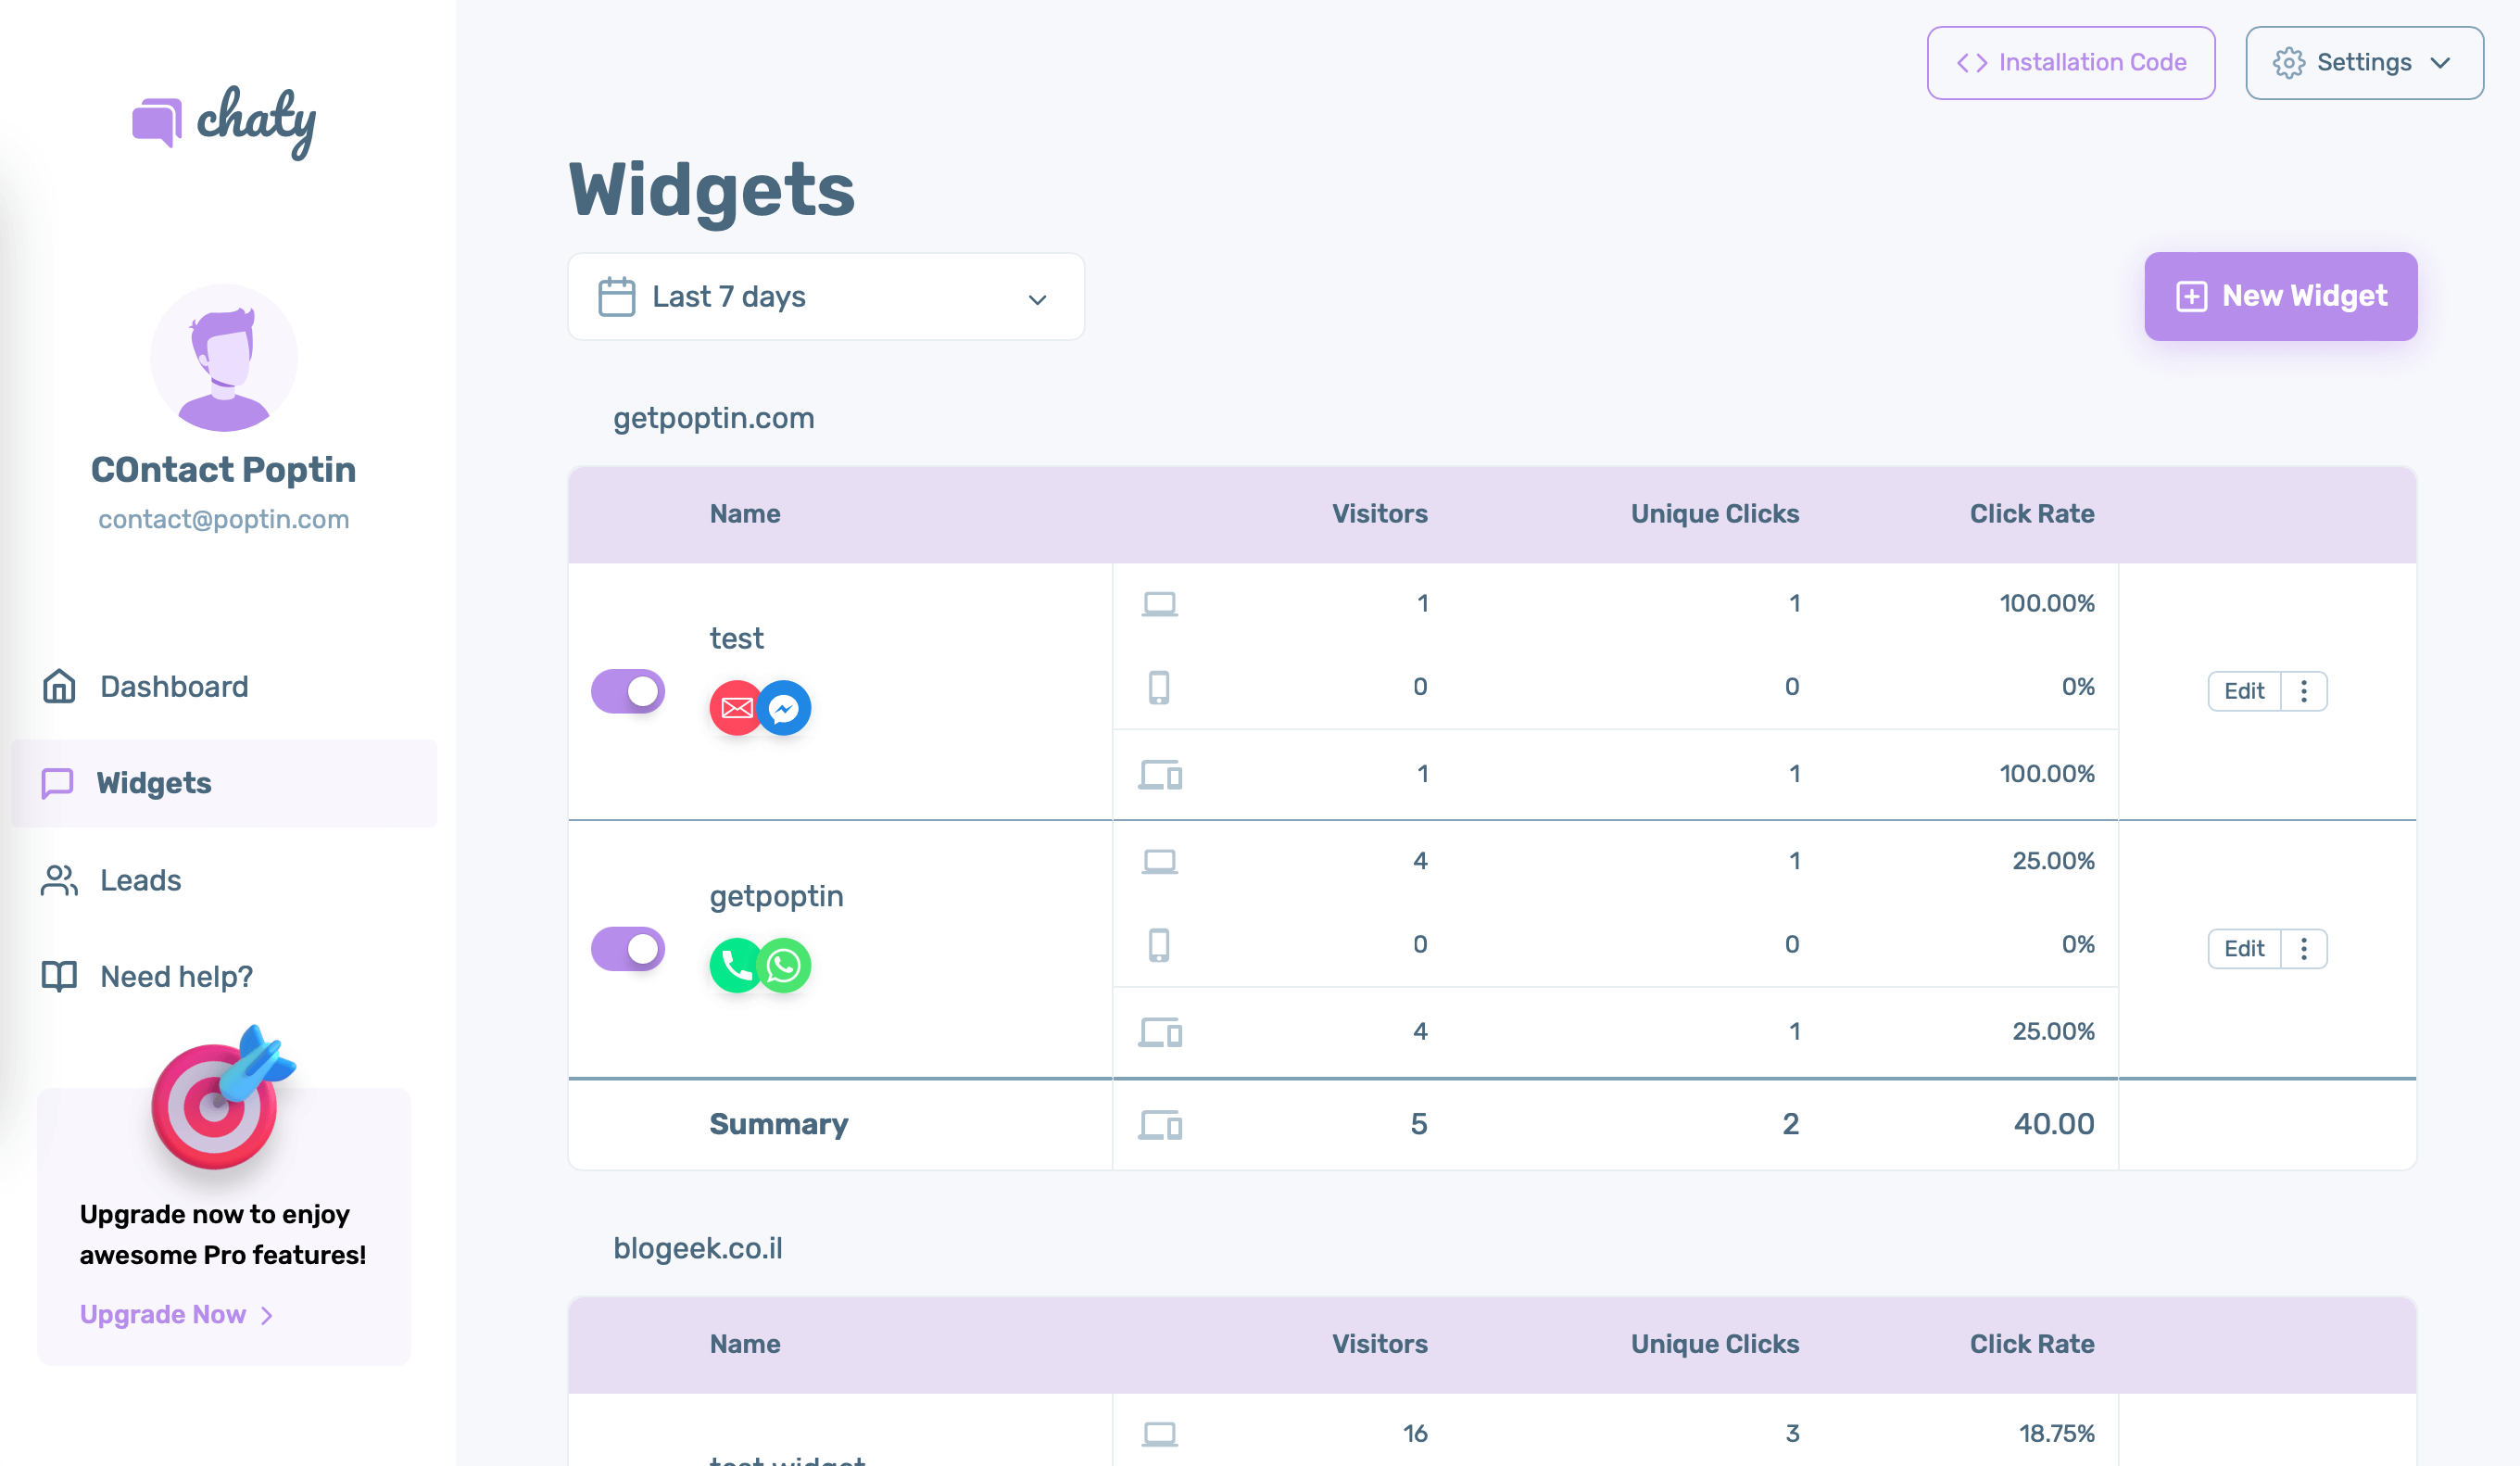
Step 1: Start by opening your Chaty dashboard and click on Widgets. Click on edit next to the widget you wish to edit.
Step 2: From the first step – “Choose your channels”, add Messenger. It will appear below.

Step 3: Fill in the link to your Messenger page following the example link in the placeholder. Keep in mind your Facebook page has to be available to all ages and countries (you can check this in your page settings). If you can’t find your page’s URL, you can check this video or read this guide on how to find your m.me link.
Step 4: Next, you can choose whether to show this channel on desktop or mobile, or both.
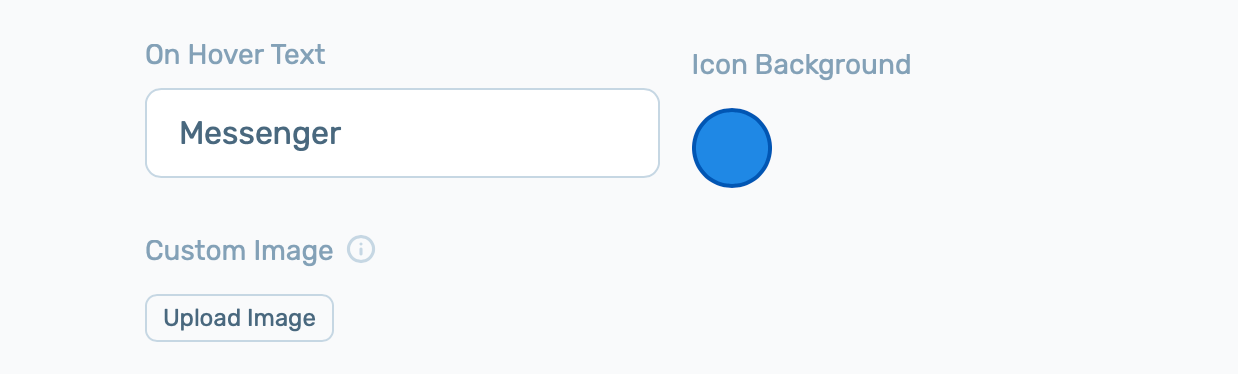
Step 5: When you’re ready, click on the “Settings” button to reveal additional settings for the channel. From there you can add on hover text (the text that will show when somebody places their mouse on the channel), icon background colour or add a custom icon. If you upload a custom icon, please make sure you upload an image file of the following types: .png, .jpeg, .jpg, .gif or .svg and that it’s no bigger than 100 KB.
That’s it! Once a website visitor clicks on the Messenger channel, they will be redirected to chat with you on Messenger directly.
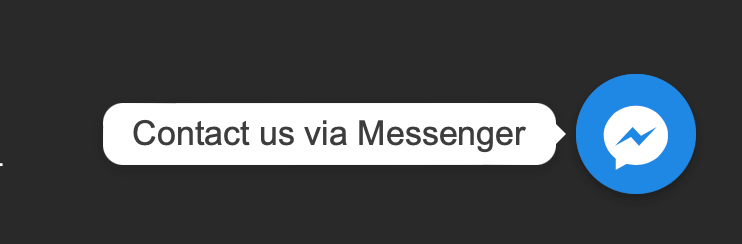
In the end, depending on your settings and customisations, it may look something like this: