In this guide we’ll show you to add date scheduling targeting to your Chaty widget.
Using this feature, you can schedule your Chaty widget in advance, for example to show on specific dates and in specific hours. This feature is also handy if you want to offer time-limited support over a specific channel and so on.
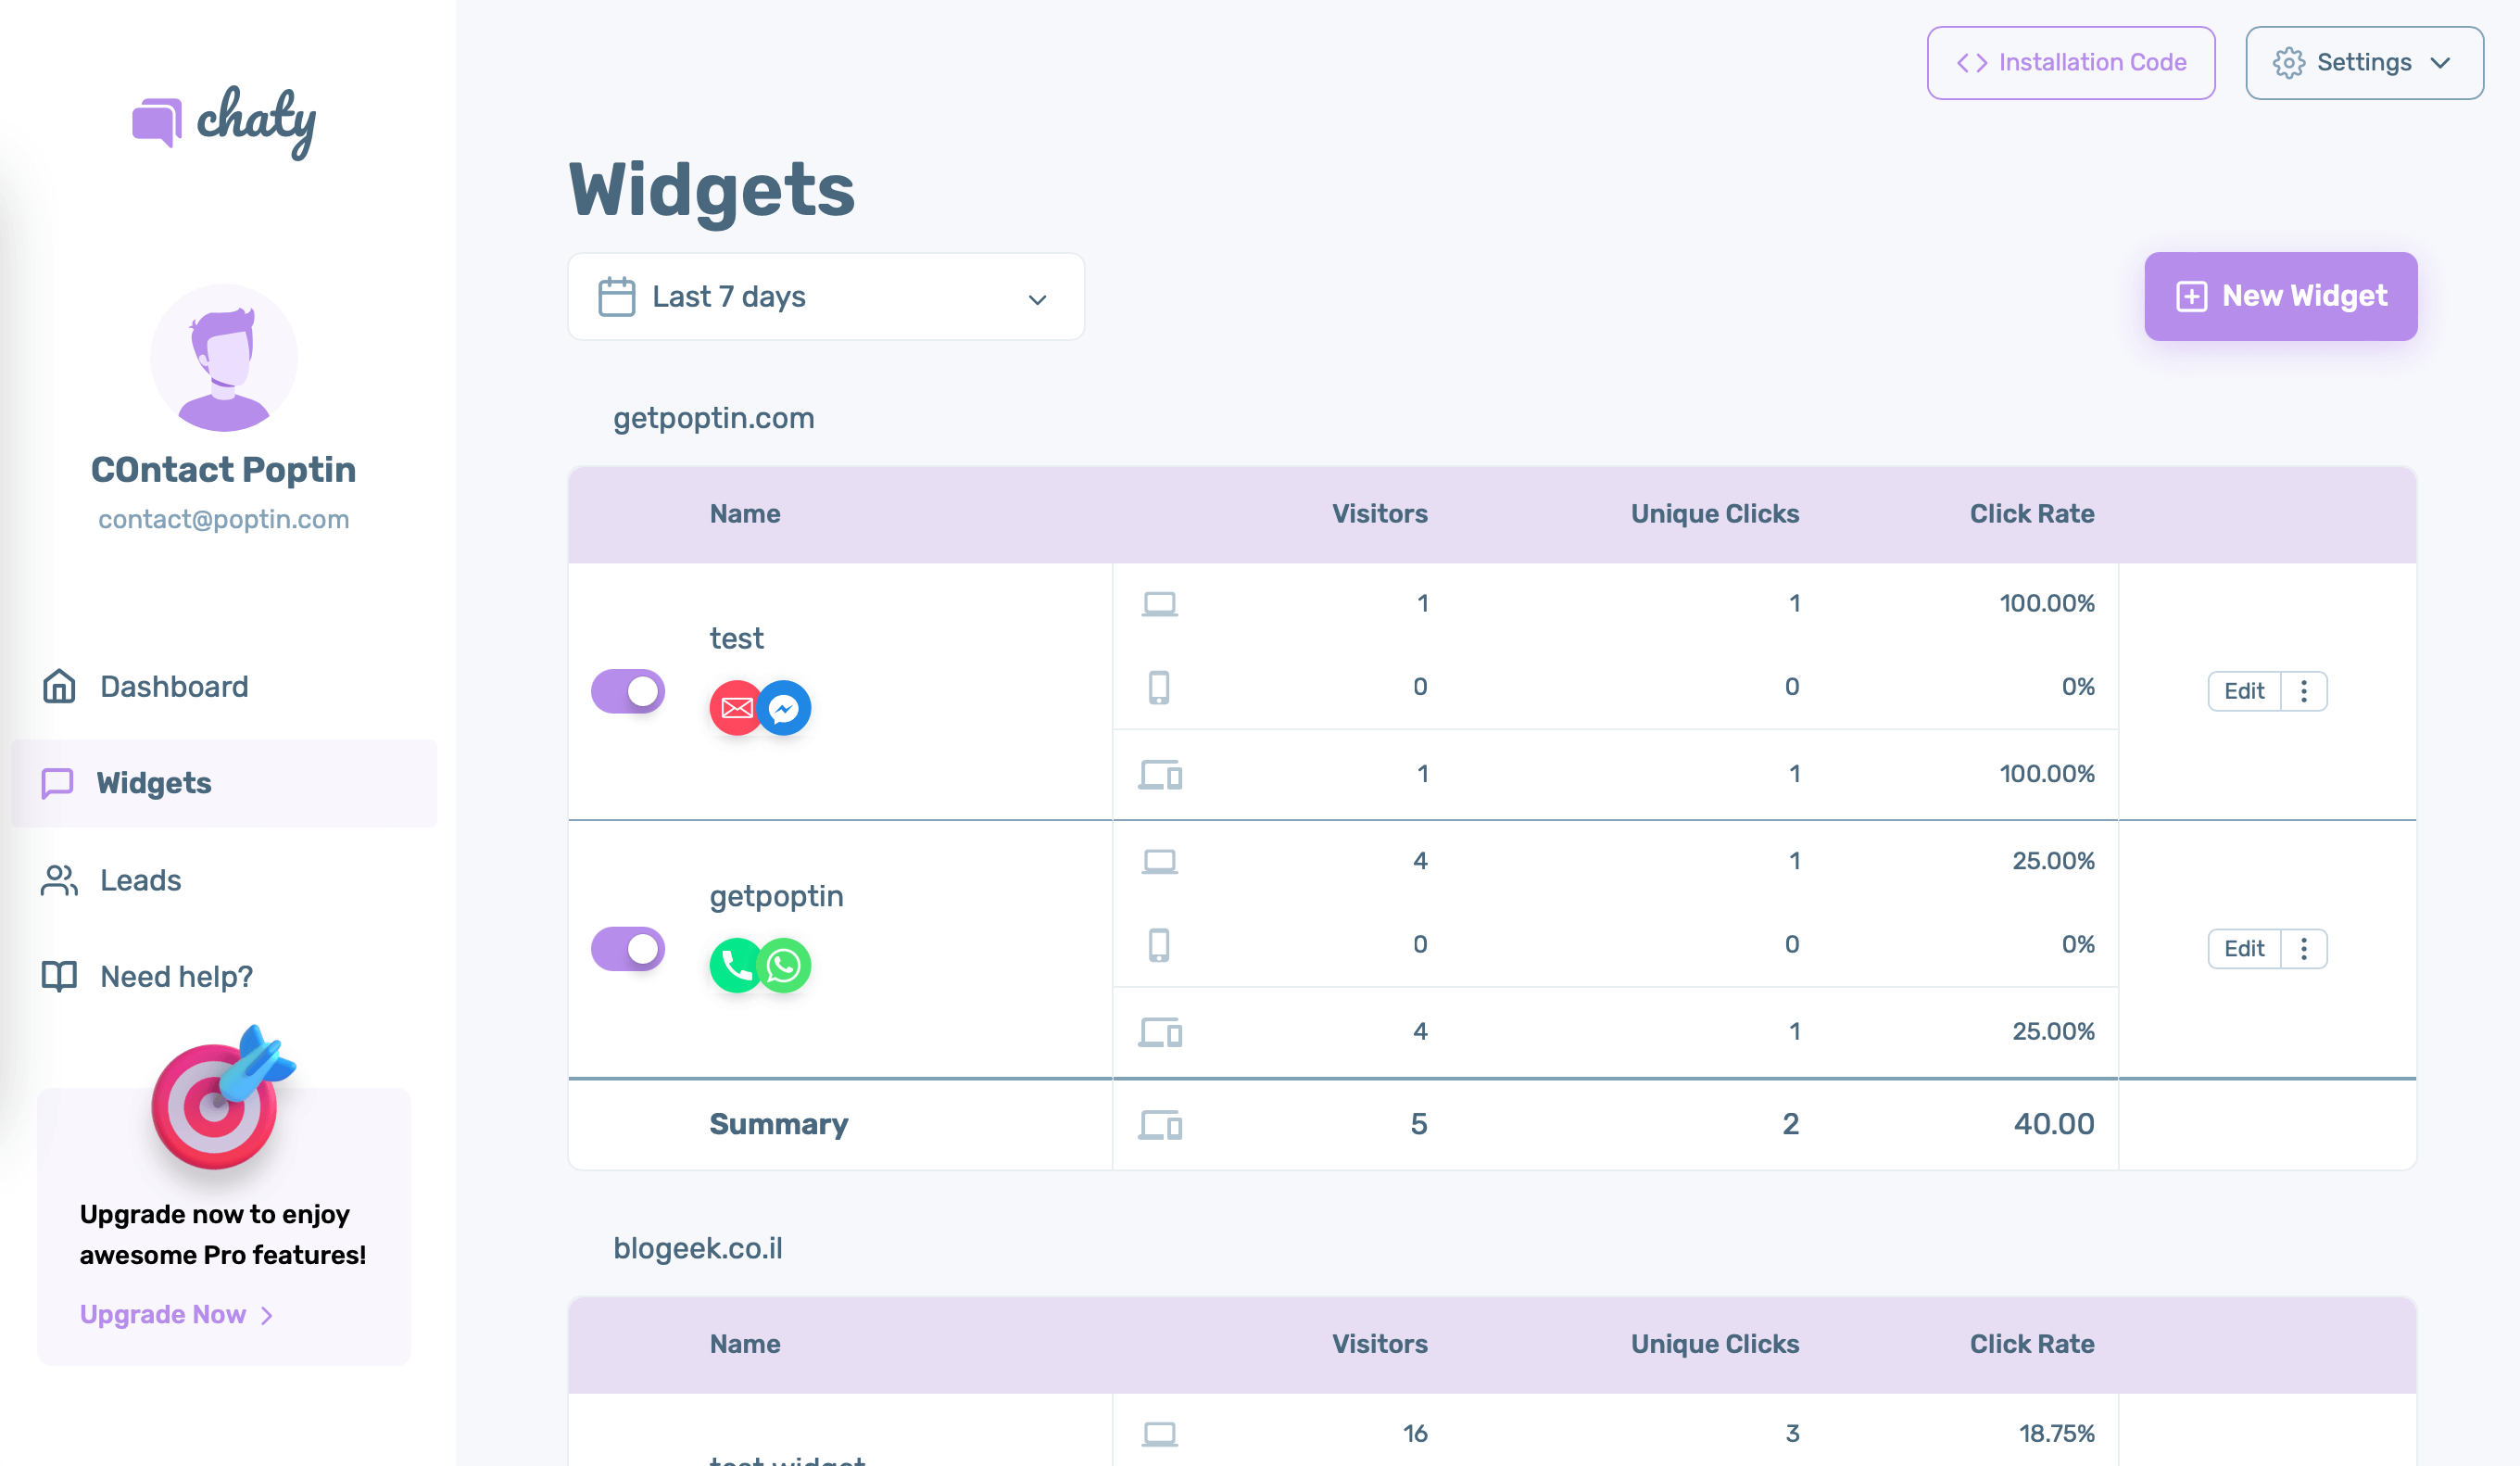
Step 1: Let’s get started. Start by opening your Chaty dashboard and click on Widgets. Click on edit next to the widget you wish to edit.
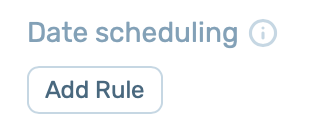
Step 2: Go to Step 3 in the settings – Triggers and targeting – and scroll down to the “Date Scheduling” setting and click on the “Add rule” button.
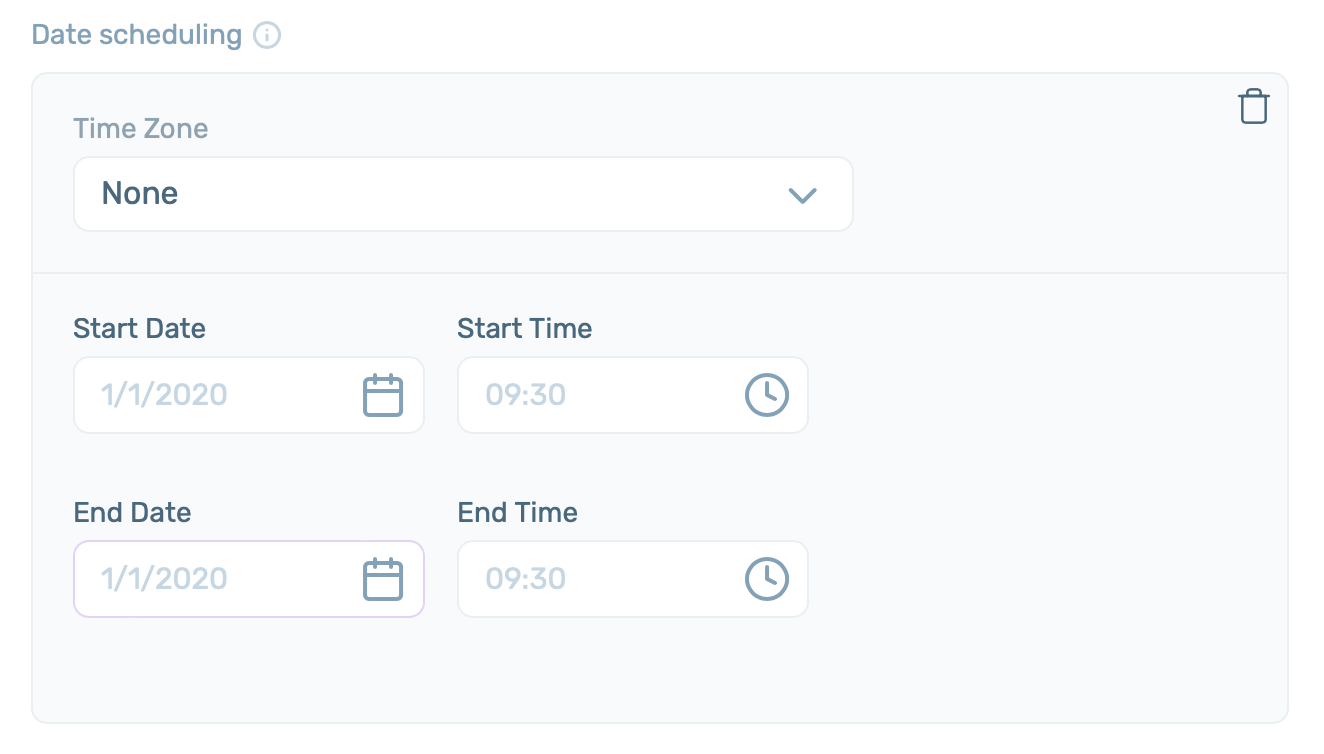
Step 3: Next, proceed with the required settings – select a timezone, start date, start hour, end date and end hour.
Please keep in mind that if you have more than one widget, you need to make sure each widget is set up to show correctly in different dates and hours to avoid overlapping widgets!
When you’re done, click on the “Save” button. Now your Chaty widget will only be displayed starting from and ending on the date and hour you have just added.