In this guide we’ll show you how to install the Chaty app on a Thinkific website.
Still new to Chaty? Keep on reading to find out how Chaty works and how it can be useful for your business.
Chaty offers your website visitors an easy click-to-chat connection to various platforms that you’re available on within a single widget. Having a single widget with multiple channels is helpful in enhancing your customer service and increasing your chances for conversions and sales.
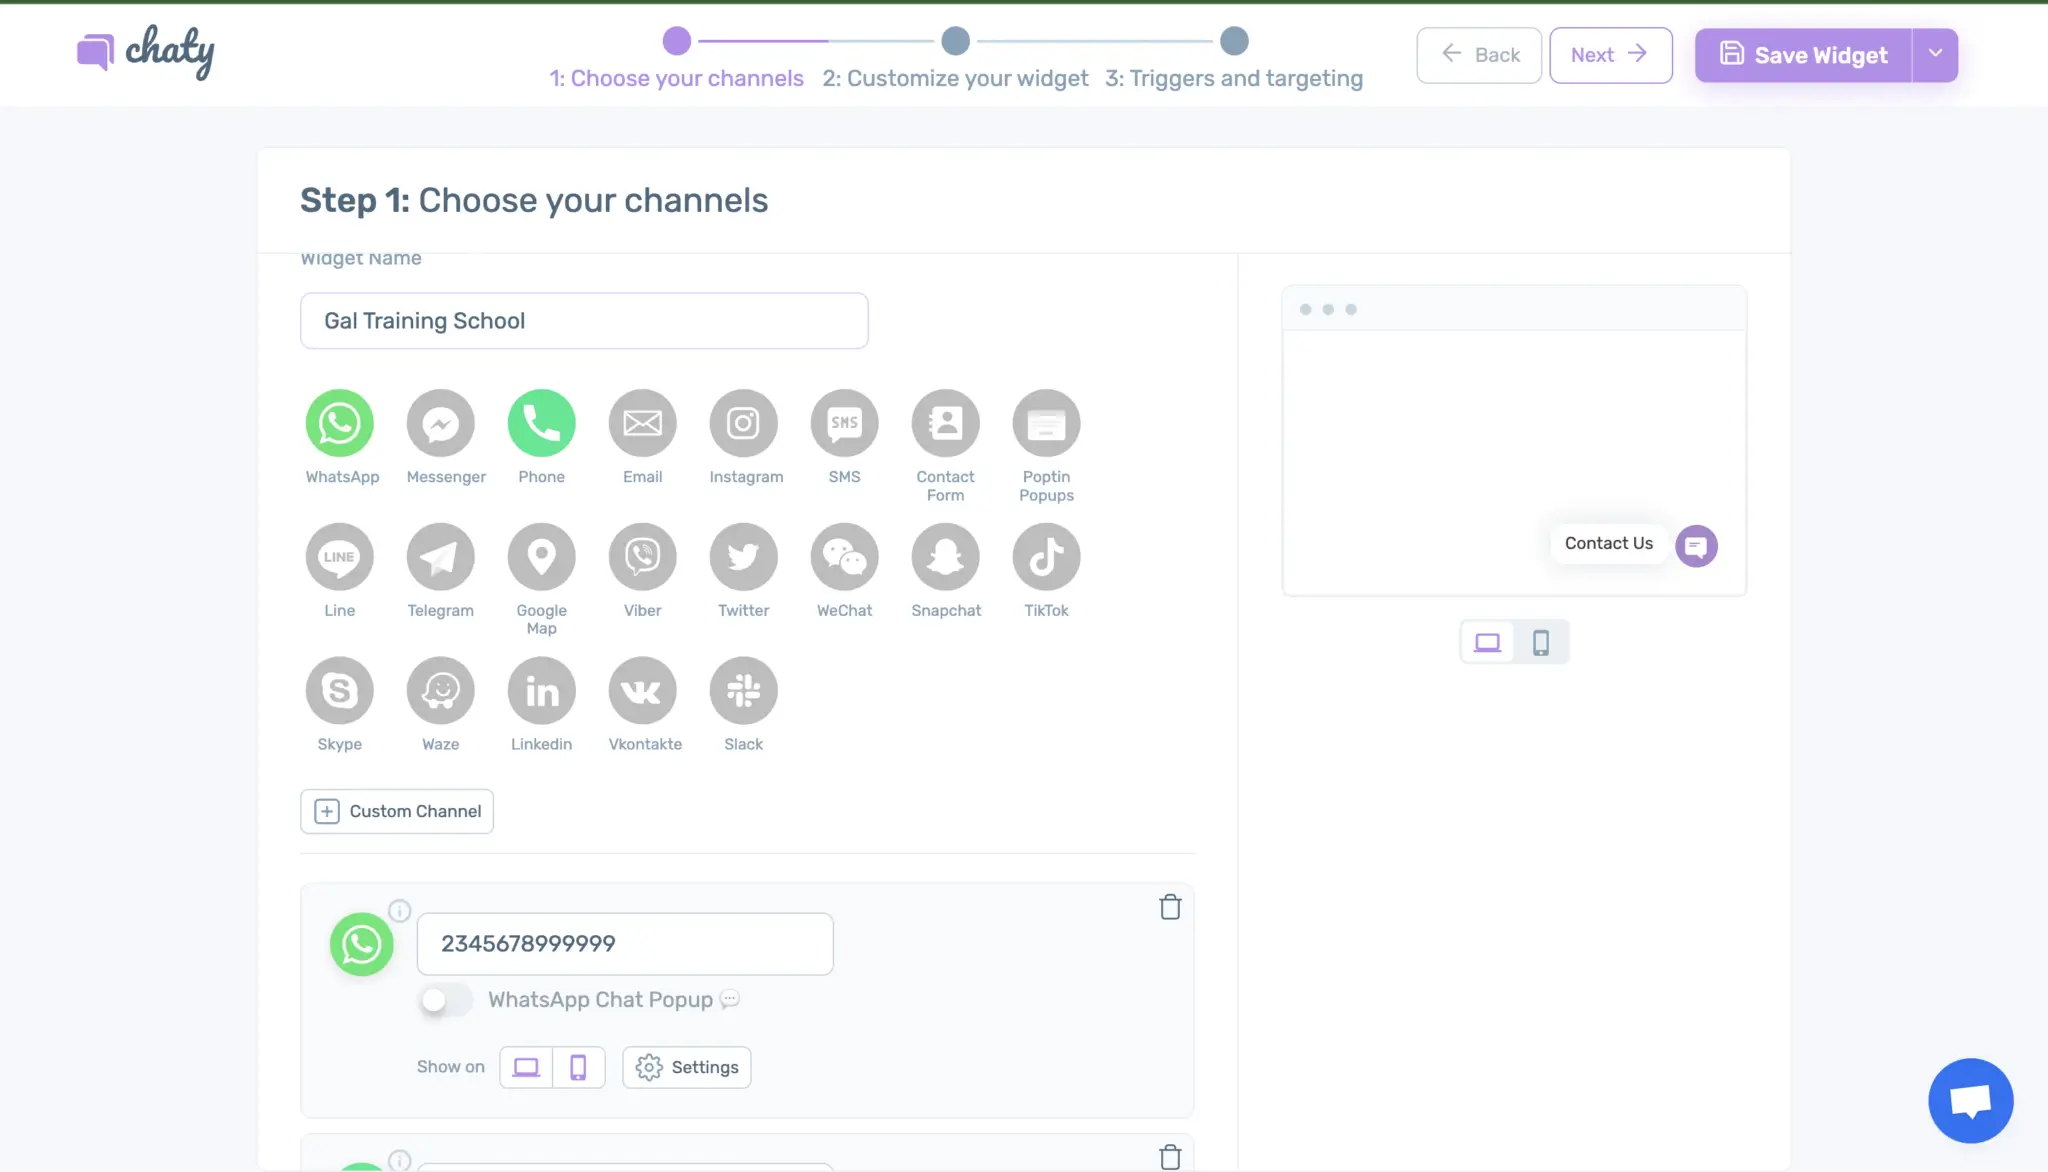
You can use Chaty with more than 20 commonly used channels such as phone, email, WhatsApp, Facebook Messenger, Instagram, Telegram, Twitter, TikTok, Slack, Skype, Vkontakt, Viber, SMS, LinkedIn, Google Maps, Line, WeChat, Snapchat, Waze, Poptin, a contact form and you can even add custom channels.
Step 1: So let’s get started. Start by installing the Chaty app from the Thinkific app store.
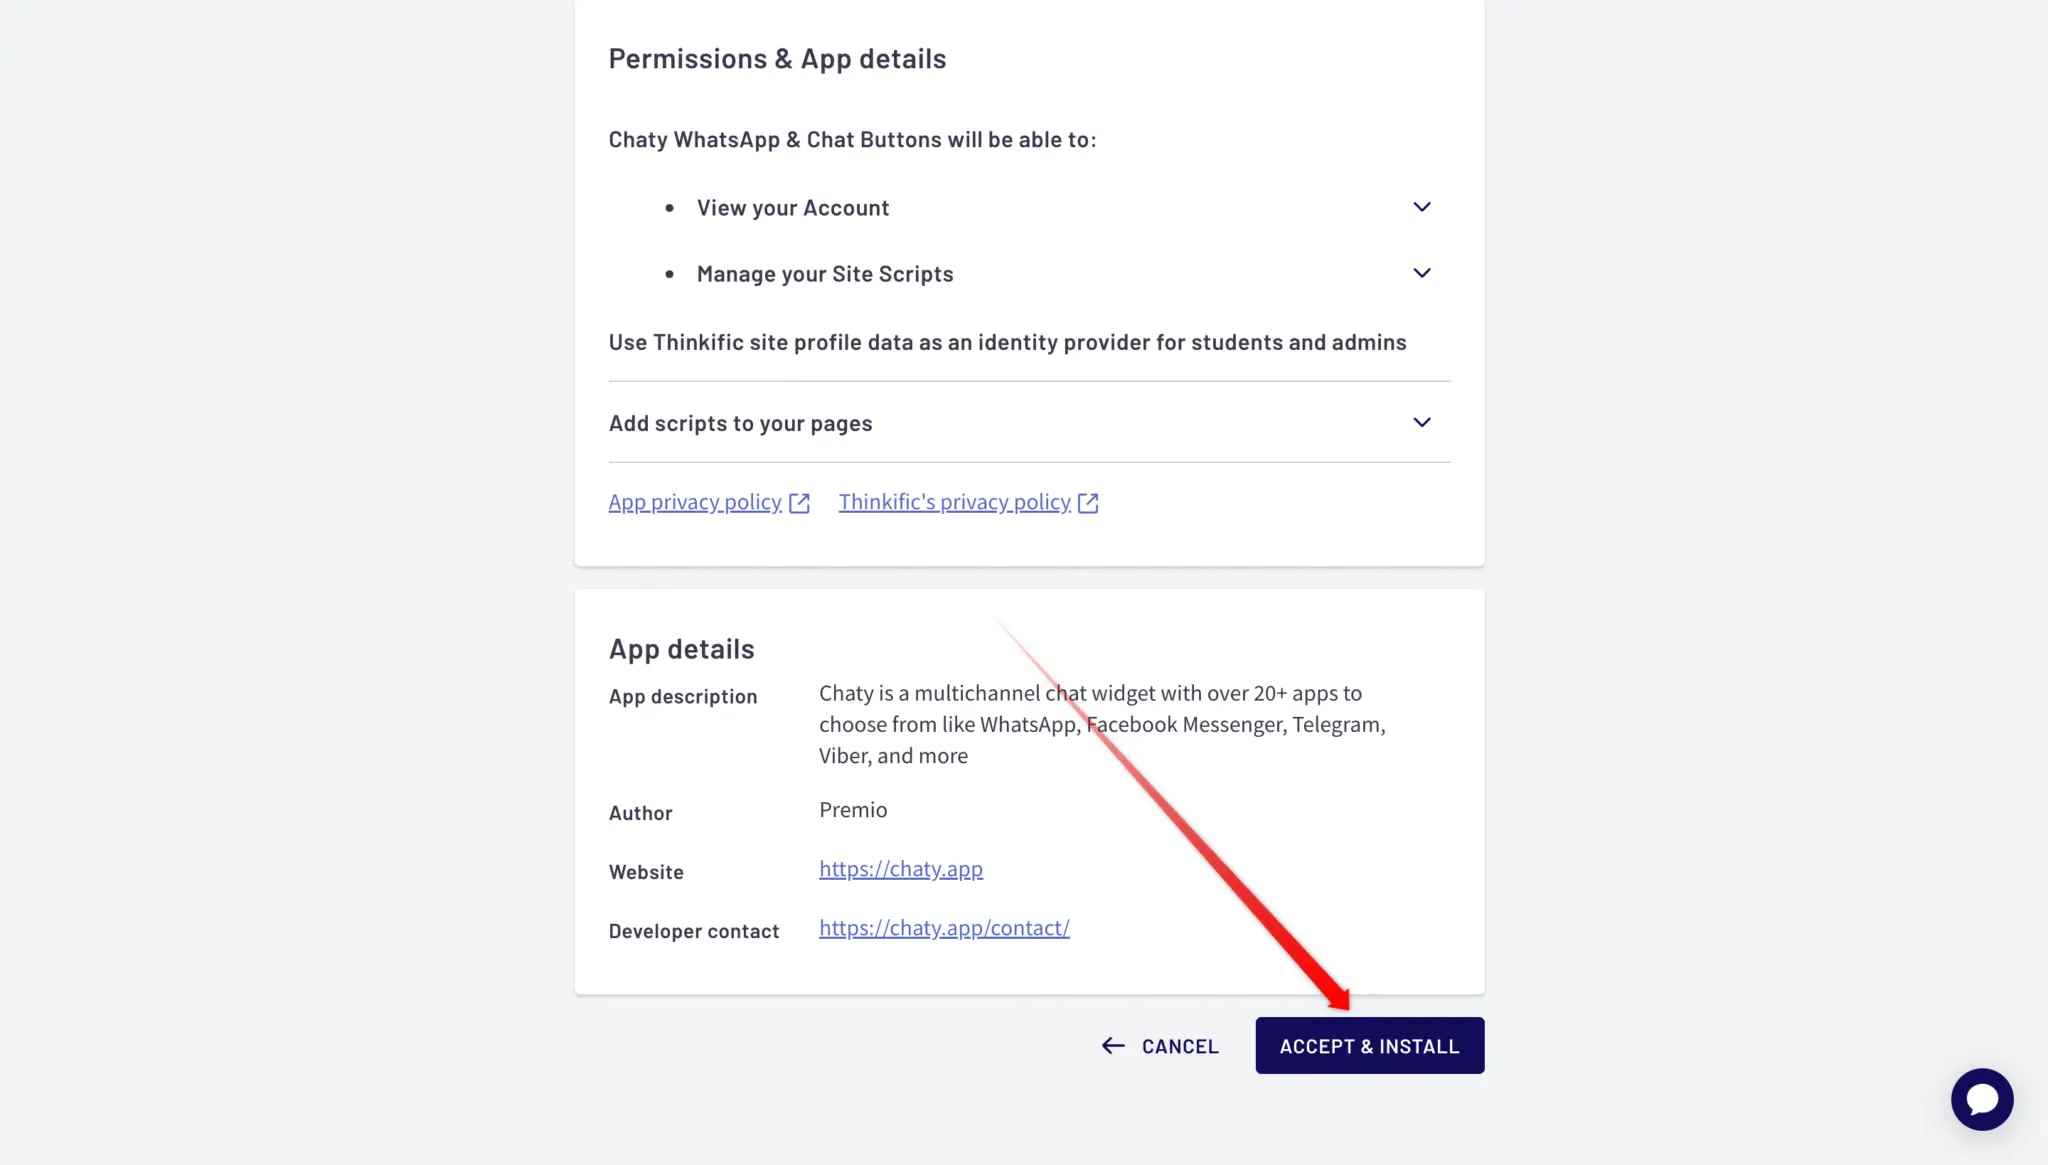
Step 2: Search for the app Chaty: WhatsApp & Chat Buttons and proceed with taking a look at the app details and permissions needed, then select which pages you want to add the Chaty app installation script on.
Step 3: Once you read this information, scroll down and click on the Accept and Install button to install the Chaty app on your Thinkific website.

Step 4: Once you install the app, a Chaty account will automatically be created for you and the Chaty installation script will automatically be added to your Thinkific website. You can now proceed with setting up your Chaty widget by following each of the configuration steps.

When you’re done, ensure that you save your changes and that’s it – there’s no need to install any piece of code manually. The Chaty widget you create will appear on your Thinkific website automatically without any delay!
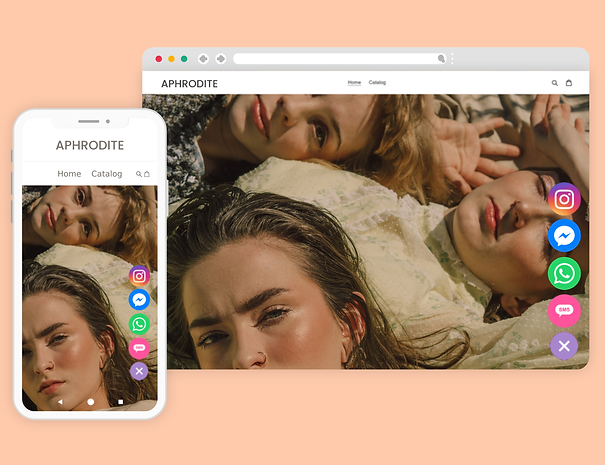
In the end, based on your settings and customizations, it may look something like this on your site:

Don’t forget to check our entire Chaty knowledge base to make the most out of the product.
If you any assistance with configuring this, please don’t hesitate to reach out to our support team!


