In this guide we’ll show you how to add a contact form to your Chaty widget.
You can use this channel to provide a faster and easier way to connect with your customers on-site and to collect the necessary information from them. Also, using a contact form, none of your information such as phone number or email will be revealed to the customer. If you are a free user, your contact form leads will be stored in your Chaty app dashboard, under “Leads”. If you are a Pro user, you can also send your contact form leads to your e-mail.
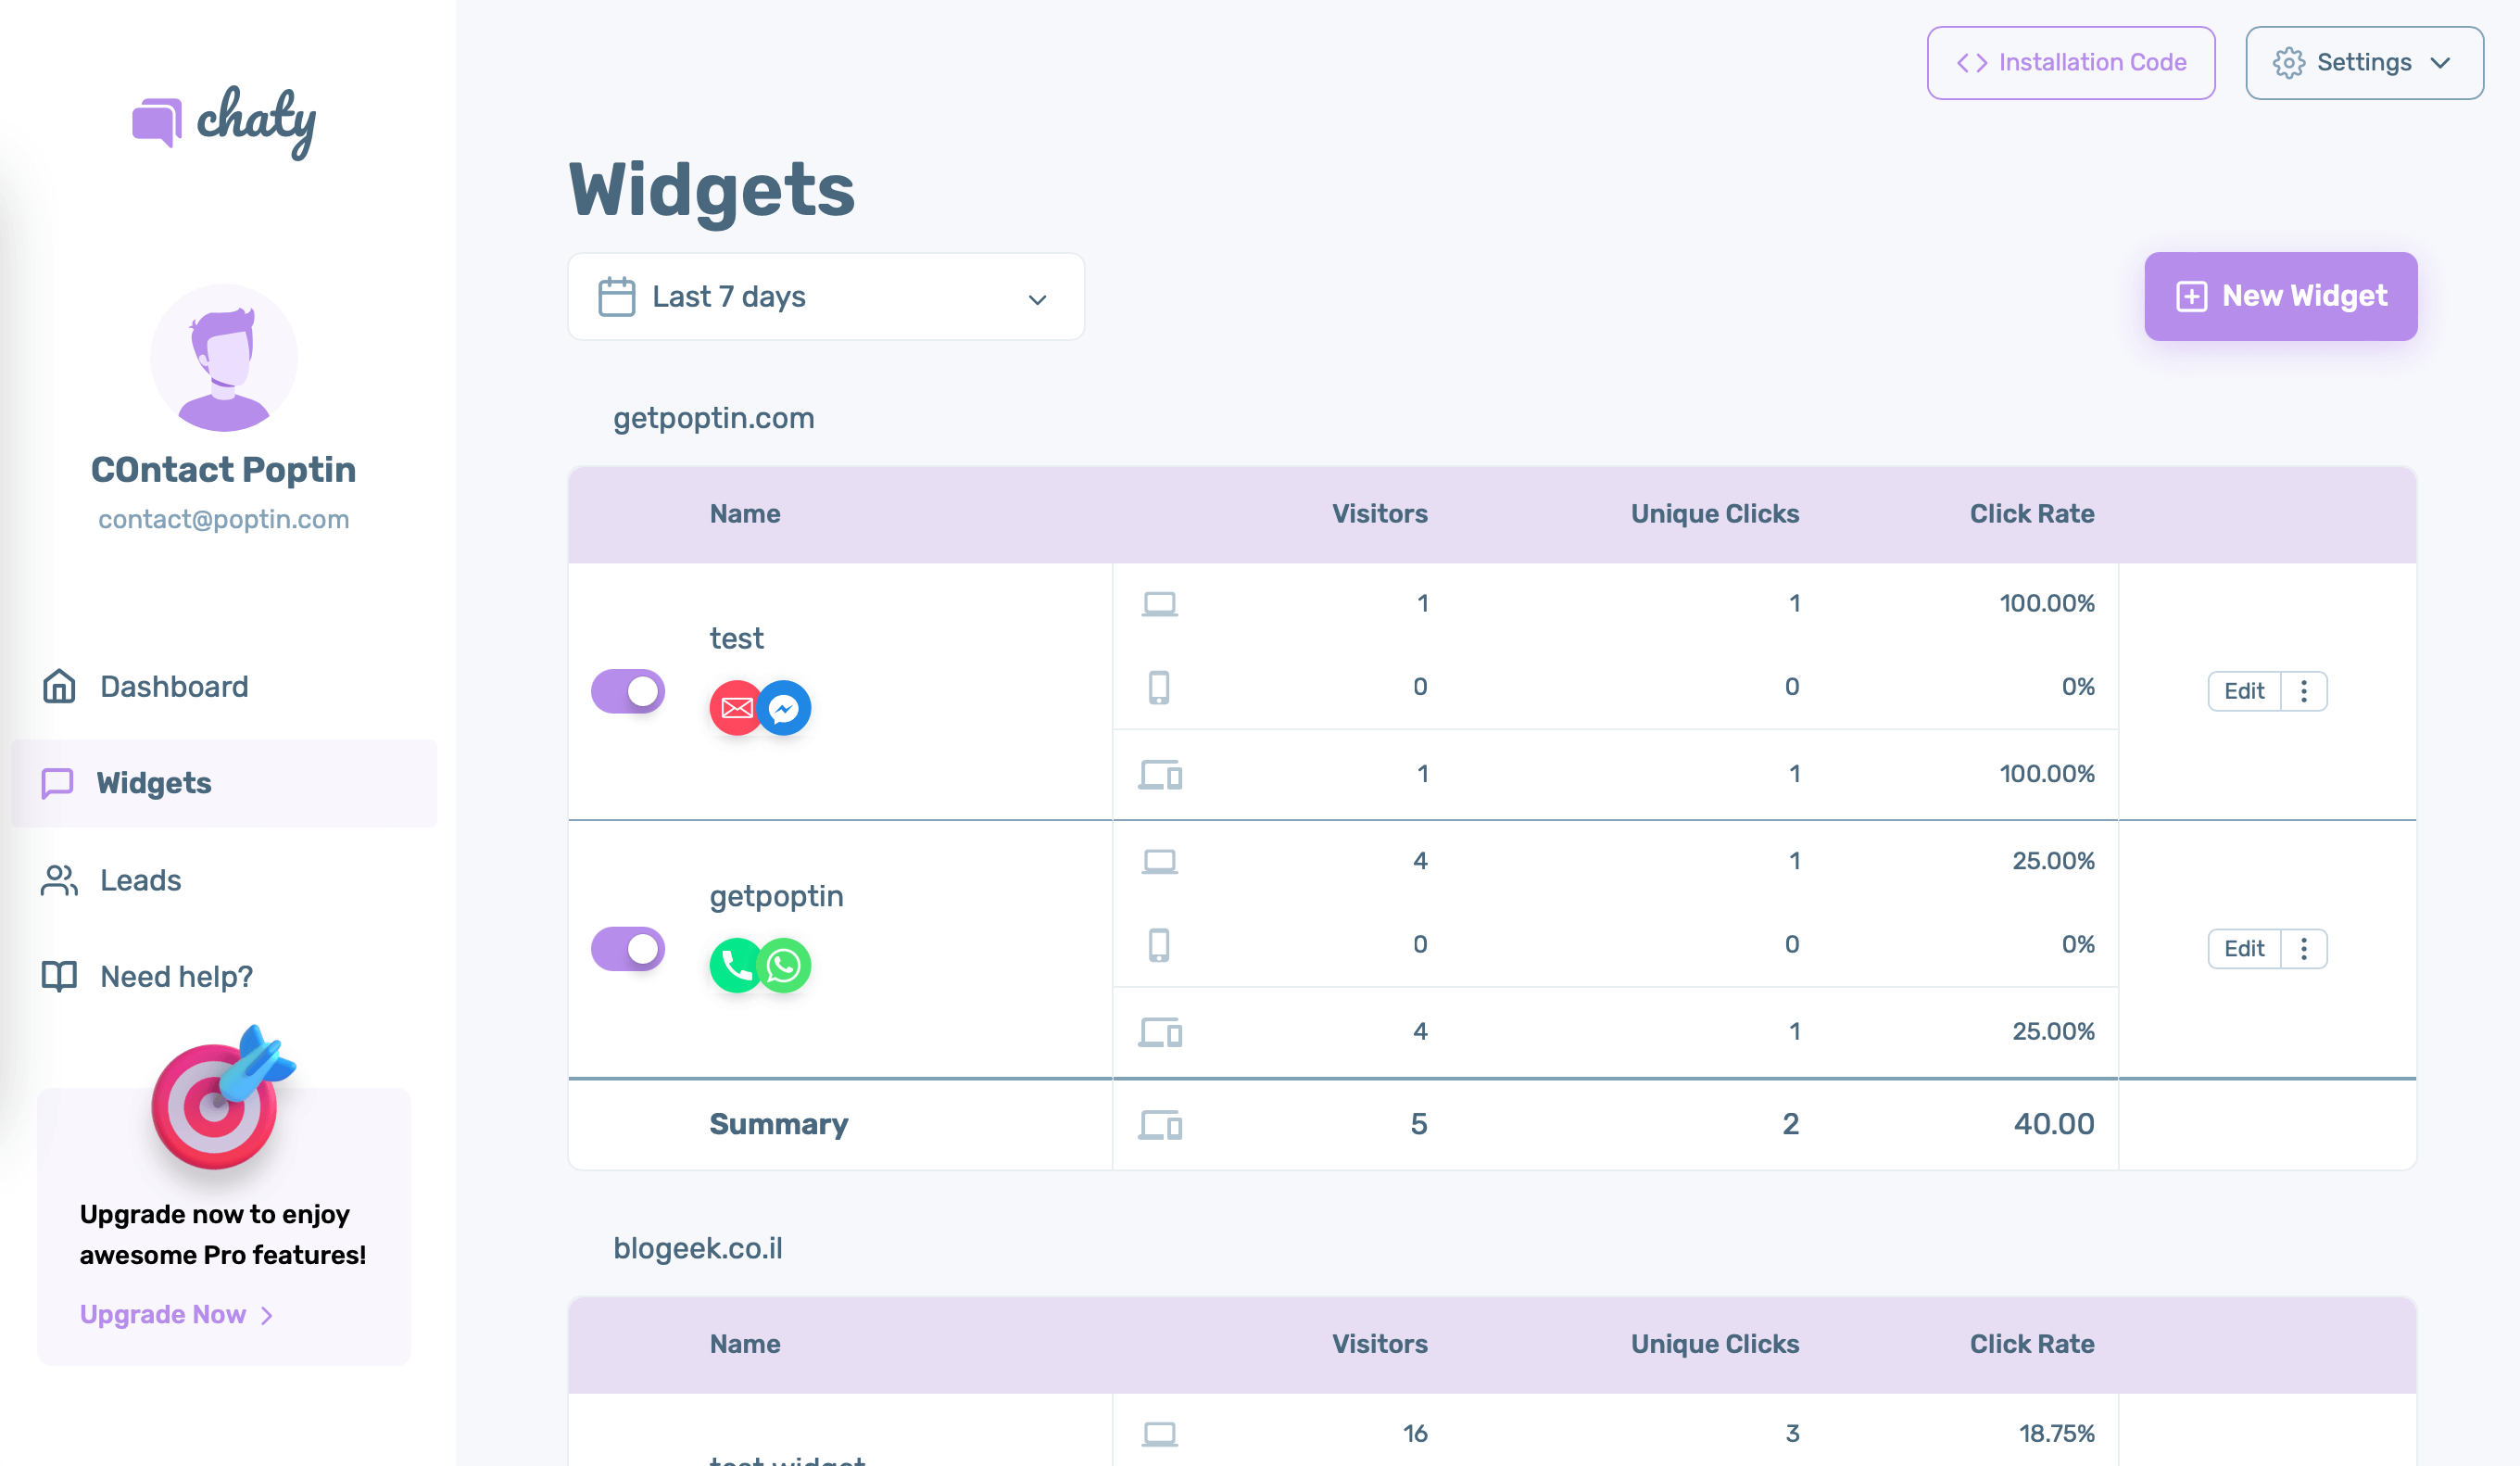
Step 1: Let’s get right into it. First, open your Chaty app dashboard and navigate to “Widgets”. Click on Edit next to the widget you wish to customise.
Step 2: From the “Choose your channels” step, add the Contact form. It will appear below.
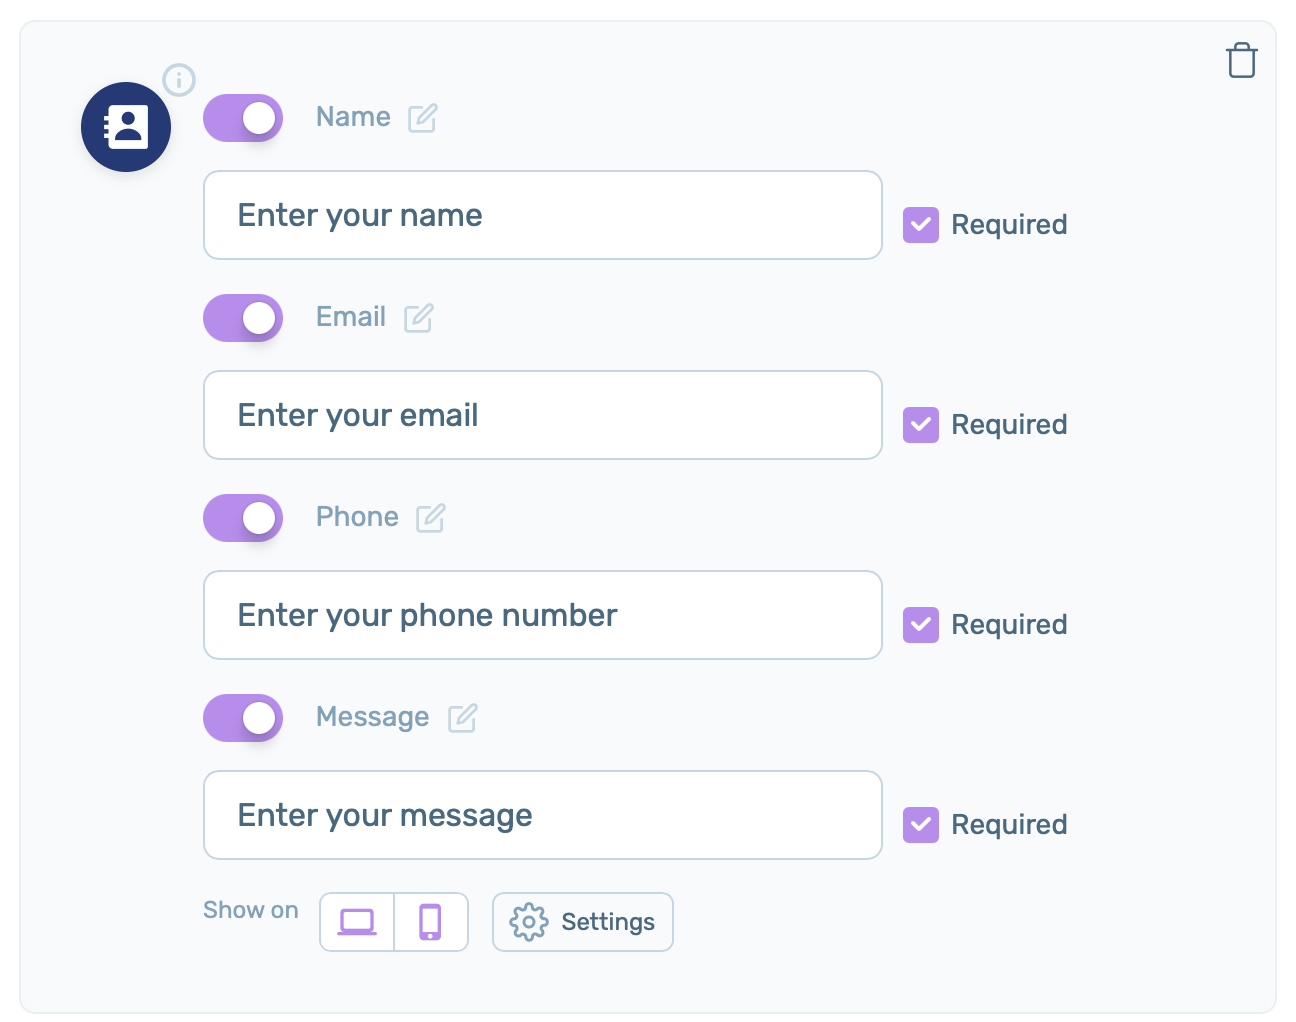
Step 3: By default all preset fields (name, email, phone and message) will be activated. You can choose to turn off each of them via the toggle, as well as change the labels and placeholder text and make them required or not required. You can also choose whether to show this channel on desktop or mobile, or both.
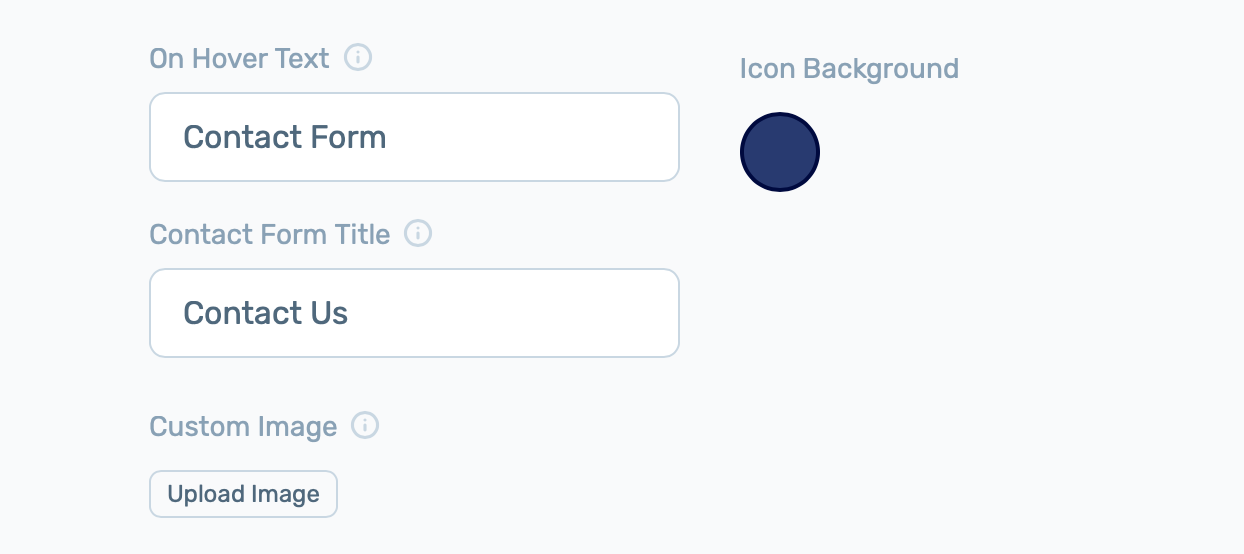
Step 4: Click on the Settings button for more advanced configurations such as on hover text (the text that will show when somebody places their mouse on the channel), the contact form title that will appear at the top of the form, the channel colour or a custom image for the form. If you upload a custom icon, please make sure you upload an image file of the following types: .png, .jpeg, .jpg, .gif or .svg and that it’s no bigger than 100 KB.
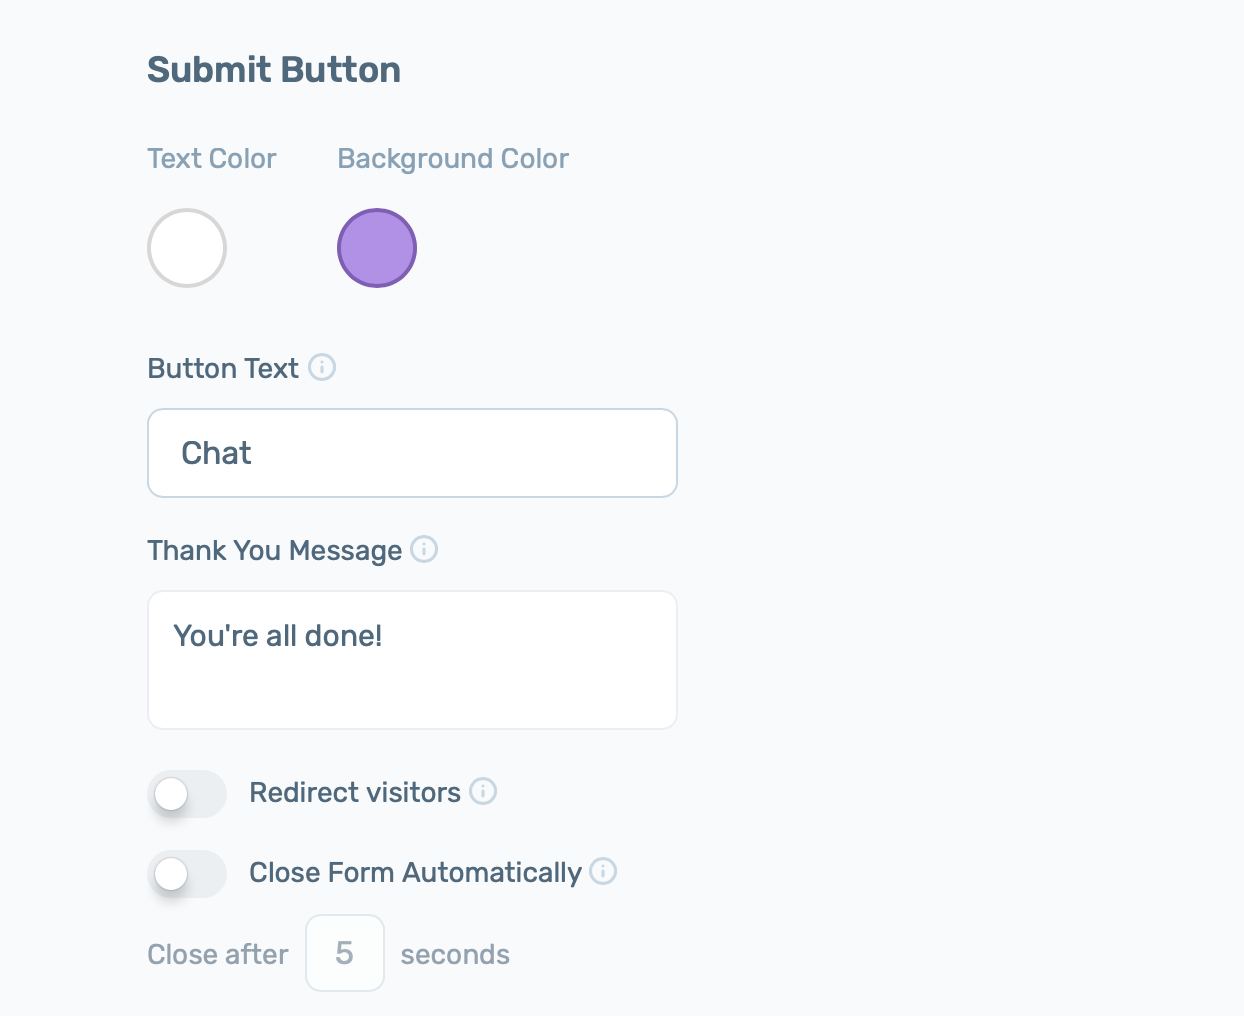
Step 5: Next, proceed with customising the Submit button colours and text, as well as add a thank you message that will appear on form submission. You can also set to redirect visitors after submission – for example, to another page – or close the form automatically.
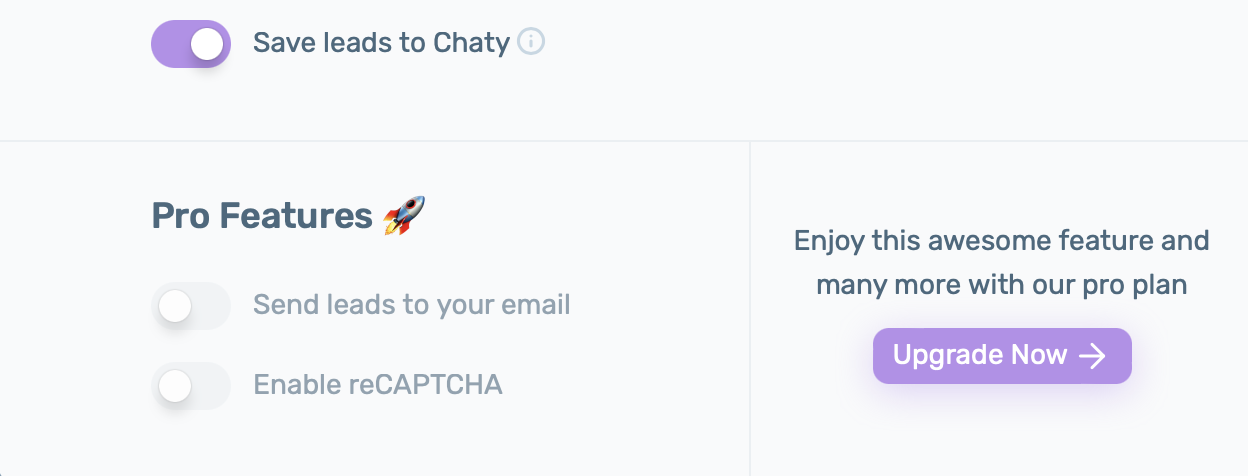
Step 6: Regarding the contact form leads, by default they will be stored in your Chaty dashboard database, under Leads. If you are a Pro user, you can also turn on the “send leads to email” feature and enable reCaptcha to protect your contact form from spam.
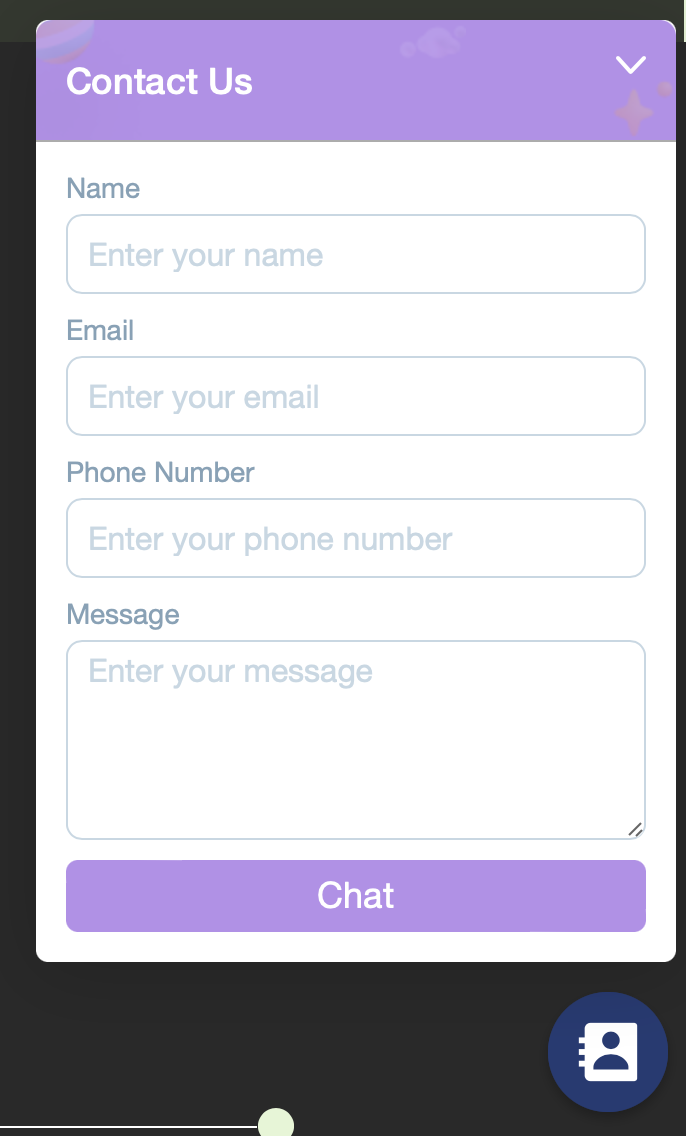
That’s it! In the end, depending on your settings and customisations, it may look something like this: