In this guide we’ll show you to add Traffic source targeting to your Chaty widget.
With this feature you can display your widget to users that came to your website from specific traffic sources including direct traffic, social networks (e.g. Facebook), search engines (e.g. Google), Google Ads or any other traffic source or website of your choice.
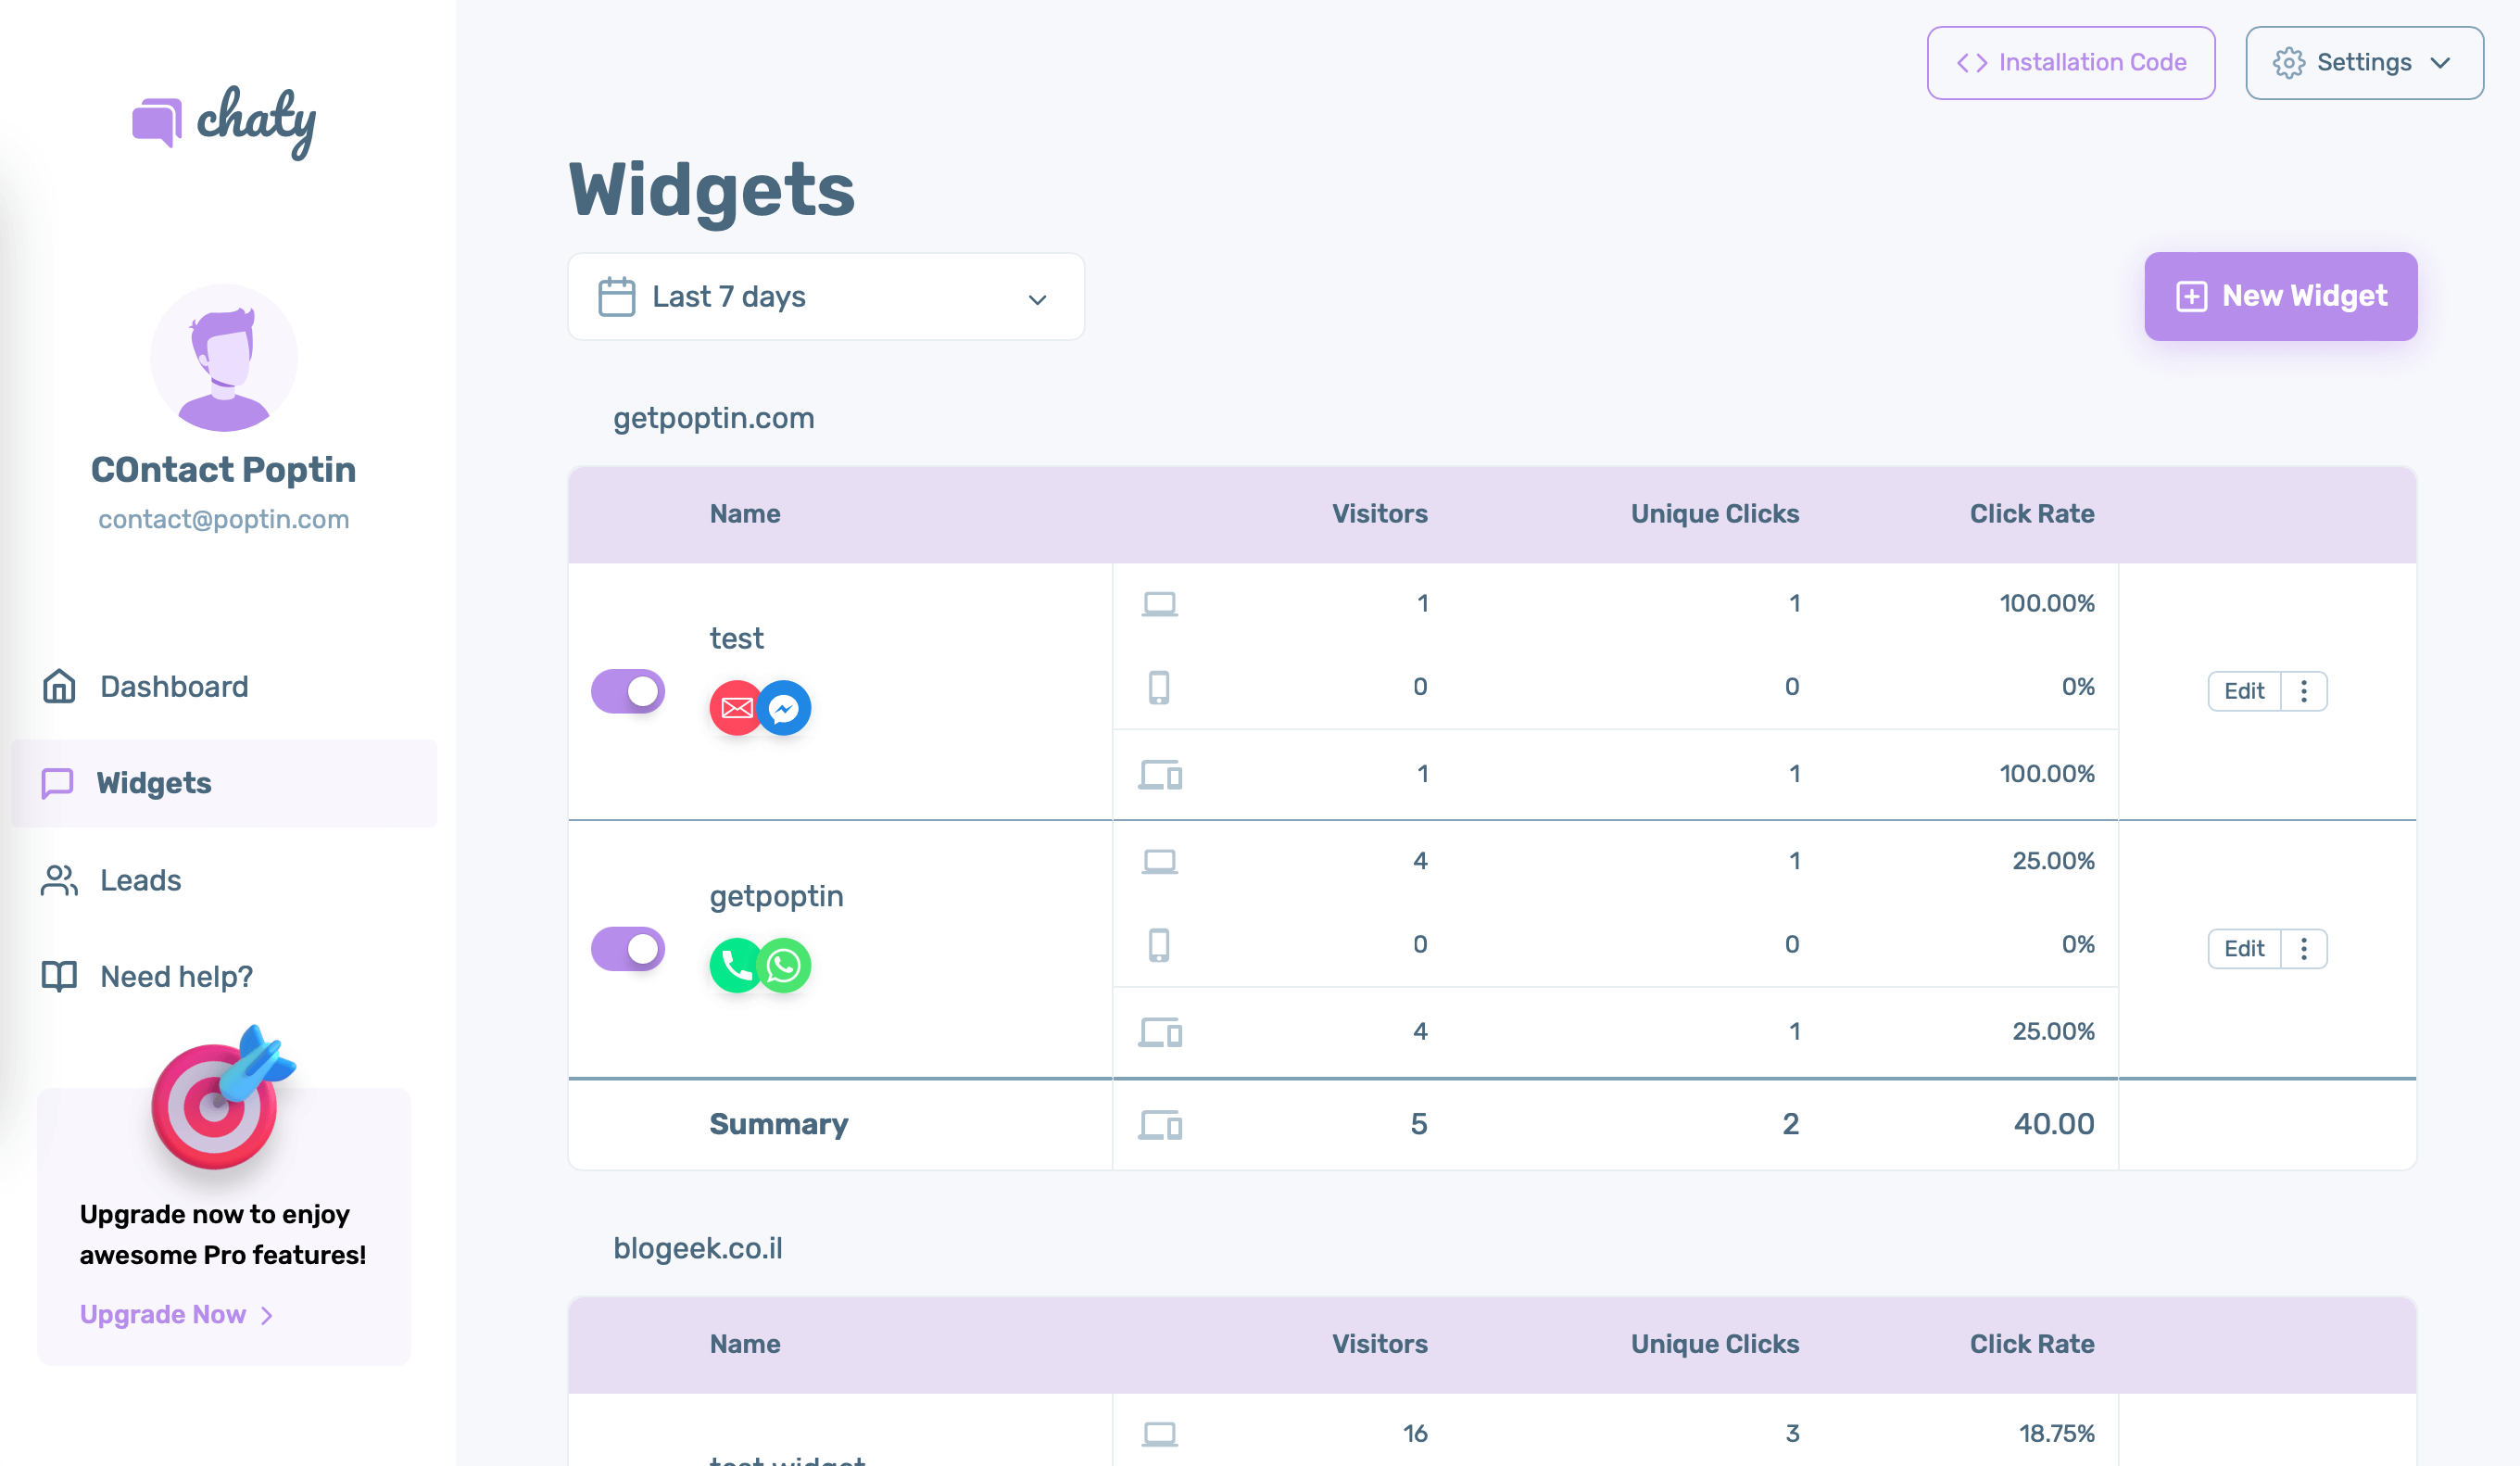
Step 1: Let’s get started. Start by opening your Chaty dashboard and click on Widgets. Click on edit next to the widget you wish to edit.
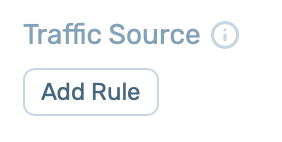
Step 2: Go to Step 3 in the settings – Triggers and targeting – and scroll down to the “Traffic source” setting. Click on the “Add rule” button.
Step 3: Next, depending on your preference, turn on each of the traffic source options – direct visit (to show the widget to visitors who come to your website from direct traffic), social networks (to show the widget to visitors who come to your website from social networks channels), search engines (to show the widget to visitors who come to your website from search engines), Google Ads (to show the widget to visitors who come to your website from Google Ads), or select to display your widget to traffic generated from a specific URL that contains or doesn’t contain a specific website.
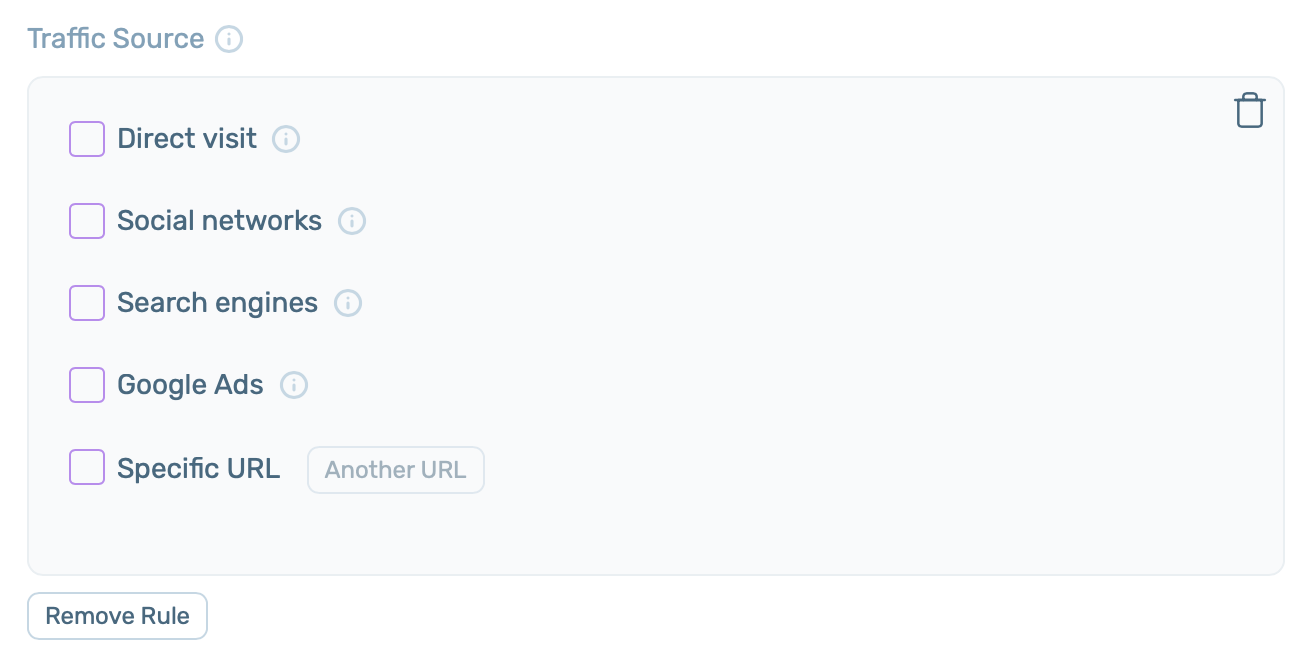
For example, if you have an email marketing campaign and only want to show the discount widget to users who received your email, you can add a UTM from the email link and use the traffic source targeting functionality for specific URLs containing that UTM.
Last but not least, please keep in mind that if you have more than one widget, you need to make sure each widget is set up to show correctly to avoid overlapping widgets!
When you’re done, click on the “Save” button. Now your Chaty widget will only be displayed to visitors who meet the above criteria you have just selected.