In this guide we’ll show you how to set up your Chaty app widget.
Chaty offers your website visitors an easy click-to-chat connection to all the platforms that you’re available on within a single widget, making it easier for your customers to find you and therefore increasing your chances for conversions and sales.
You can use the Chaty app with more than 20 commonly used channels such as phone, email, WhatsApp, Facebook Messenger, Instagram, Telegram, Twitter, TikTok, Slack, Skype, Vkontakt, Viber, SMS, LinkedIn, Google Maps, Line, WeChat, Snapchat, Waze, Poptin, a contact form as well as custom channels.
First, depending on the platform your site is built on, install the app from the relevant marketplace or add the Chaty installation code to your custom site. Not sure how to install the app? Check our help guides.
Next, go back to your Chaty app dashboard or log in from https://go.chaty.app/login. Once logged in, you will see your dashboard.
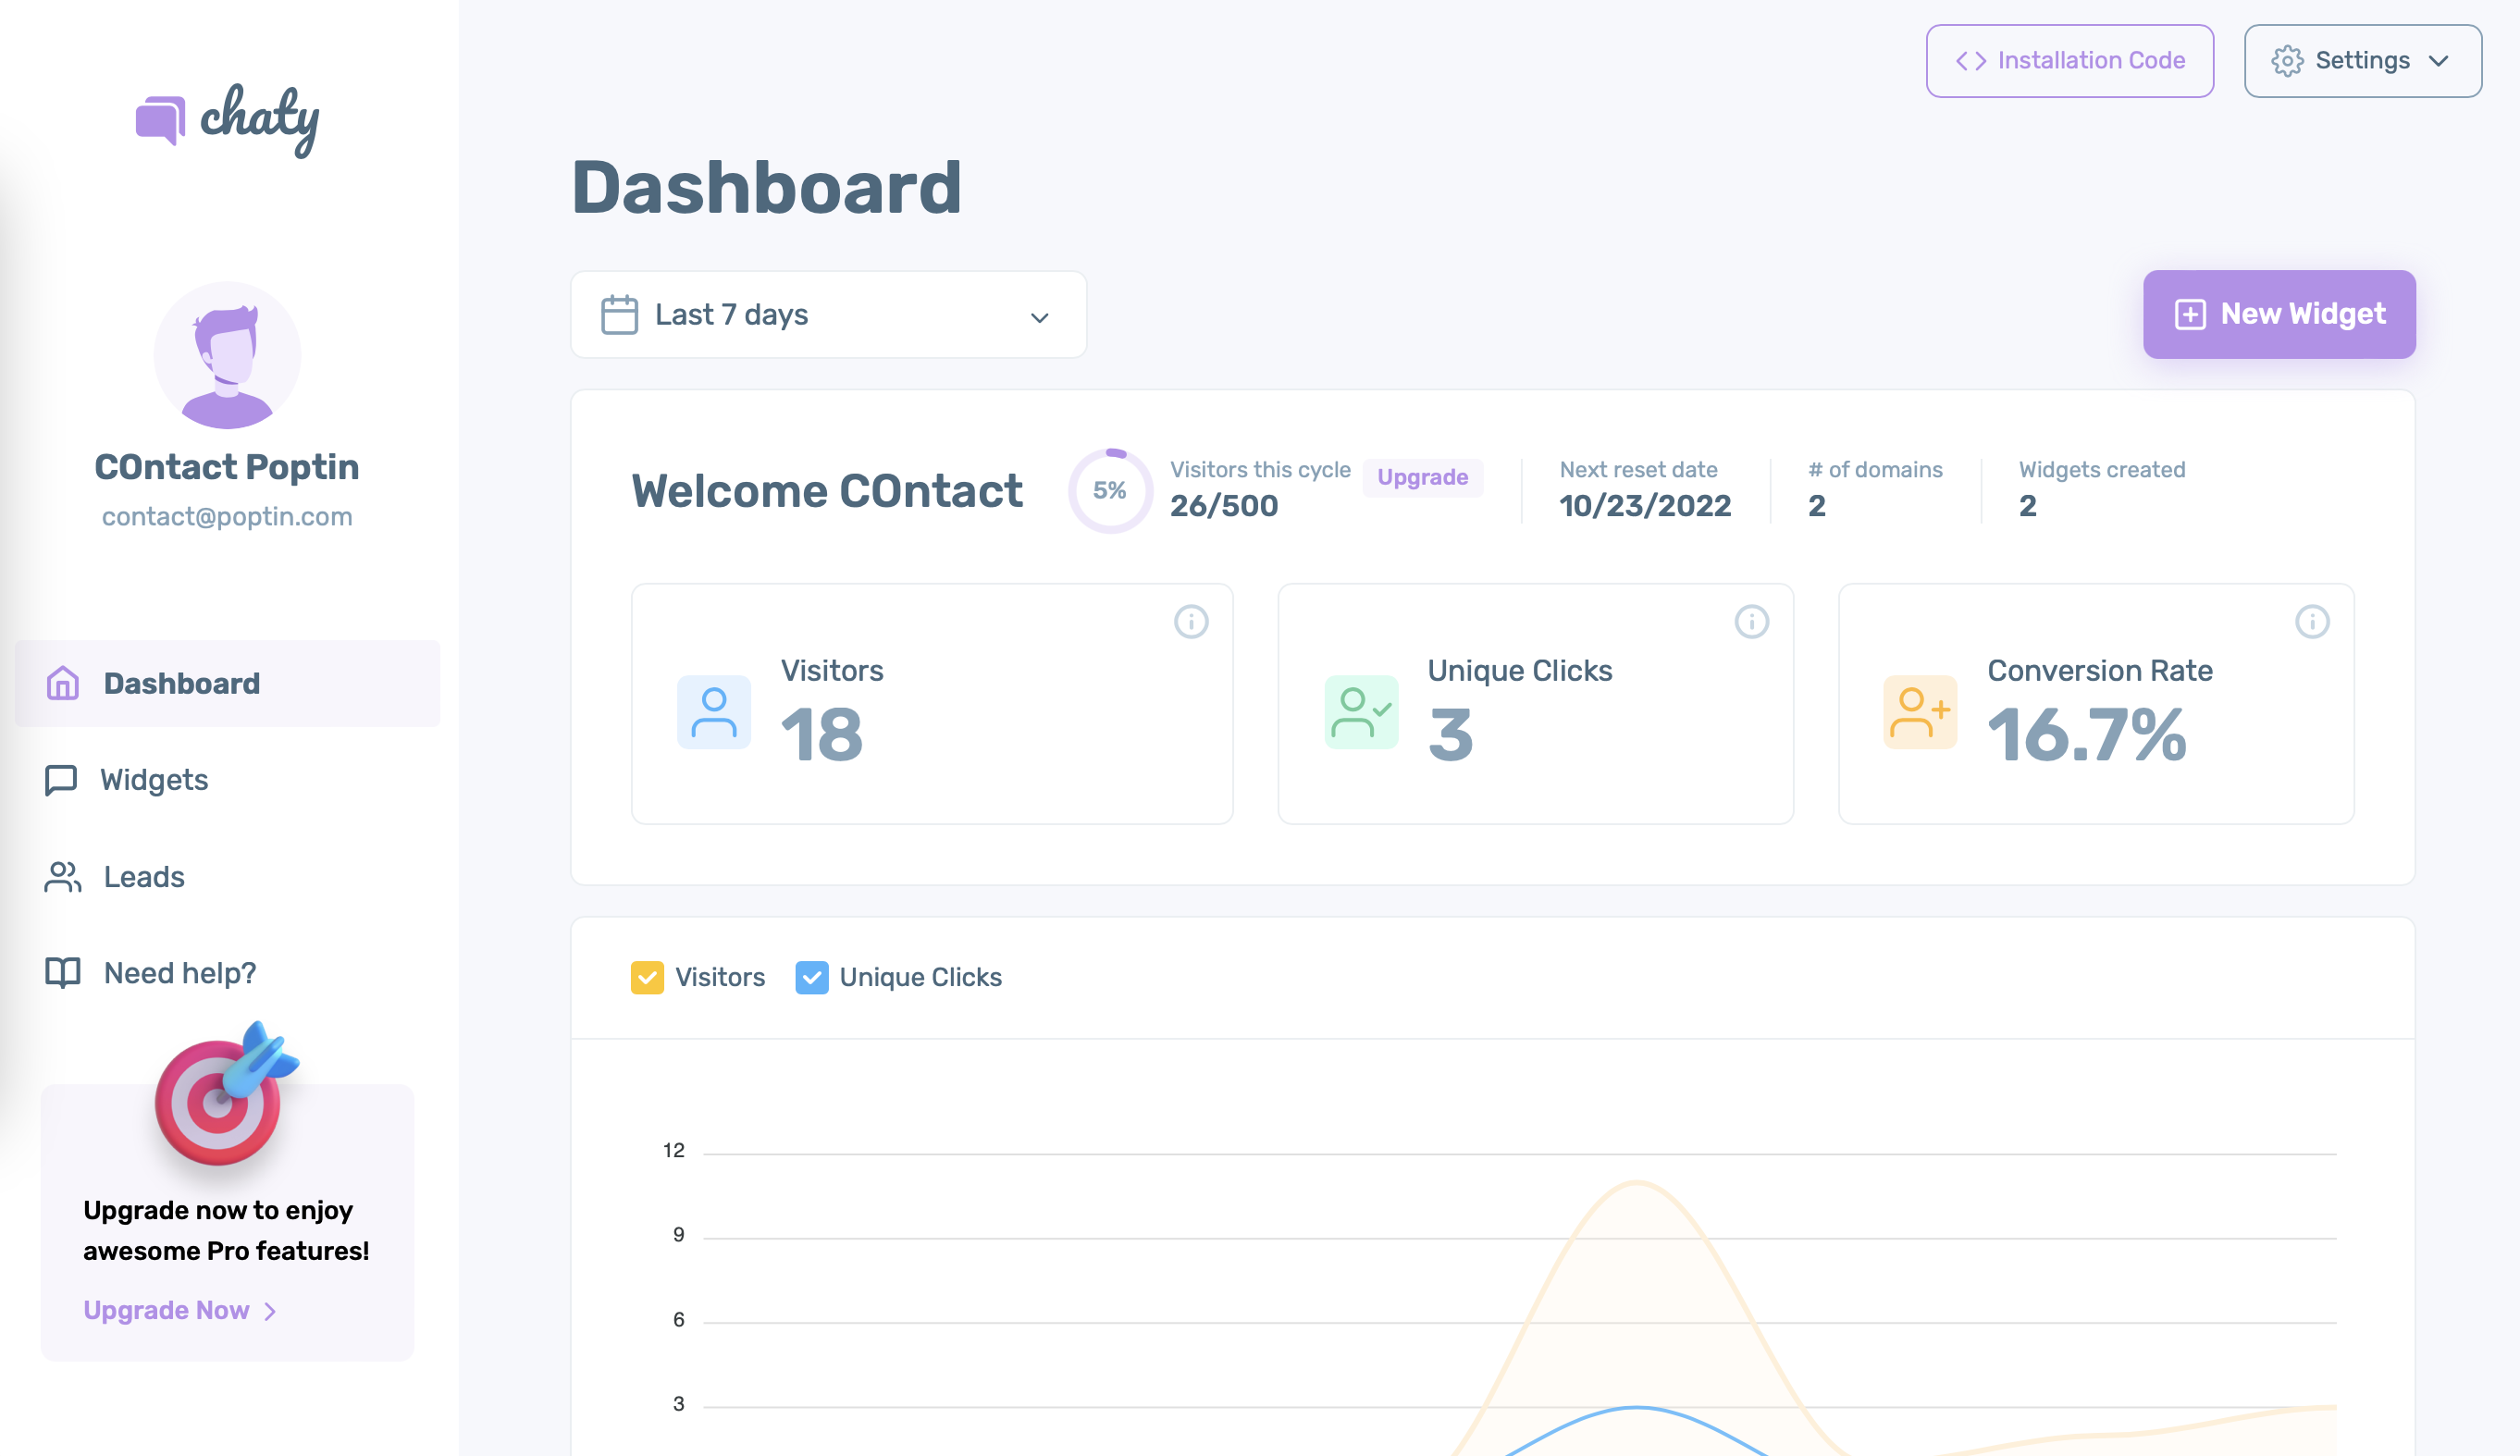
The installation code can be copy-pasted from the top right corner of the site: “Installation code”. The “Settings” dropdown will expand information about your profile, billing and upgrade options.
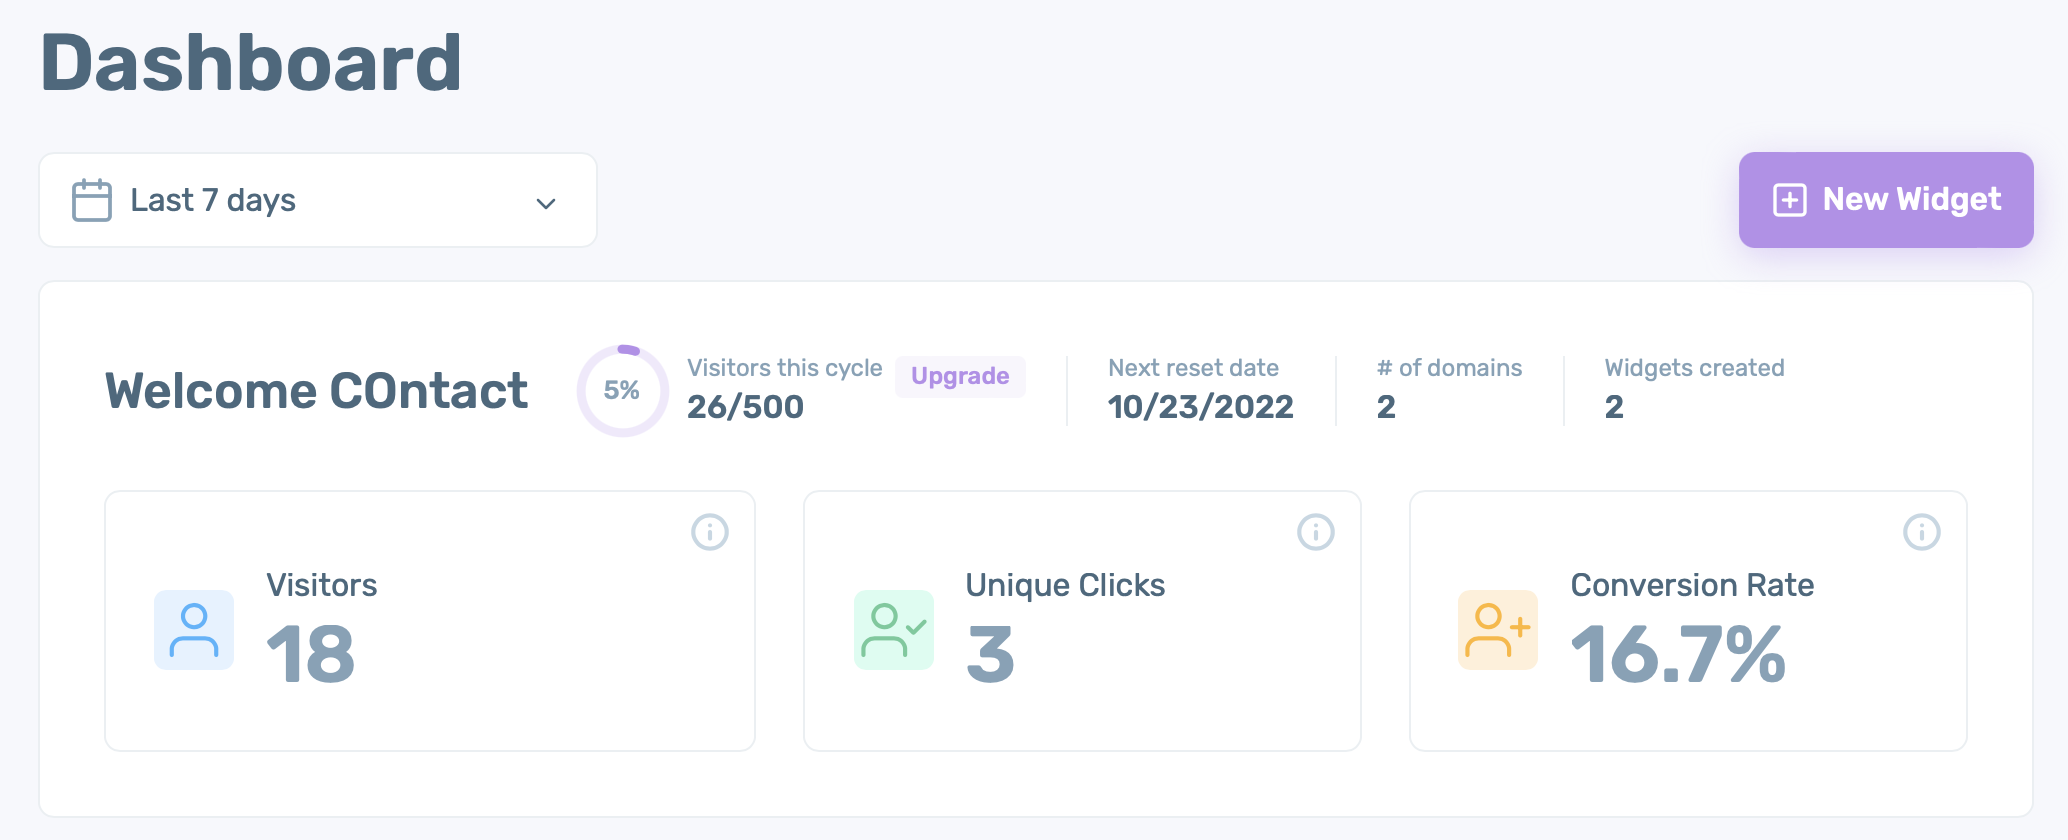
In your dashboard you will see your stats. By default the stats are for the past 7 days, although you can change this from the dropdown and choose another timeframe.
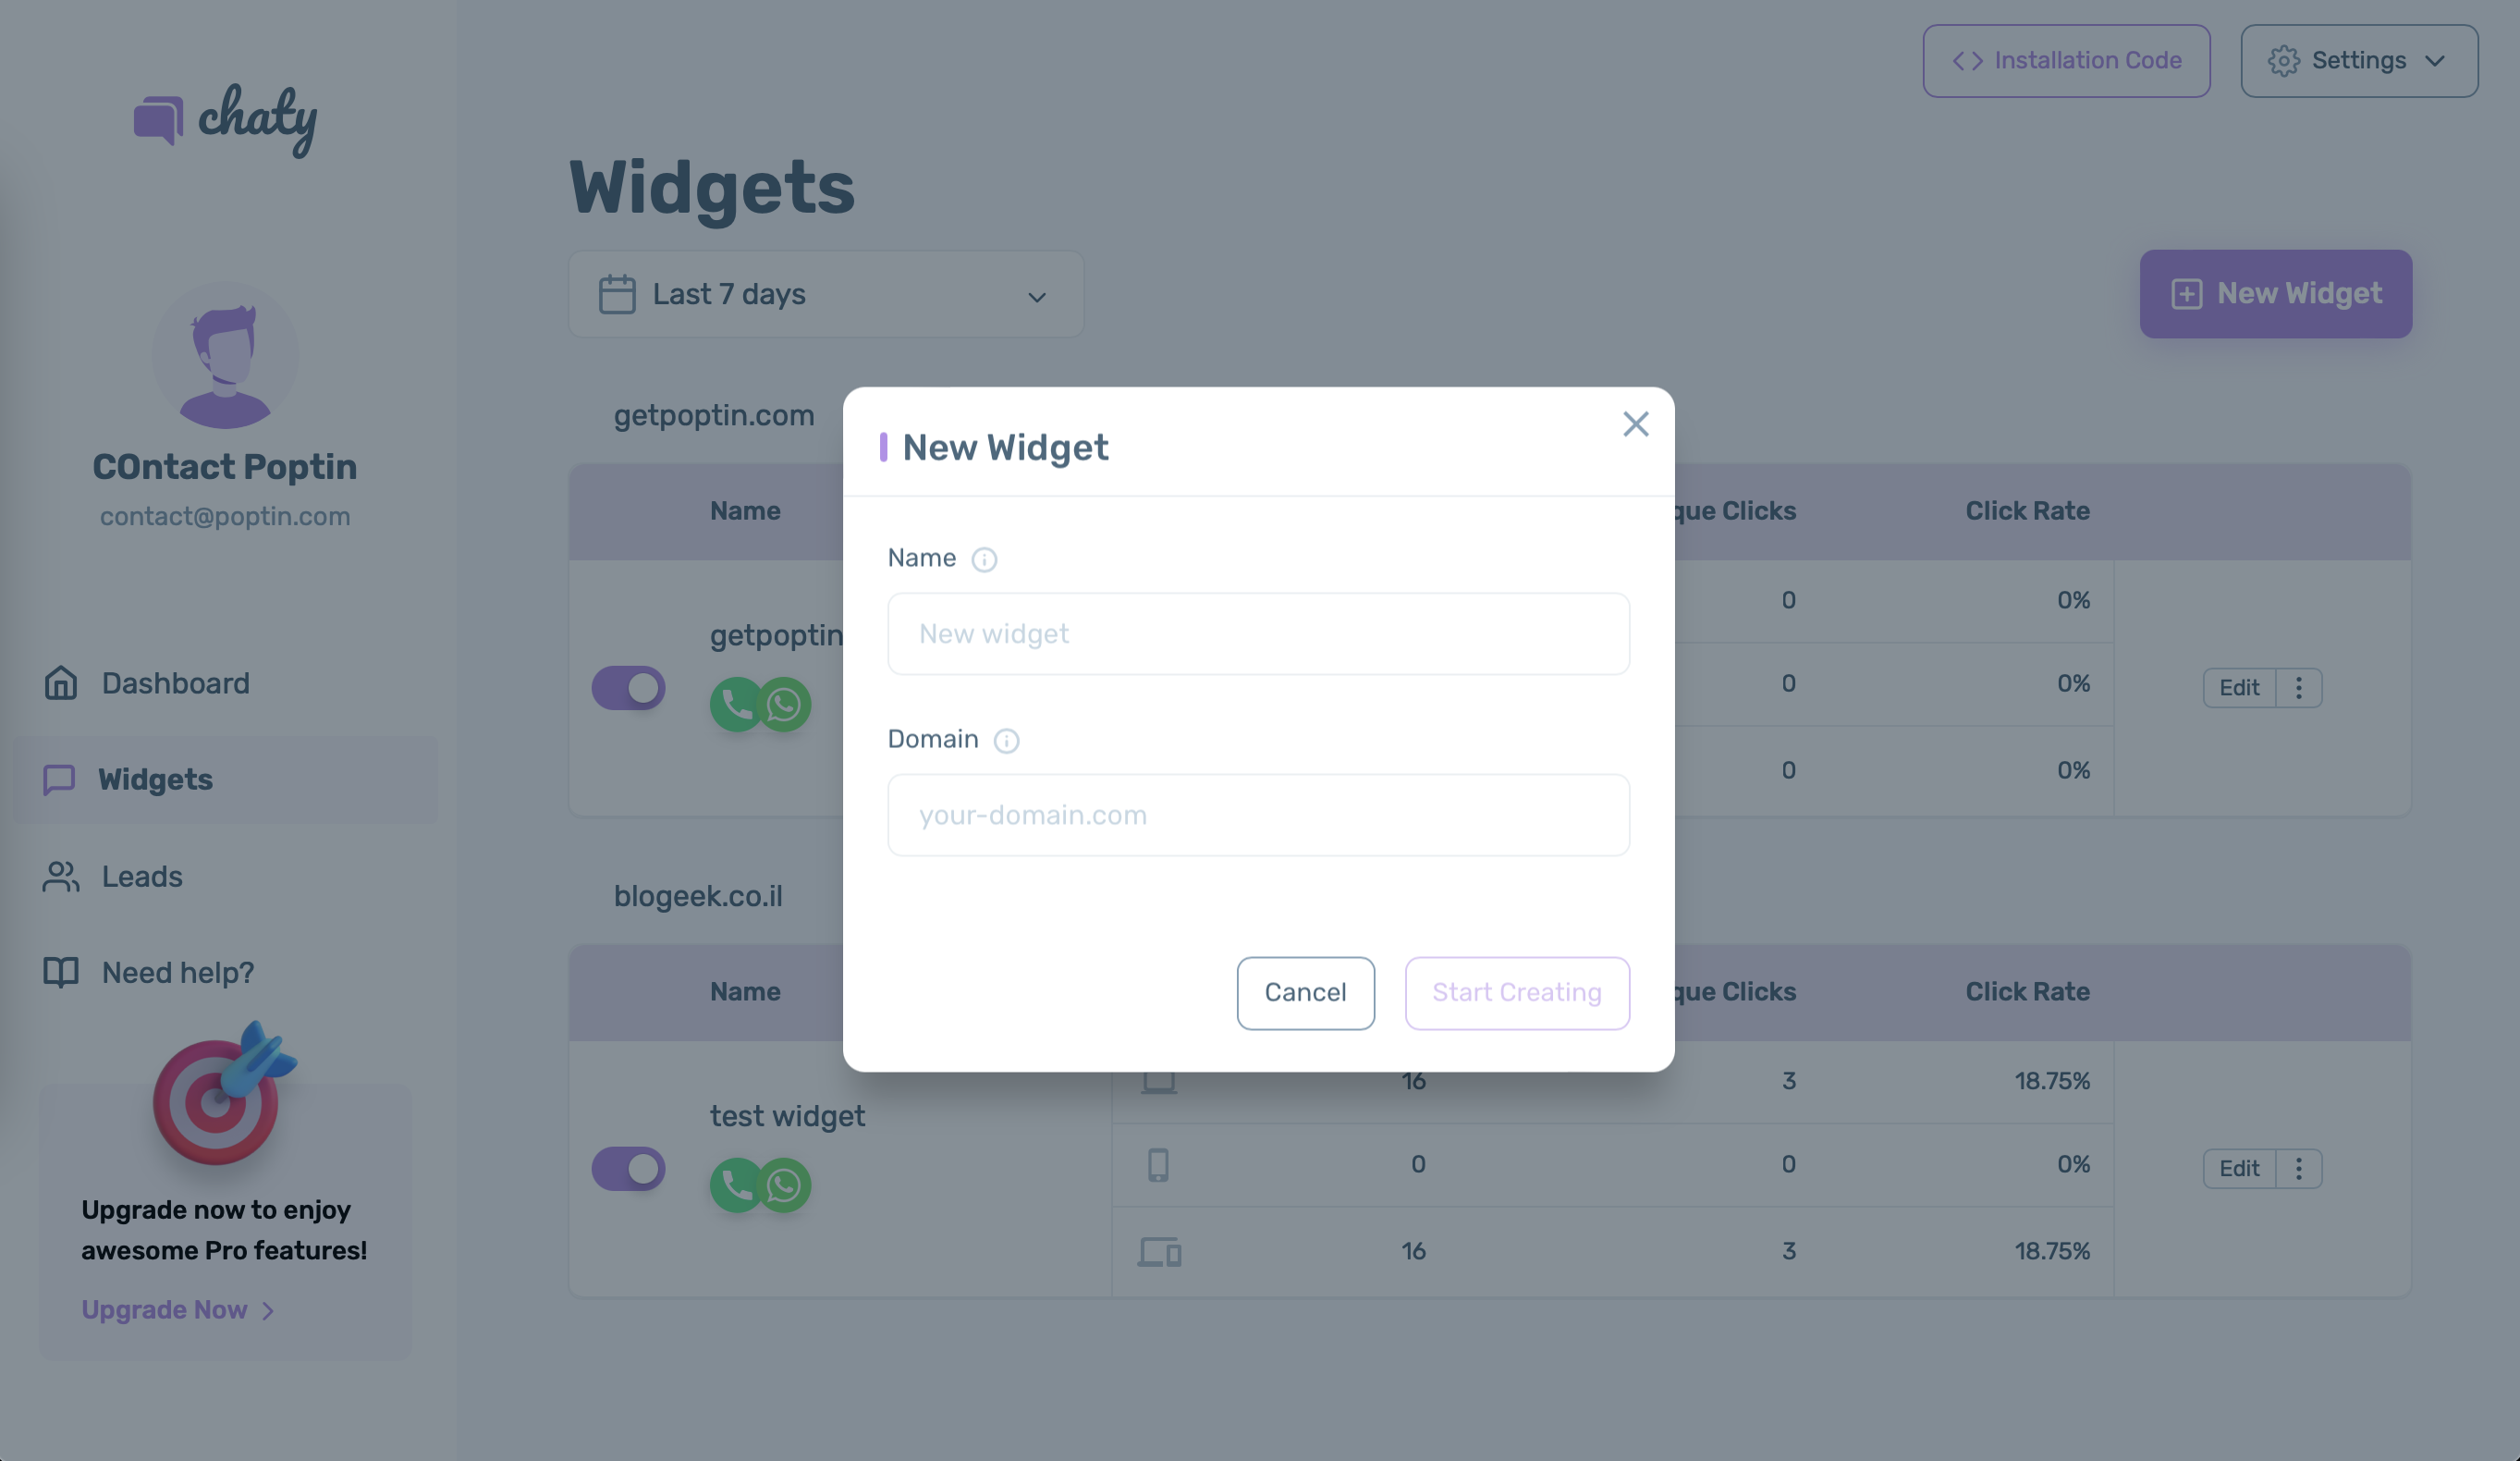
To get started with your first widget, click on the “New widget” button or head to the “Widgets” section in the left sidebar. Any existing widgets will also be placed there.
When you add a new widget, you’ll be asked to give it a name and assign it to a domain. Make sure it’s the same domain of your site or if you’re using any marketplace, ensure it’s the exact marketplace domain, and click on “Start creating”.
Step 1: Choose your channels
Start completing the settings step by step, starting with choosing your channels.
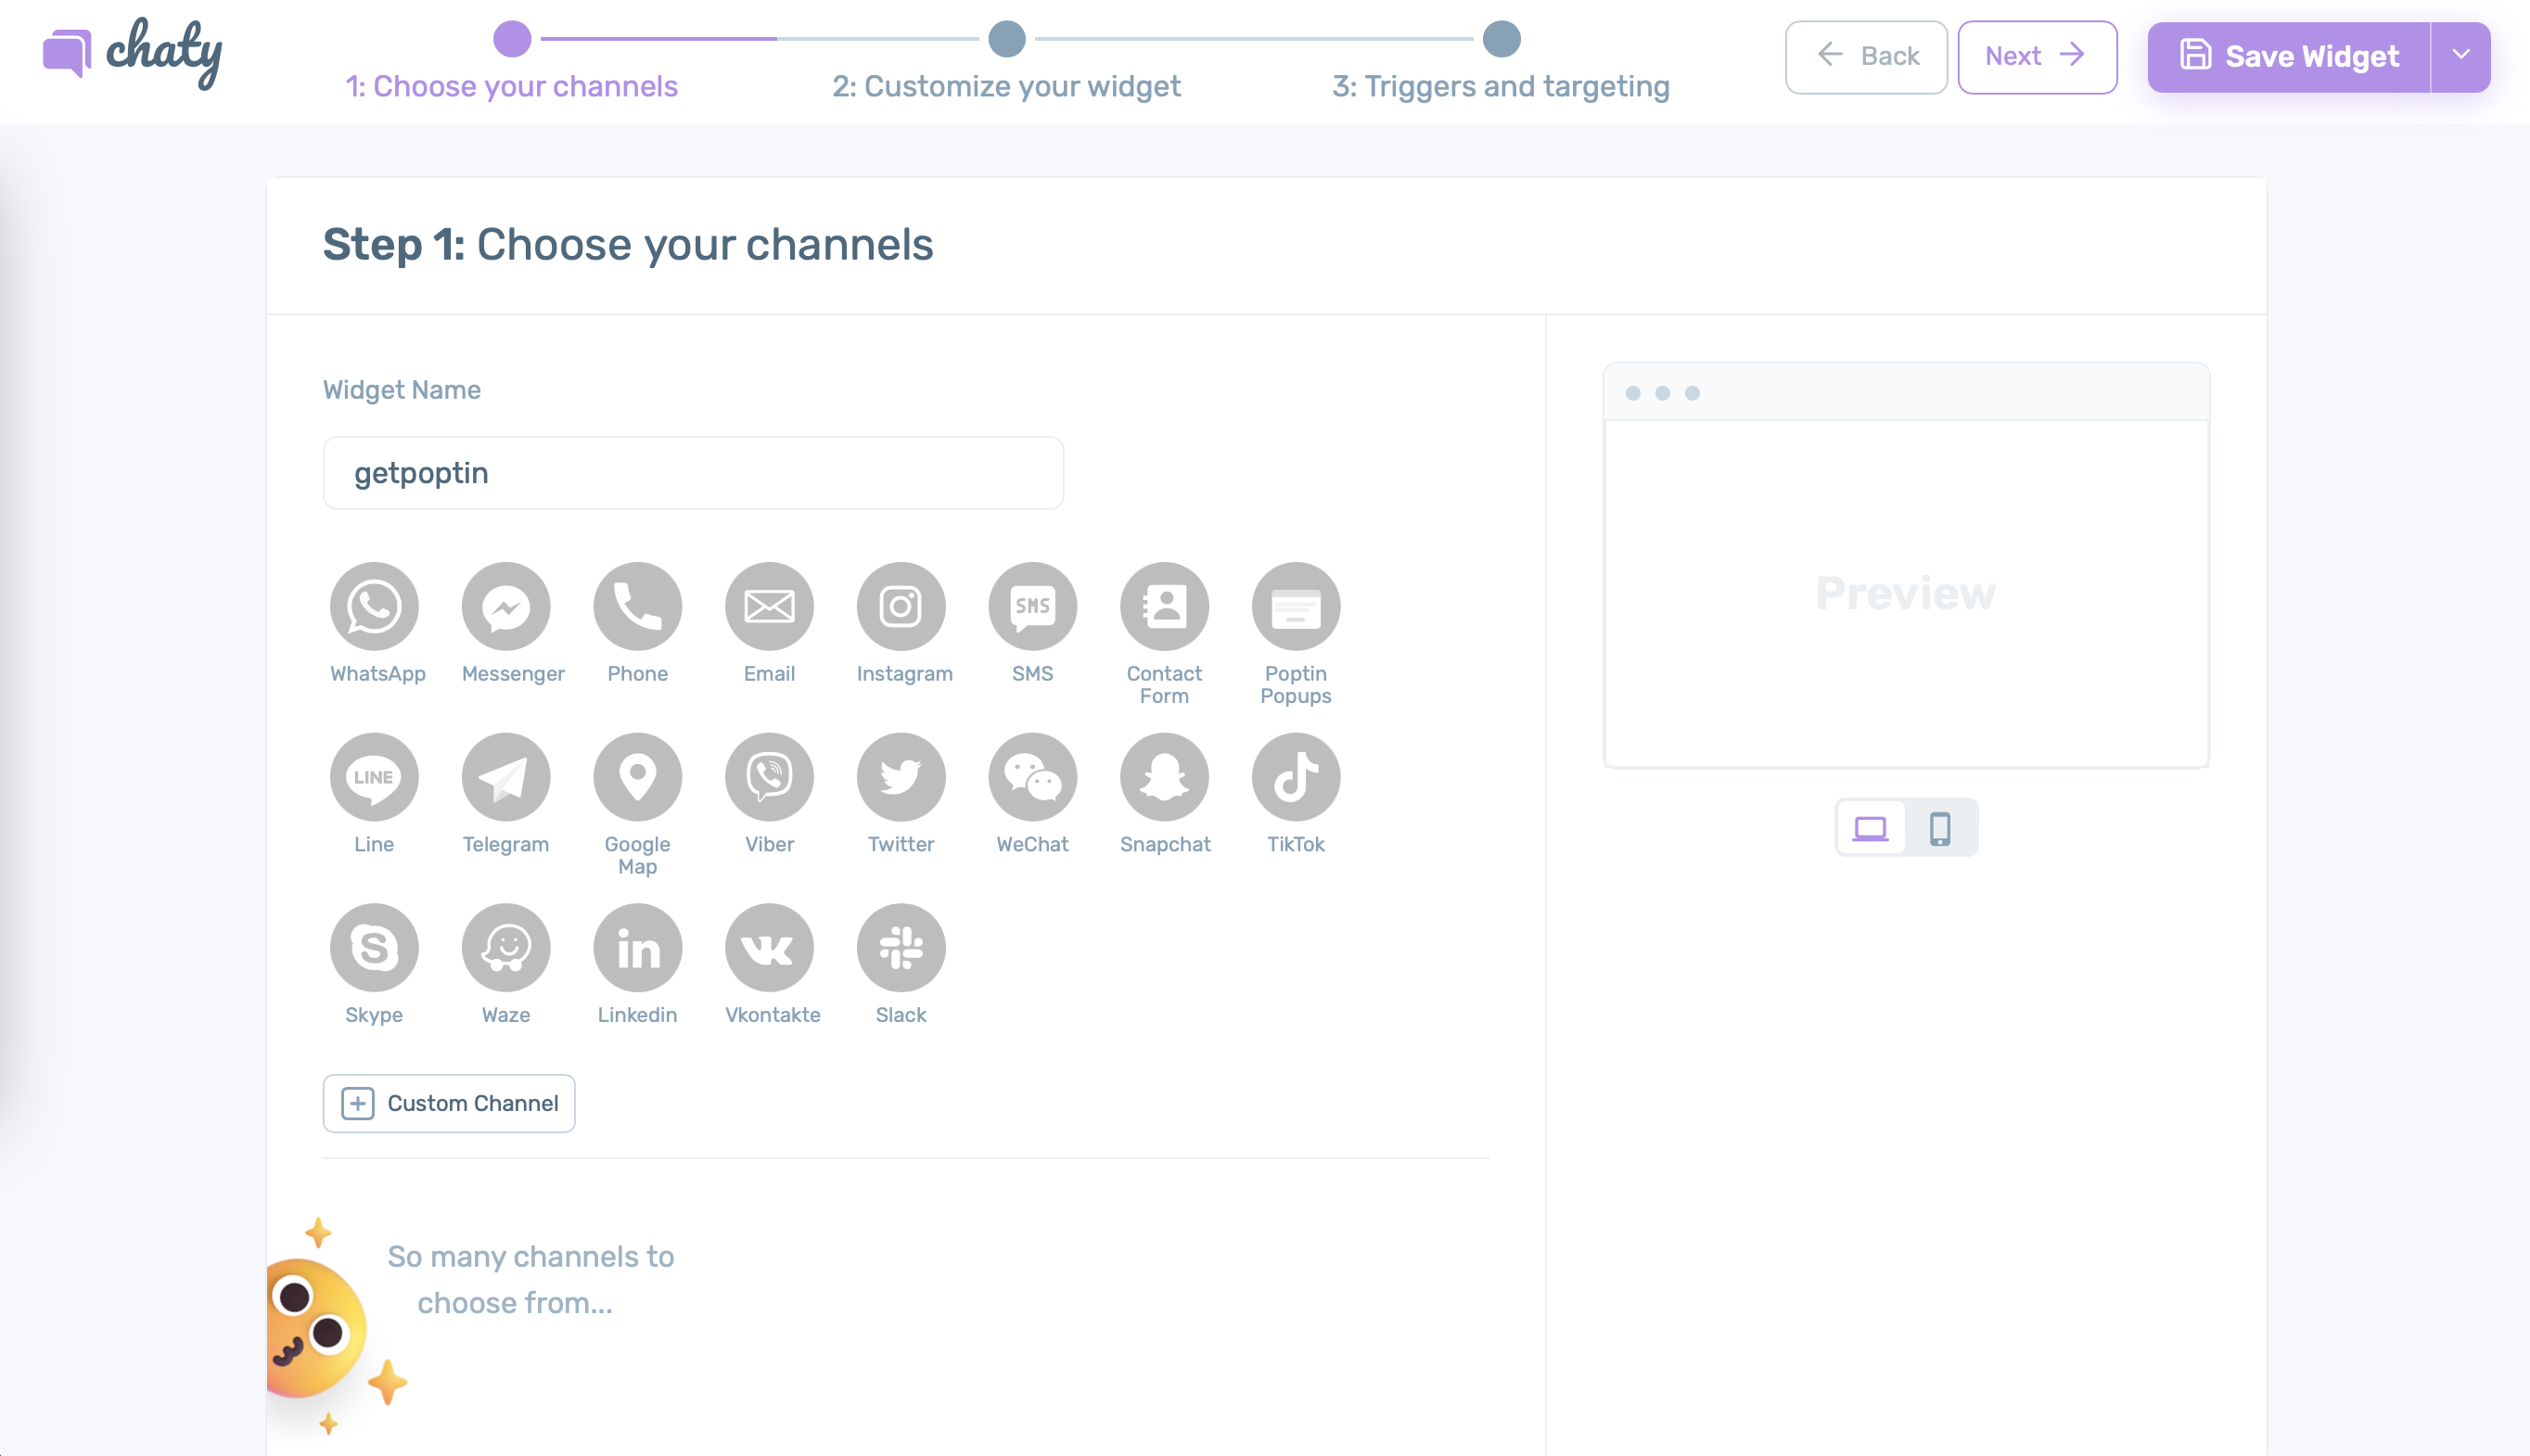
Just click on any channel to add it to your widget and ensure you follow the placeholder example to make sure you fill in your channel correctly.
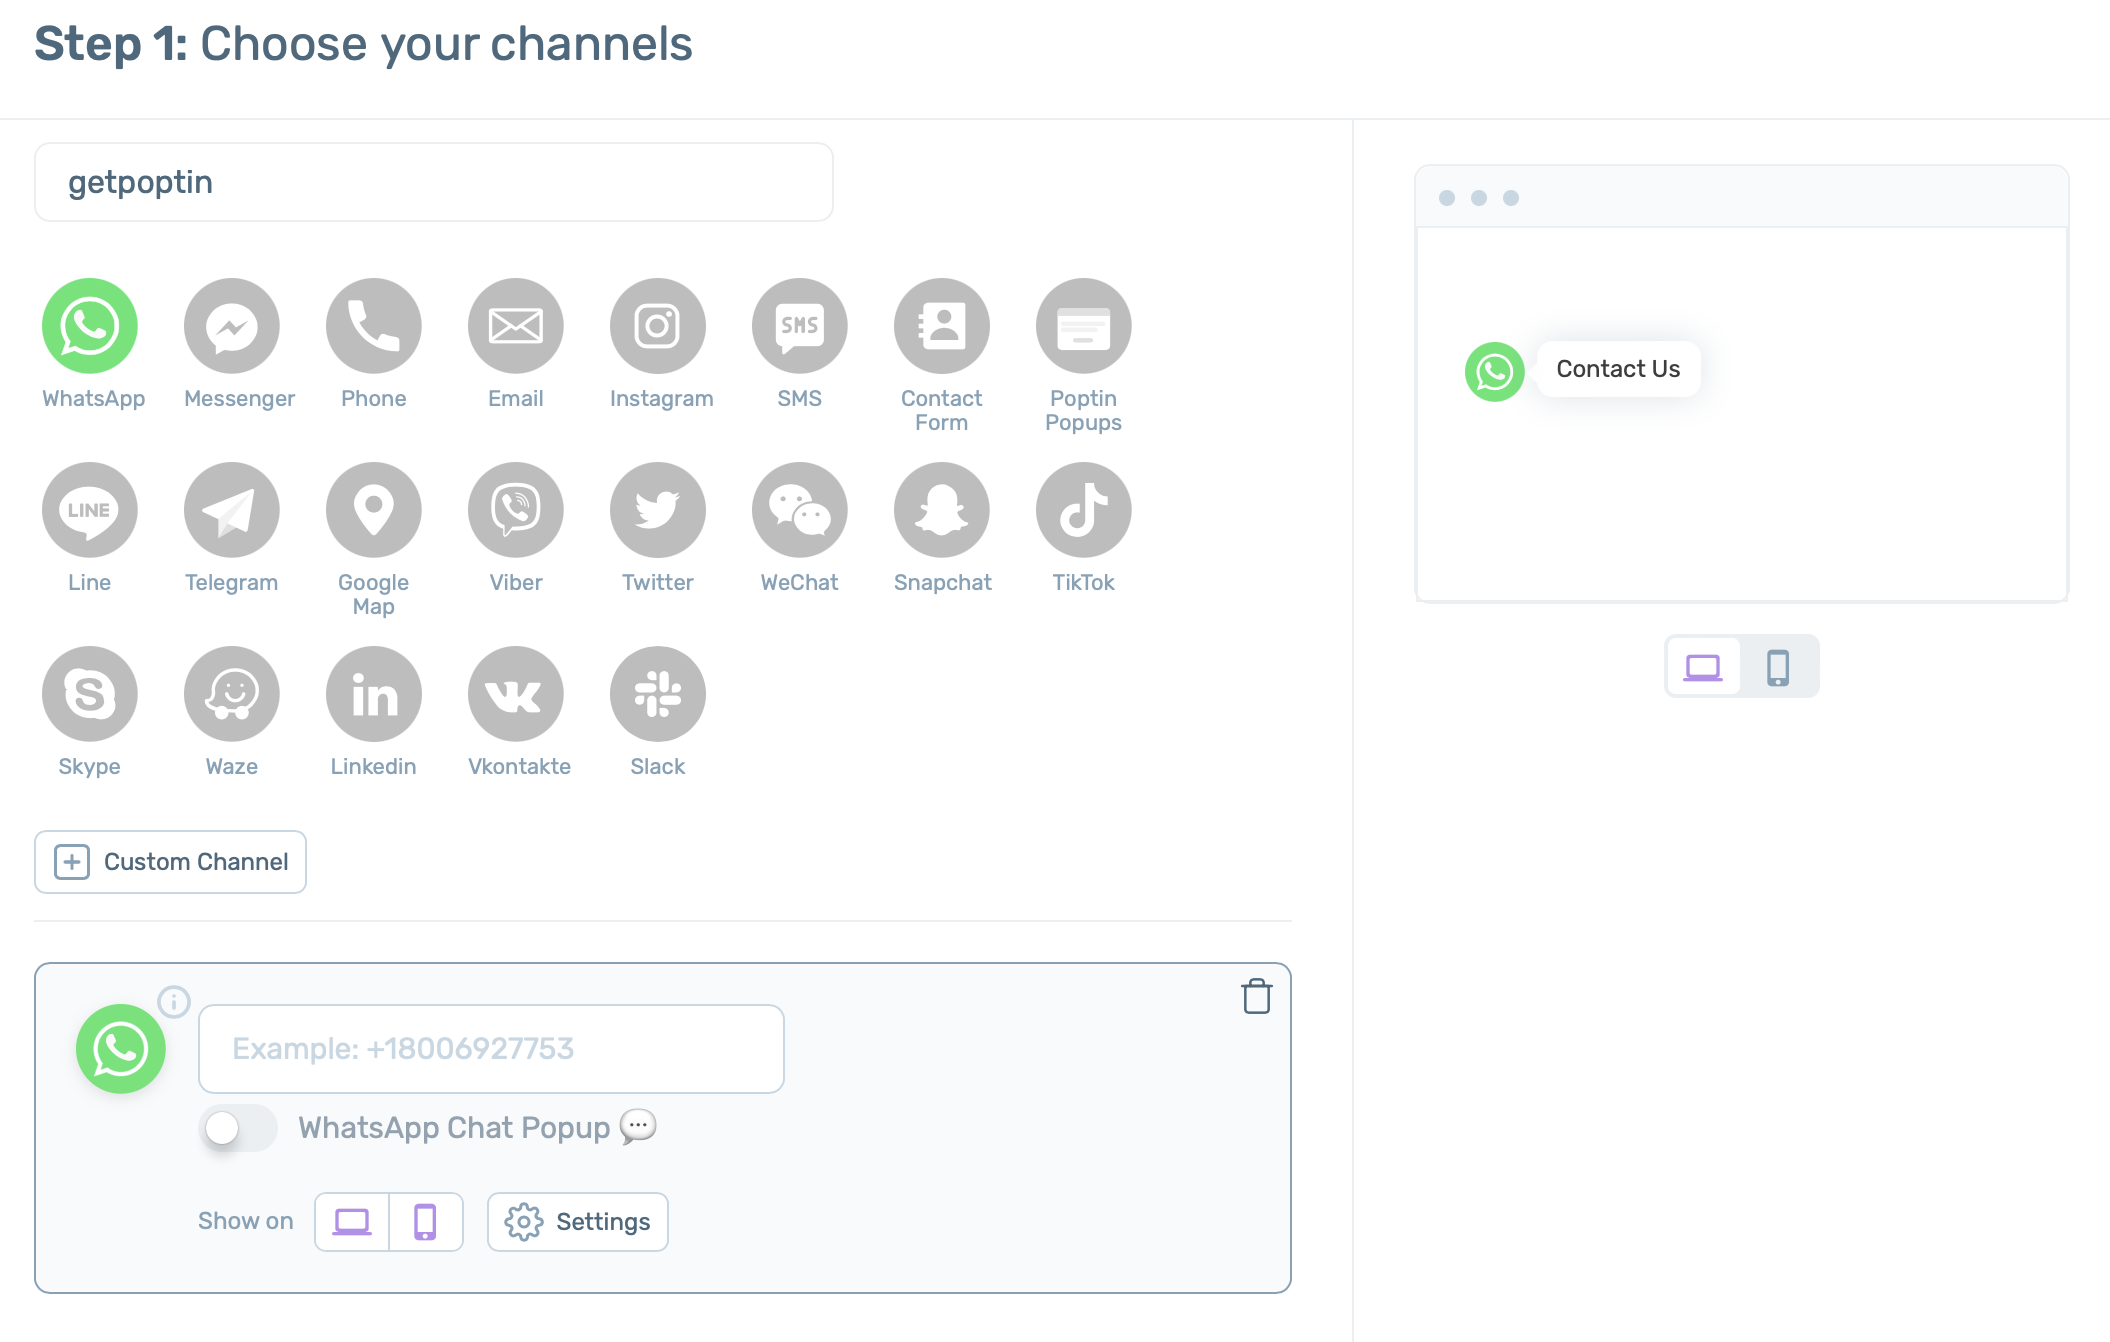
You can refer to the real-time preview to the right of the page at any time. You can choose from 20+ commonly used channels or even add a custom link channel.
Once you’re done adding your channels, click on the “Next” button. The next step will allow you to customise your widget design and behaviour.
Step 2: Customize your widget
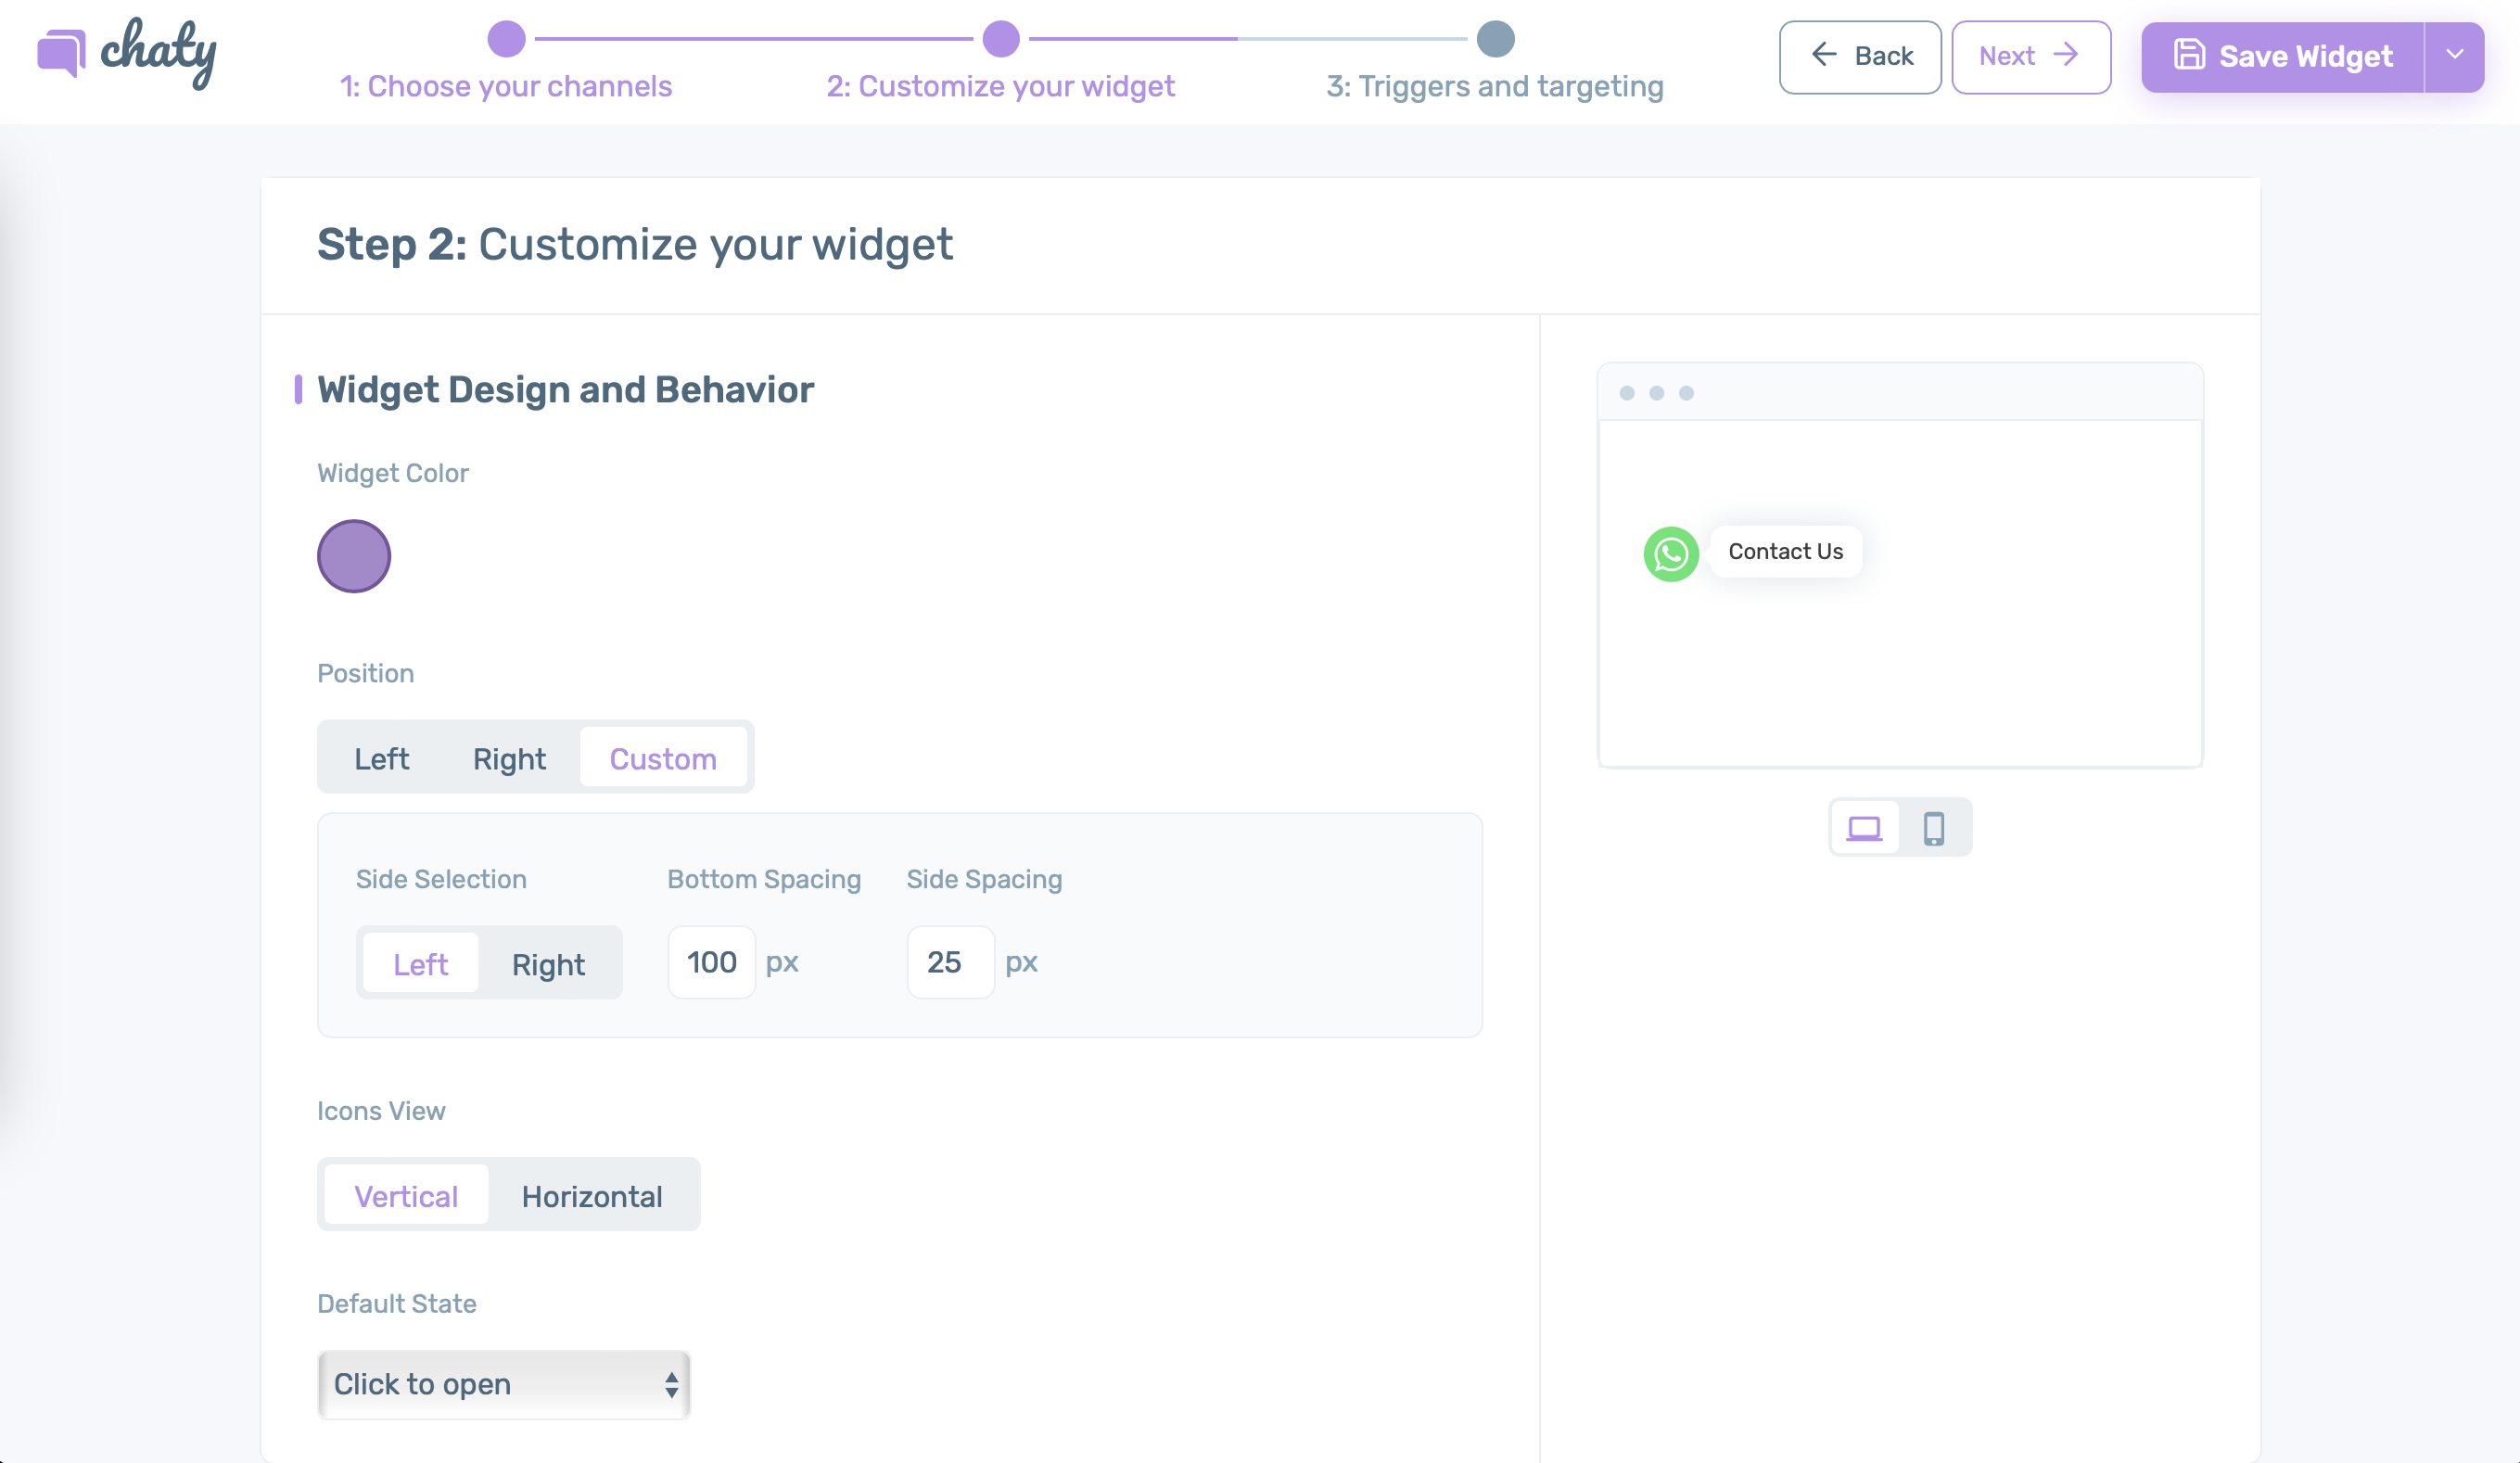
First, select a widget color. If you don’t add one, the default purple one will remain. Note that if you use Chaty with a single channel, the channel will be displayed instead of a widget icon. Next, add a position (optional) – you can choose between the bottom left or right, or add any custom position of your choice. By default, the widget will be placed in the bottom right corner of your site. Next, select icons view for your widget – meaning if the widget shall expand vertically or horizontally, and a default state – whether the widget shall be open by default or open on hover or click.
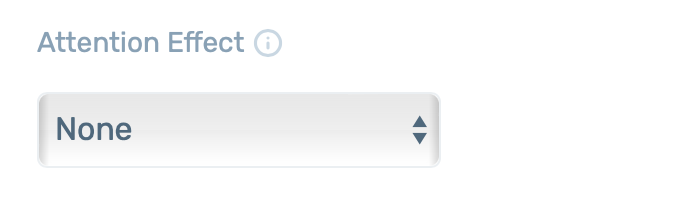
Next, you can add an attention effect of choice (optional) – an animation that will draw your visitors’ attention to the widget. Pay attention that when the default state is set to “Opened by default” the attention effect feature doesn’t apply because the Chaty widget is already open.
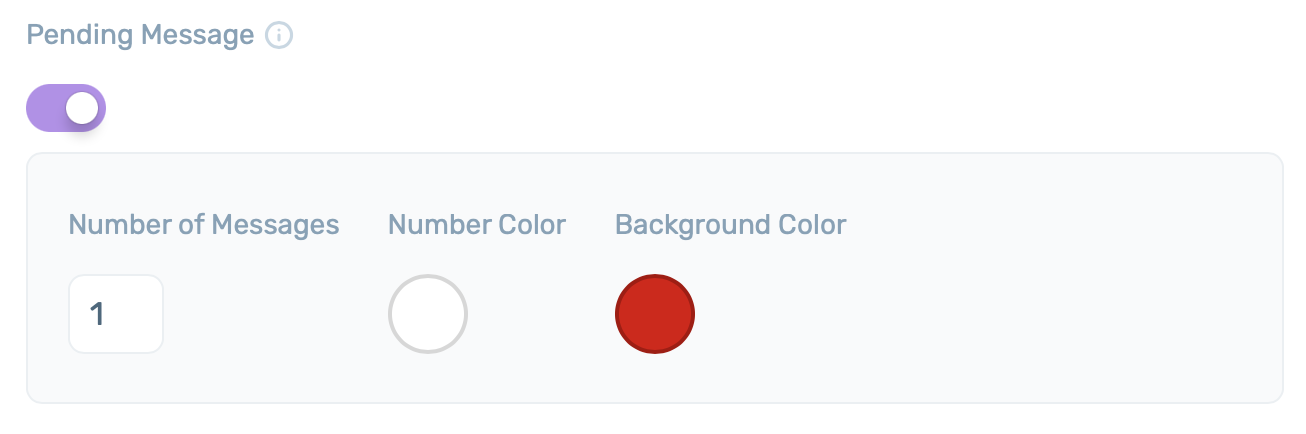
Proceed with adding a “Pending message” (optional). This tool is meant to increase your click-rate by displaying a pending message icon near your Chaty widget to let your visitors know that you’re waiting for them to contact you. Note that the pending messages icon will disappear after the first interaction with the widget.
Next, choose a widget icon from the preset ones or upload a custom icon. Please make sure you upload an image file of the following types: .png, .jpeg, .jpg, .gif or .svg. The max file size is up to 100KB.

Proceed with setting up your popup message and behaviour by adding a call-to-action text (optional) – a short text that will appear besides your widget. If you don’t want to have a call-to-action text, leave the box blank.

If you are using Chaty with a single channel and you haven’t set any call-to-action text from the call-to-action text setting, you will see the channel “on hover text”. To change or remove it, please click on the “Settings” button next to the channel settings and make sure you change/ delete the default text in the “on hover text” field.
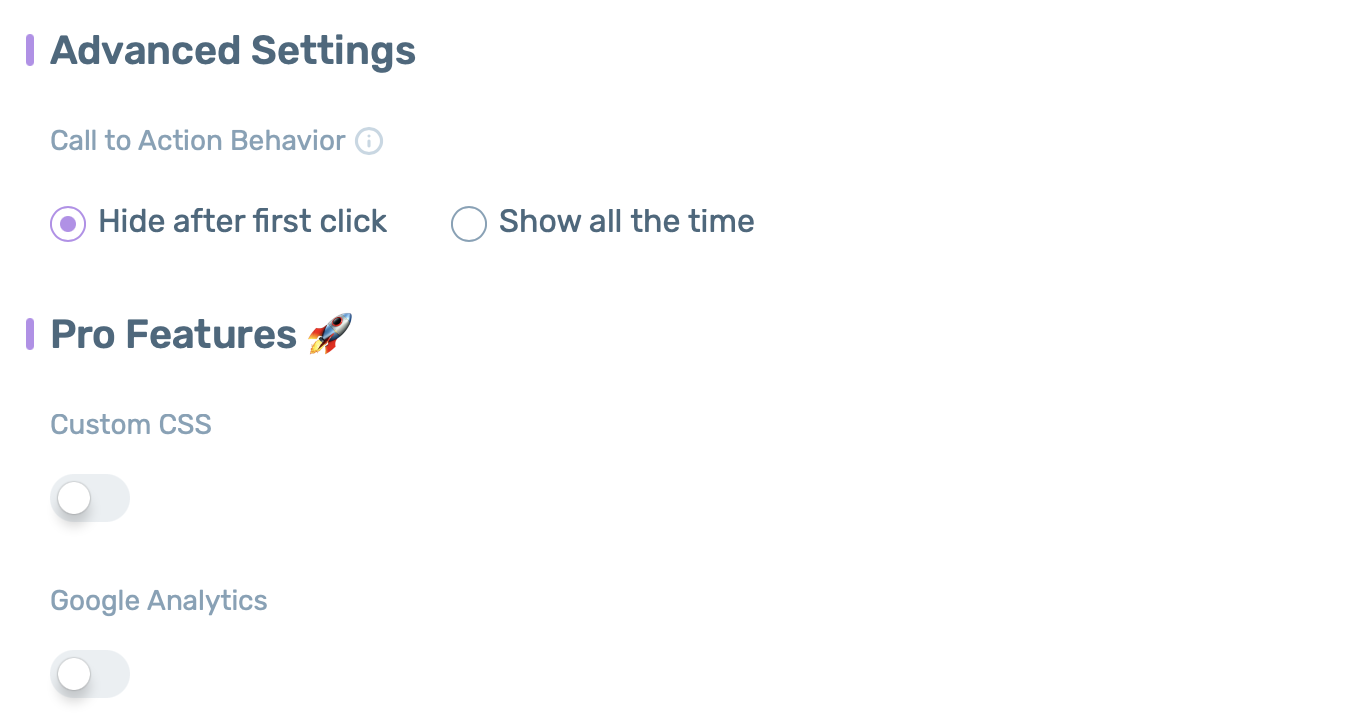
Also, you can select the desired font family and widget size and move to the advanced settings where you can select the desired call-to-action behaviour (to hide it after the first click or show it all the time) and add Pro features such as custom CSS and tracking with Google Analytics (optional).
Step 3: Triggers and targeting
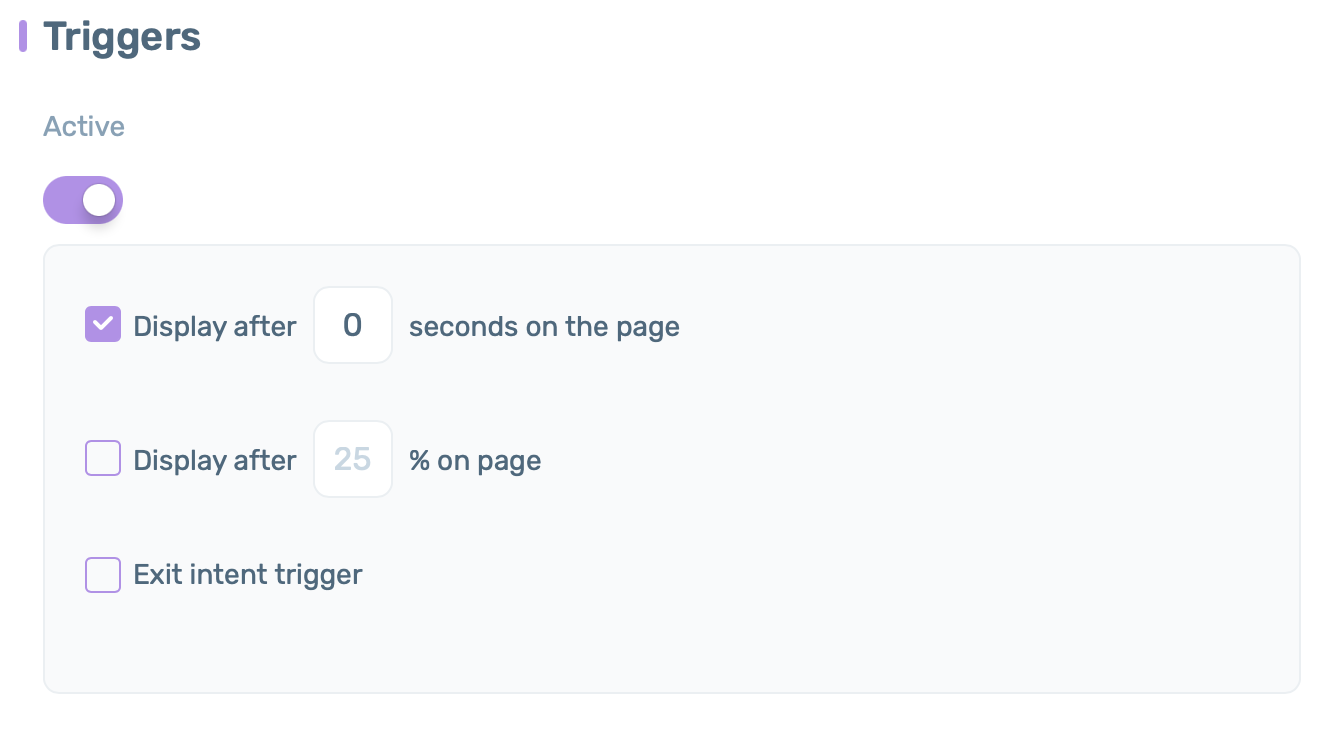
And now you’re ready to move to the next and final step of setting up your widget. Start by adding one or more triggers of your choice (optional) – time delay (if you want the widget to appear on page load, type 0, if not, then set after how many seconds on the page you’d like it to appear), appear on scroll (e.g. after X% scroll of the page) or exit intent (meaning the widget will appear when your visitors are about to exit the page).
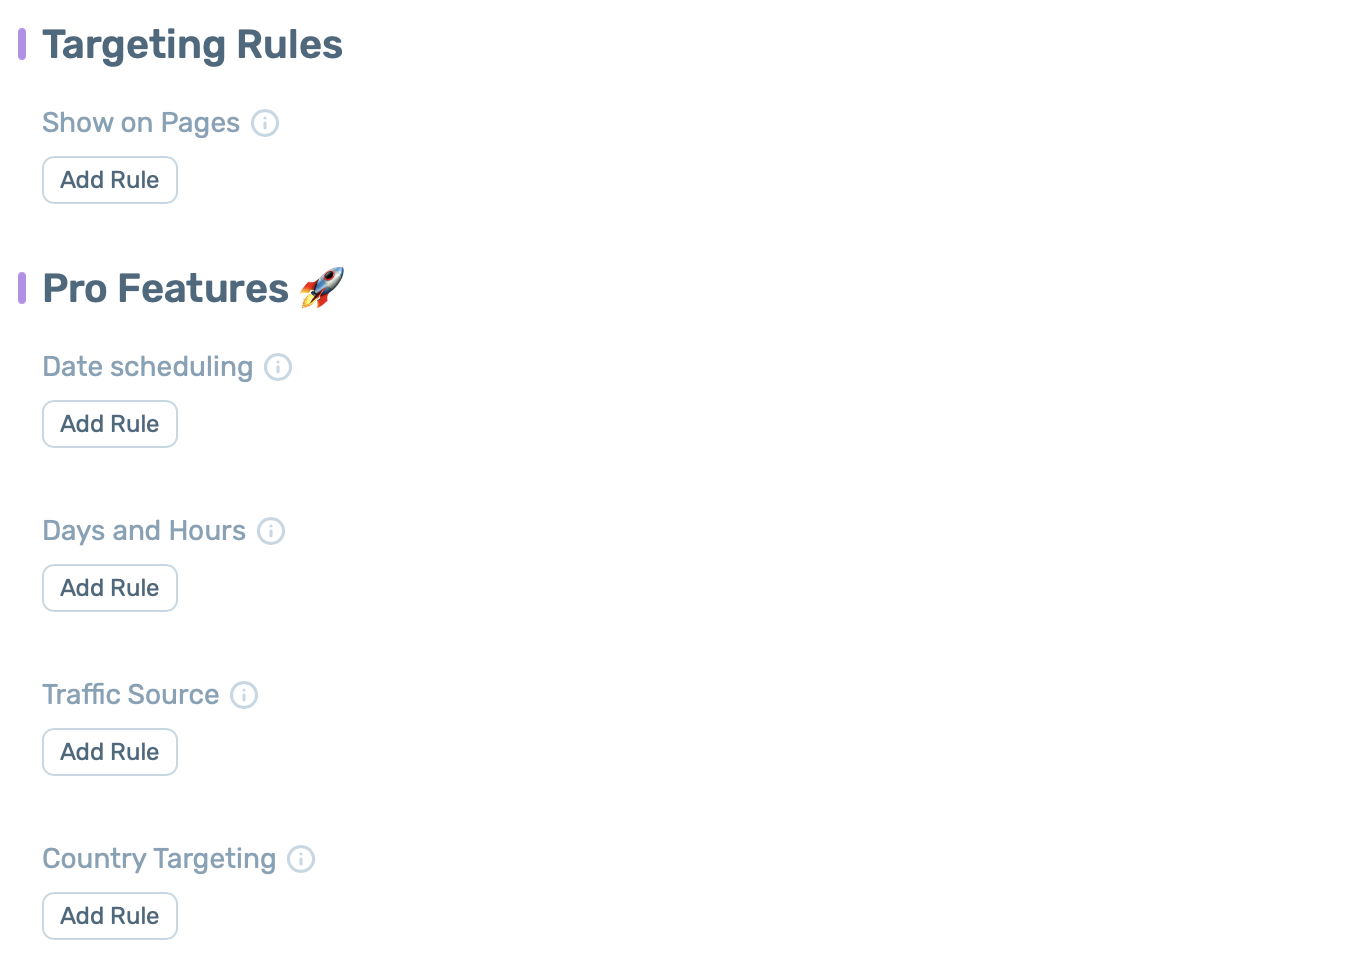
Proceed with the targeting rules. They’re fully optional. Free users can only add page targeting rules (hence, choose what page(s) the widget shall appear on), while Pro users can also add date scheduling rules (to schedule the specific time and date when the Chaty widget appears), days and hours rules (to display the widget on specific days and hours), traffic source targeting (to show the widget only to visitors who come from specific traffic sources including direct traffic, social networks, search engines, Google Ads, or any other traffic source) and country targeting rules (to target your widget to specific countries).
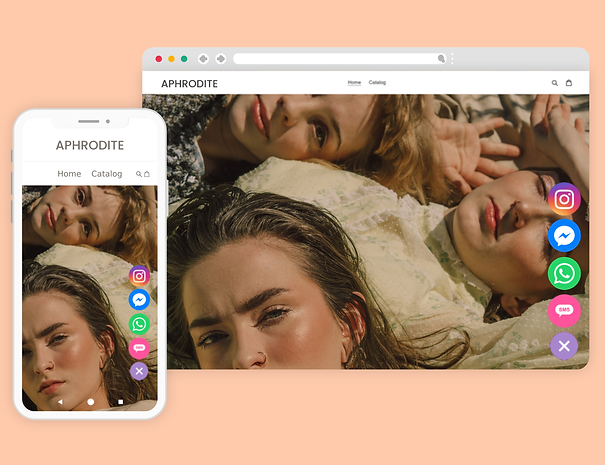
When you’re done, click on the Save widget button and that’s it – the Chaty widget should now appear on your site! You can view and edit the widget from your Widgets section at any time. In the end, based on your settings and customisations, it may look like this: