In this guide we’ll show you how to install the Chaty app on a BigCommerce webstore
Just starting with Chaty? Read more below in order to find out how the app works and how it can be helpful for you.
Chaty offers your website visitors an easy click-to-chat connection to all of the platforms you’re available on within one widget. Having one widget with different channels can be helpful in improving your customer service quality and increasing your chances for conversions and sales.
Step 1: Let’s get right into it. First you will need to install the Chaty app from the BigCommerce app marketplace.
If you need any assistance with this, you can follow these instructions on how to install an app on your BigCommerce webstore.
So, look for Chaty on the BigCommerce app marketplace.
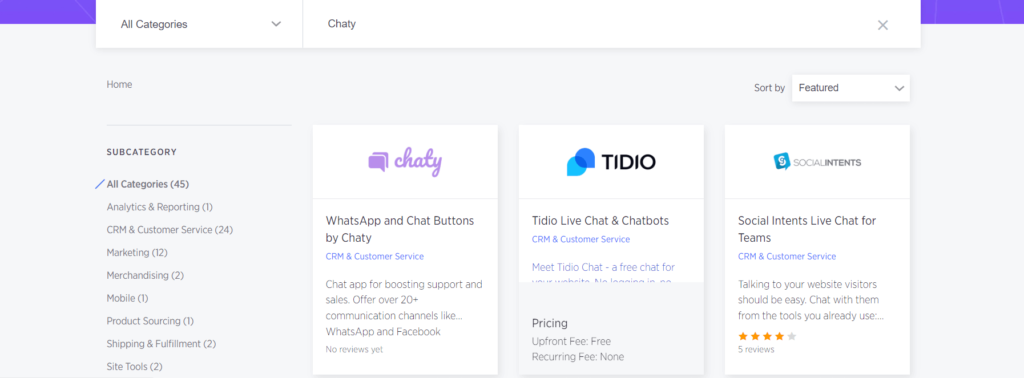
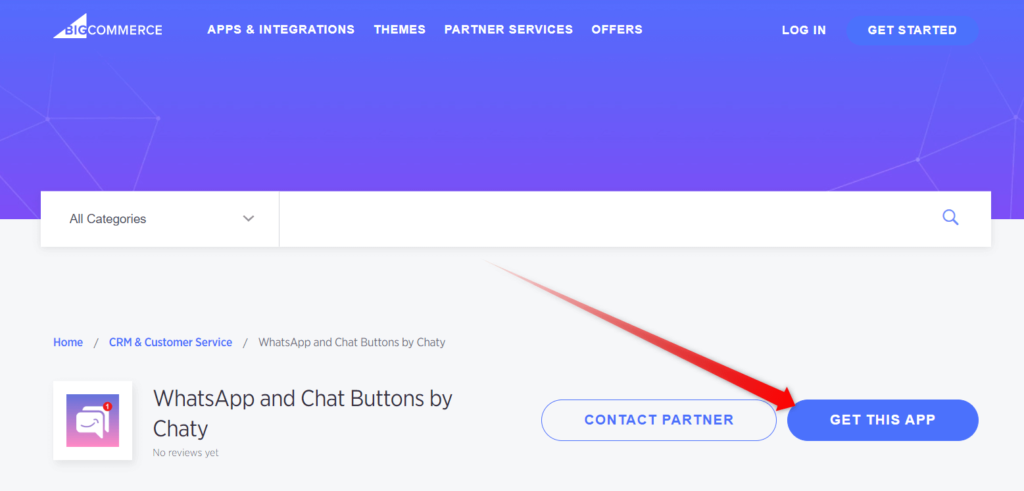
Click on the app title – Chaty: WhatsApp & Chat Buttons – and click Get this App.
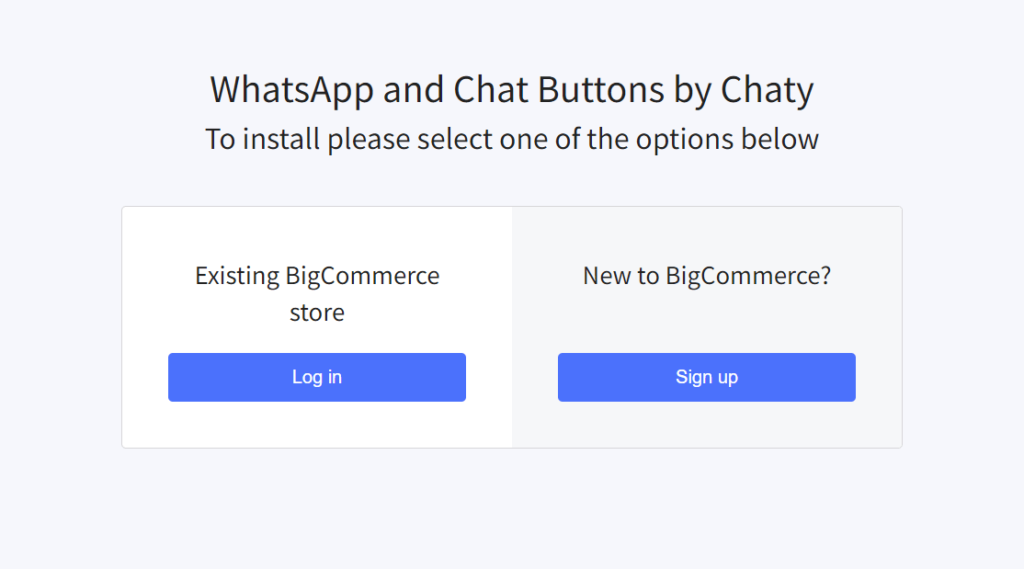
Now you need to log in to your existing BigCommerce account.
You will be redirected directly to the Chaty app page where you can install the Chaty app.
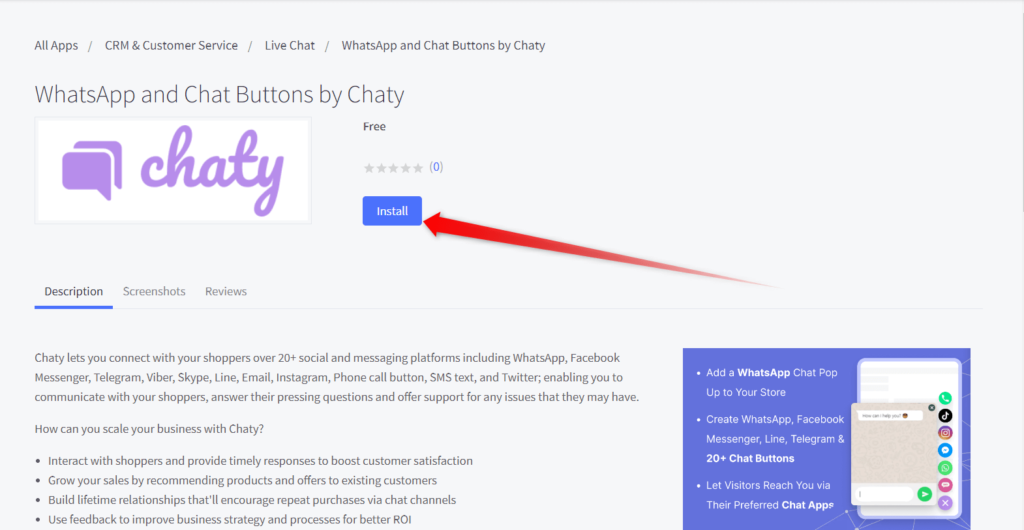
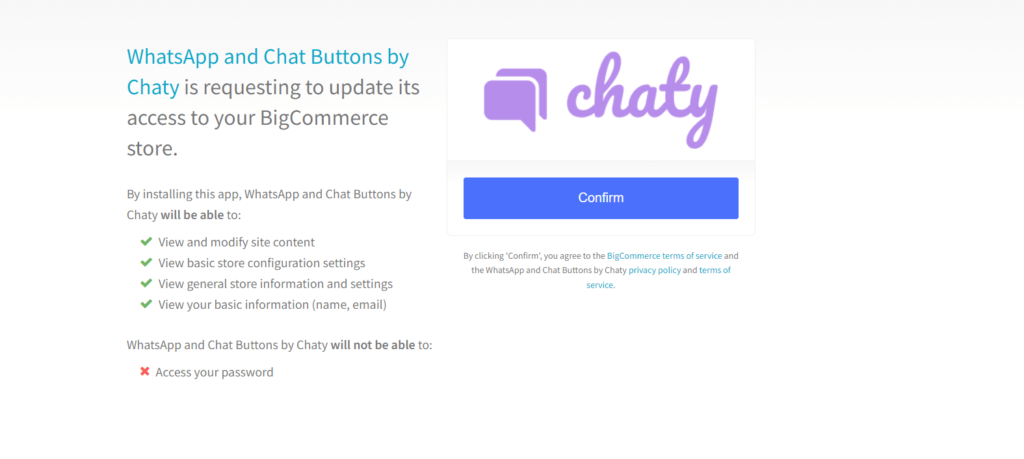
After clicking on the install button, you just need to confirm the installation.
Step 2: Moving on, create a new account and choose the plan you want to proceed with. Each plan includes a specific number of monthly website visitors per billing month with the free plan including up to 500 website visitors per month.
Once you install the Chaty app, the Chaty installation script will be added to your BigCommerce webstore. No need to do anything manually!
Note!
Once you install the Chaty app, the Chaty installation script will be added to your BigCommerce webstore. No need to do anything manually!
You can now proceed with setting up your first Chaty widget.
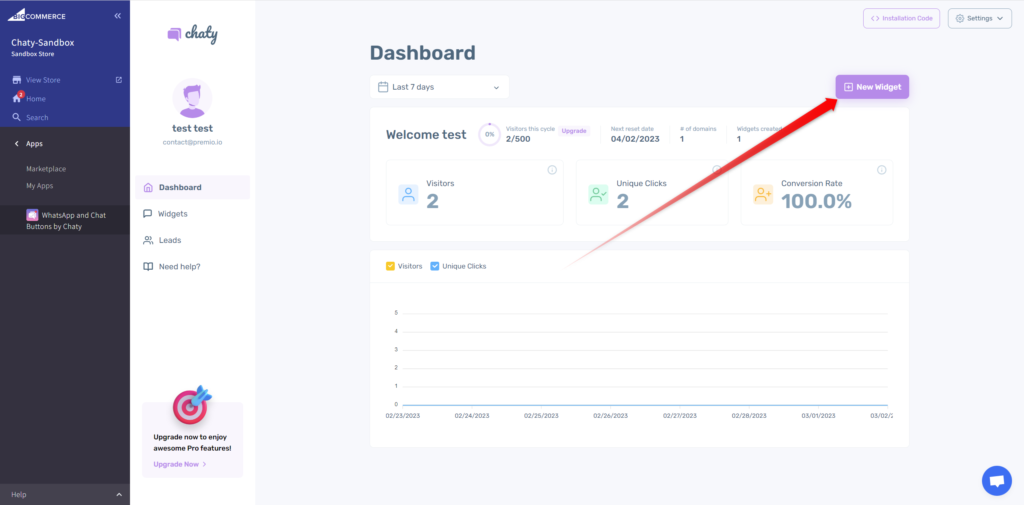
To get started, please click on the “New widget” button or head to the “Widgets” section on the left sidebar. Any existing widgets can also be found there.
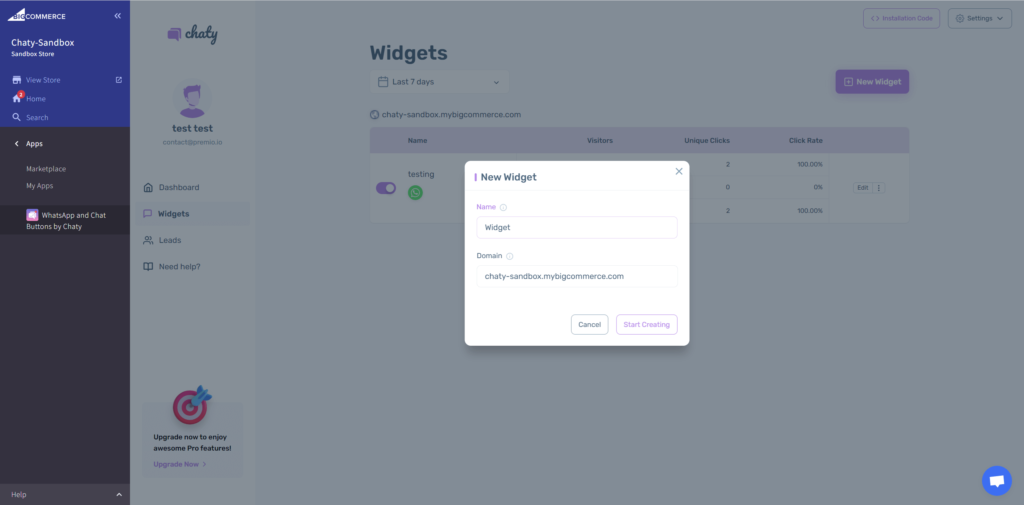
When you create a new widget, you’ll be asked to give it a name and assign it to a domain. Make sure that it’s the same domain of your site or if you’re using any marketplace, ensure it’s the exact marketplace domain, and click on “Start creating”.
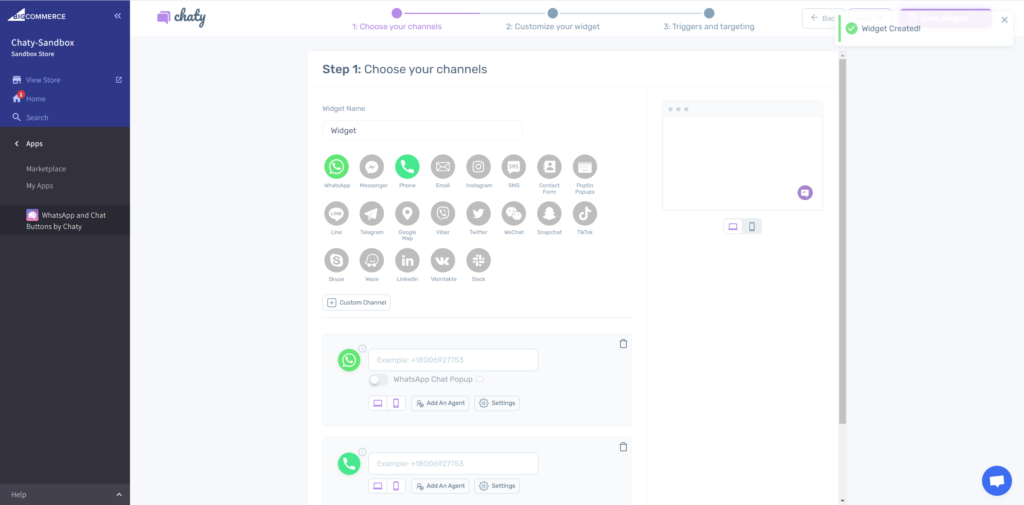
Now, from Step 1: Choose your channels, select your favourite Chaty channels and fill in all your information.
You can use the Chaty app with more than 20 common channels such as phone, email, WhatsApp, Facebook Messenger, Instagram, Telegram, Twitter, TikTok, Slack, Skype, Vkontakt, Viber, SMS, LinkedIn, Google Maps, Line, WeChat, Snapchat, Waze, Poptin, a contact form or you can even add custom channels.
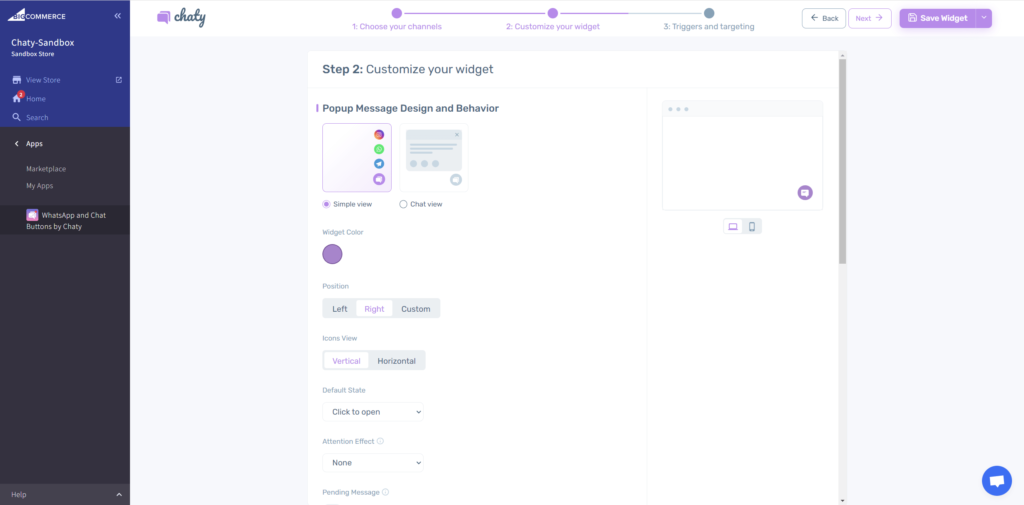
Next, go to Step 2: Customize your widget where you can fully customize your widget according to your needs.
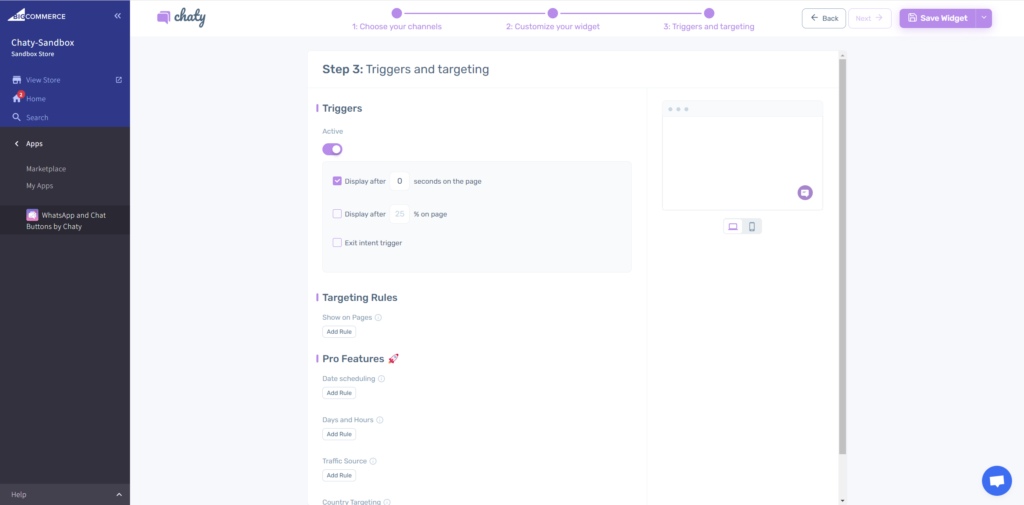
Finally, you’re ready to move to the next and final step of setting up your widget, Step 3: Triggers & Targeting. Start by adding one or more triggers of your choice (optional) – time delay (if you want the widget to appear on page load, type 0, if not, then set after how many seconds on the page you’d like it to appear), appear on scroll (e.g. after X% scroll of the page) or exit intent (meaning the widget will appear when your visitors are about to exit the page).
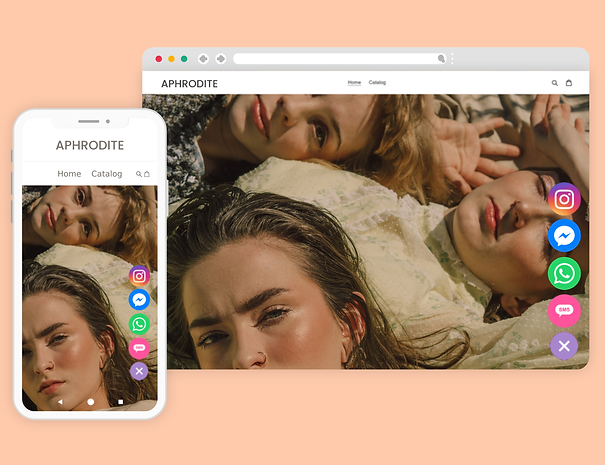
In the end, depending on your settings and customizations, it may look something like this:
Don’t forget to check our entire Chaty knowledge base to make the most out of the product.
If you any assistance with configuring this, please don’t hesitate to reach out to our support team!


