In this guide we’ll show you how to set a custom position for your Chaty widget in a few super simple and quick clicks.
Chaty offers your website visitors an easy click-to-chat connection to all the platforms that you’re available on within a single widget, making it easier for your customers to find you and therefore increasing your chances for conversions and sales.
You can use the Chaty app with more than 20 commonly used channels such as phone, email, WhatsApp, Facebook Messenger, Instagram, Telegram, Twitter, TikTok, Slack, Skype, Vkontakt, Viber, SMS, LinkedIn, Google Maps, Line, WeChat, Snapchat, Waze, Poptin, a contact form as well as custom channels.
Now let’s get right into it!
Step 1: Open your widget settings from the Chaty app dashboard and click on any channel to add it to your widget, if you don’t have a widget yet. You can also click here to learn how to set up your Chaty widget.
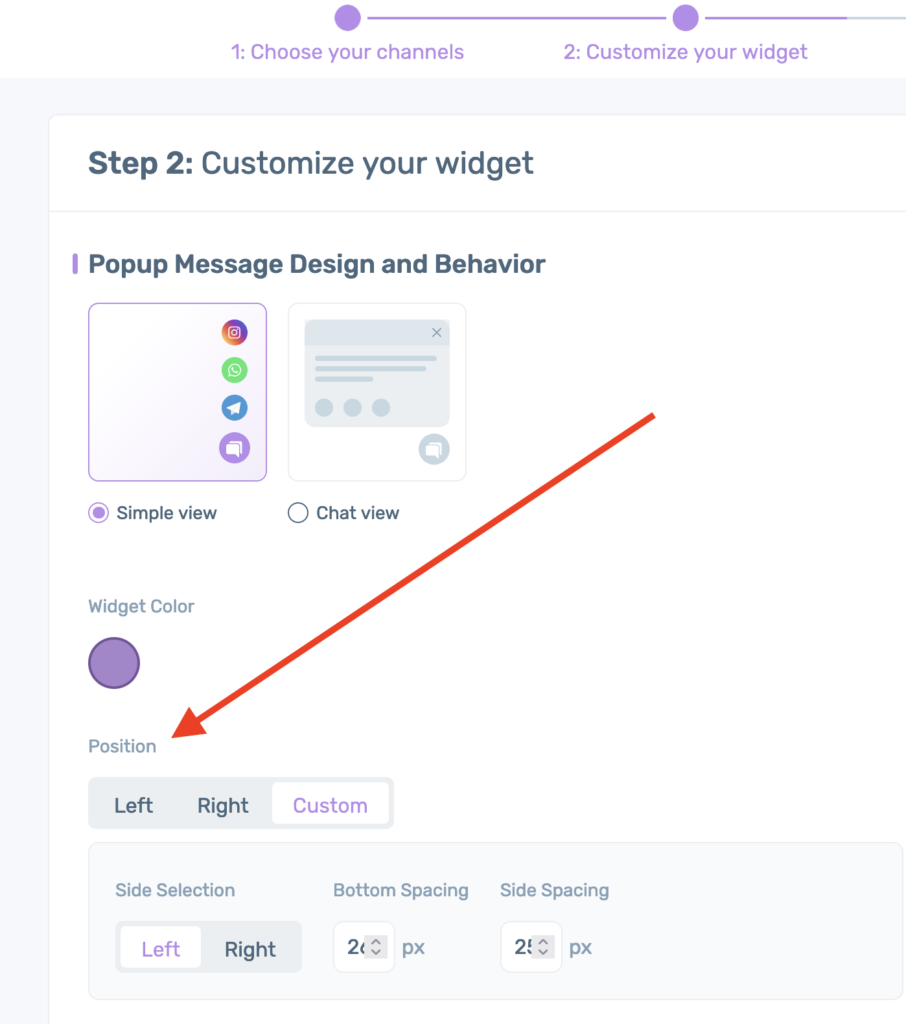
Step 2: Moving on to the widget settings in “Step 2” of the app settings, you need to scroll down until you find the “Position” setting.

Now, you can add a custom position. By default the widget will have 25 px space from the bottom and 25 px space from the side of the page. You can choose between left and right and input the desired space in px. For example, if you wish the widget to appear in the middle of your page, you can add 300 px bottom space. Just make sure you select whether you want this number to be calculated from the bottom spacing of the page or side spacing.

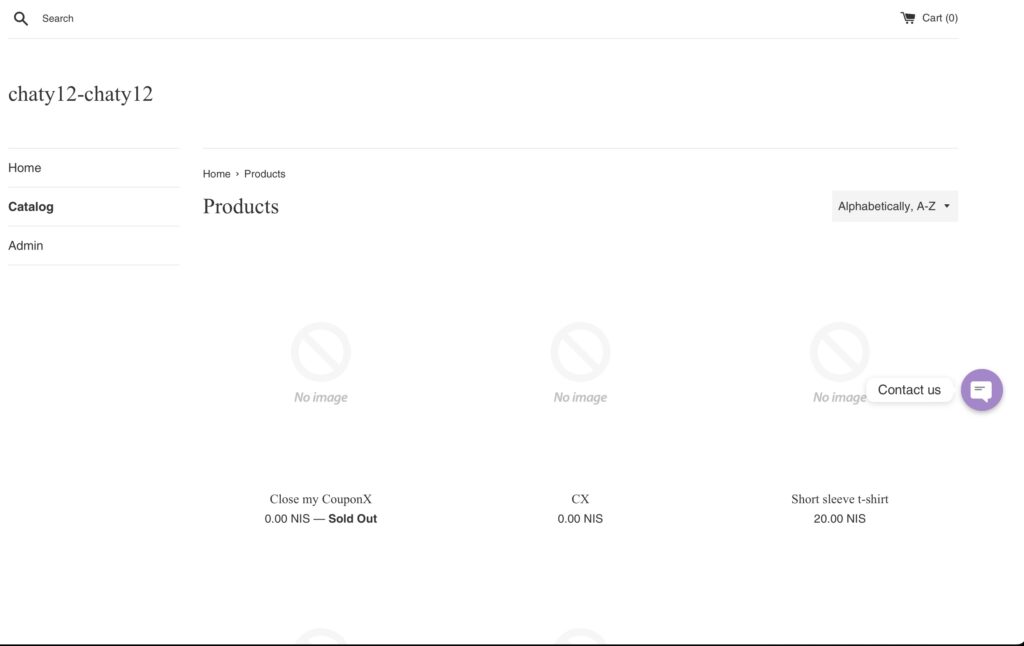
Finally, here’s an example of how your widget may look like with a custom position:

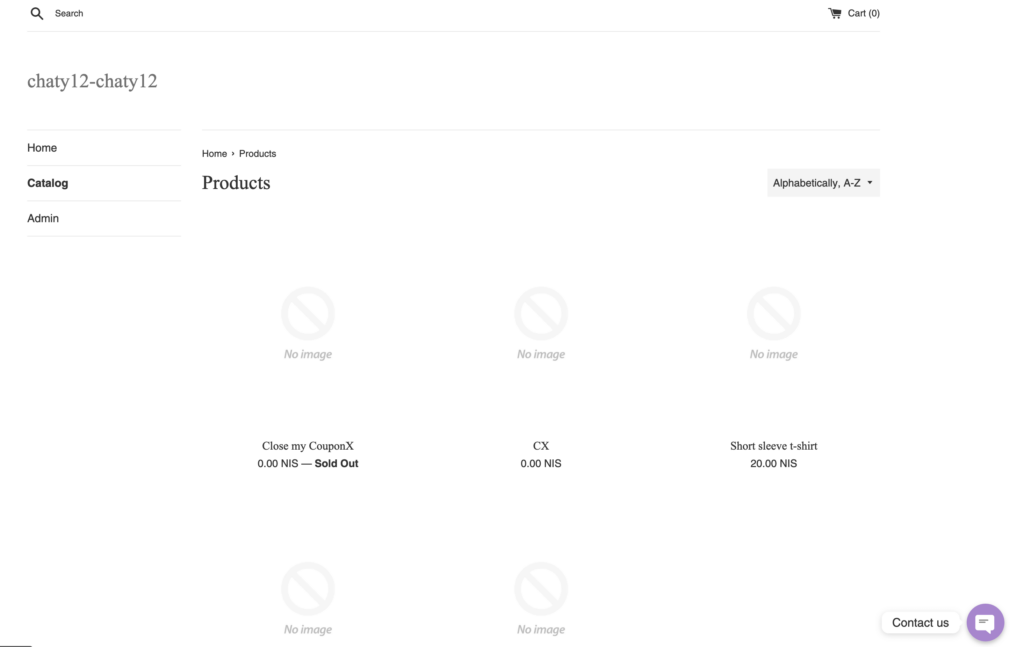
And here’s the difference of how your widget look like with default right position:

And that’s it, fast and easy, fully customizable!


