Everyone loves a great buy especially when shopping online. But sometimes, while shopping, you may have questions or doubts about a particular sizing, fit or material. In those moments, all you’re looking for is a quick answer. Wouldn’t it be great to get instant answers without leaving the website? Well, chat apps are revolutionizing the way people shop online, offering a convenient and informative way to get the most out of your online shopping experience.
Chat Apps Help Improve Conversions…
This rings true for even Shopify, one of the most popular platforms for online shopping.
If you haven’t added chat capabilities to your Shopify store yet, we’re here to help. You can easily change that with Chaty – our all in one chat app that seamlessly integrates with your store, allowing customers to connect with you through their favorite messaging platforms like WhatsApp, Facebook Messenger, SMS, and more.
Chaty makes it easier for customers to reach out with questions or concerns, leading to a more interactive shopping experience. It can help you to address customer queries promptly, potentially leading to more sales.
Let’s show you how to add Chaty to your Shopify store.
Install & Set Up Chaty
Here’s how to get Chaty up and running on your Shopify store
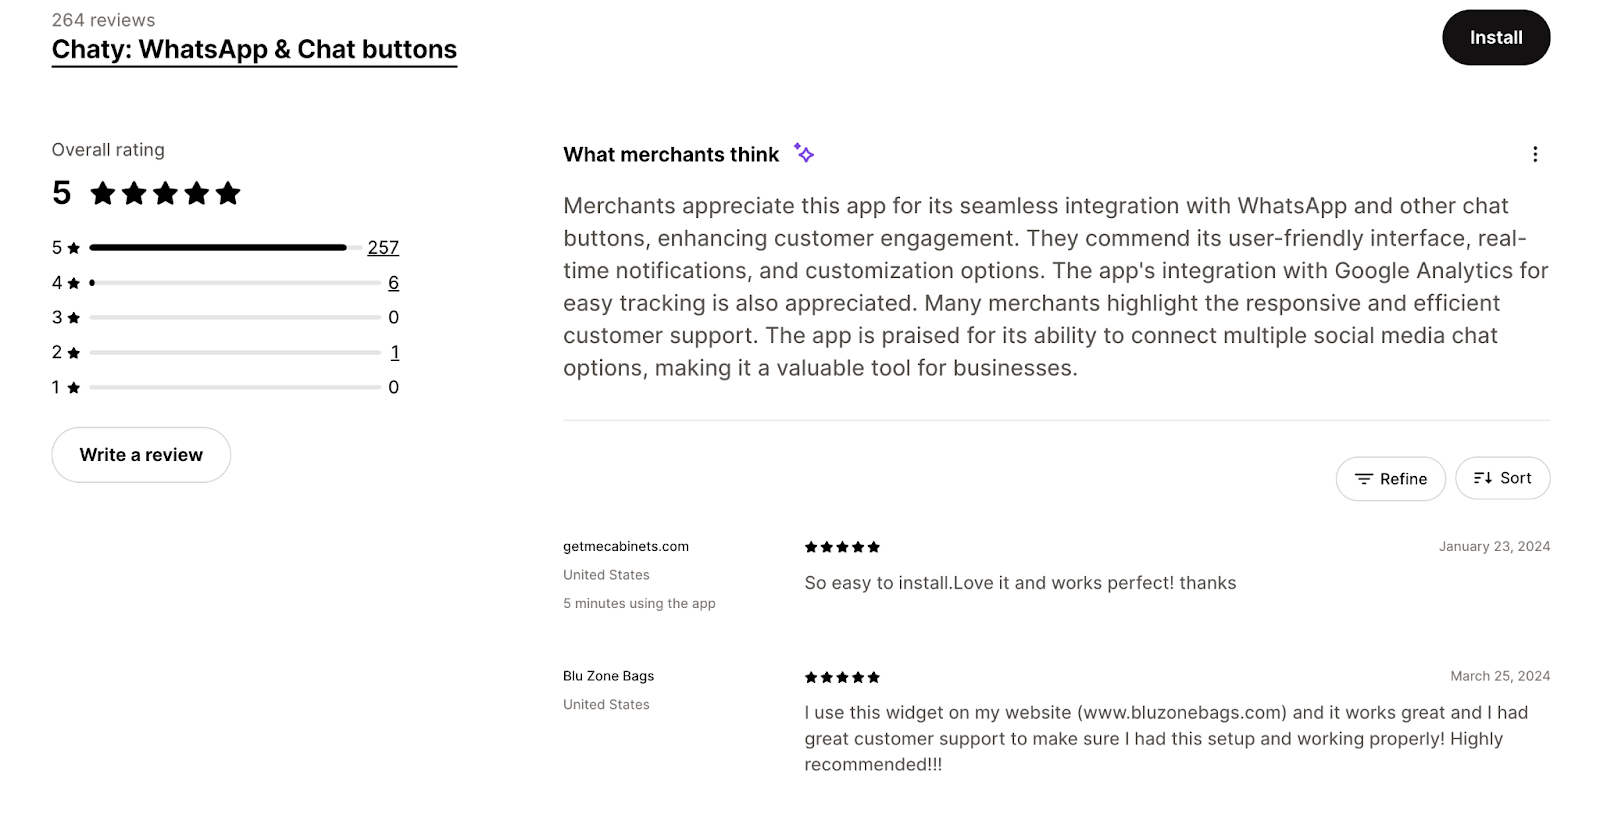
Step 1: Find Chaty on the Shopify App Store
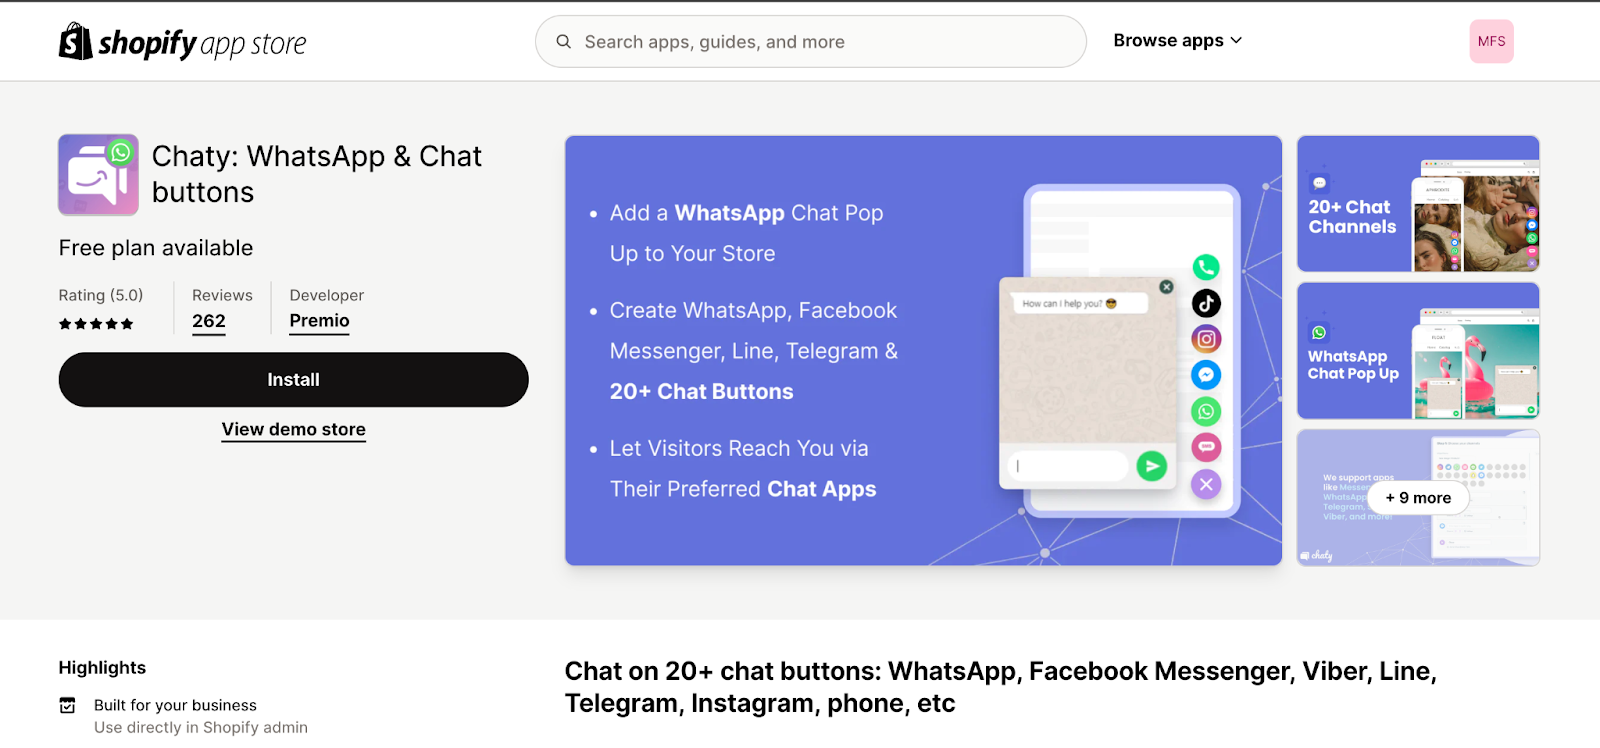
Open your Shopify admin panel and navigate to the “Apps” section. Within the Apps section, you’ll find the Shopify App Store. Use the search bar to look for “Chaty“.
Step 2: Install the Chaty app on your Shopify dashboard.
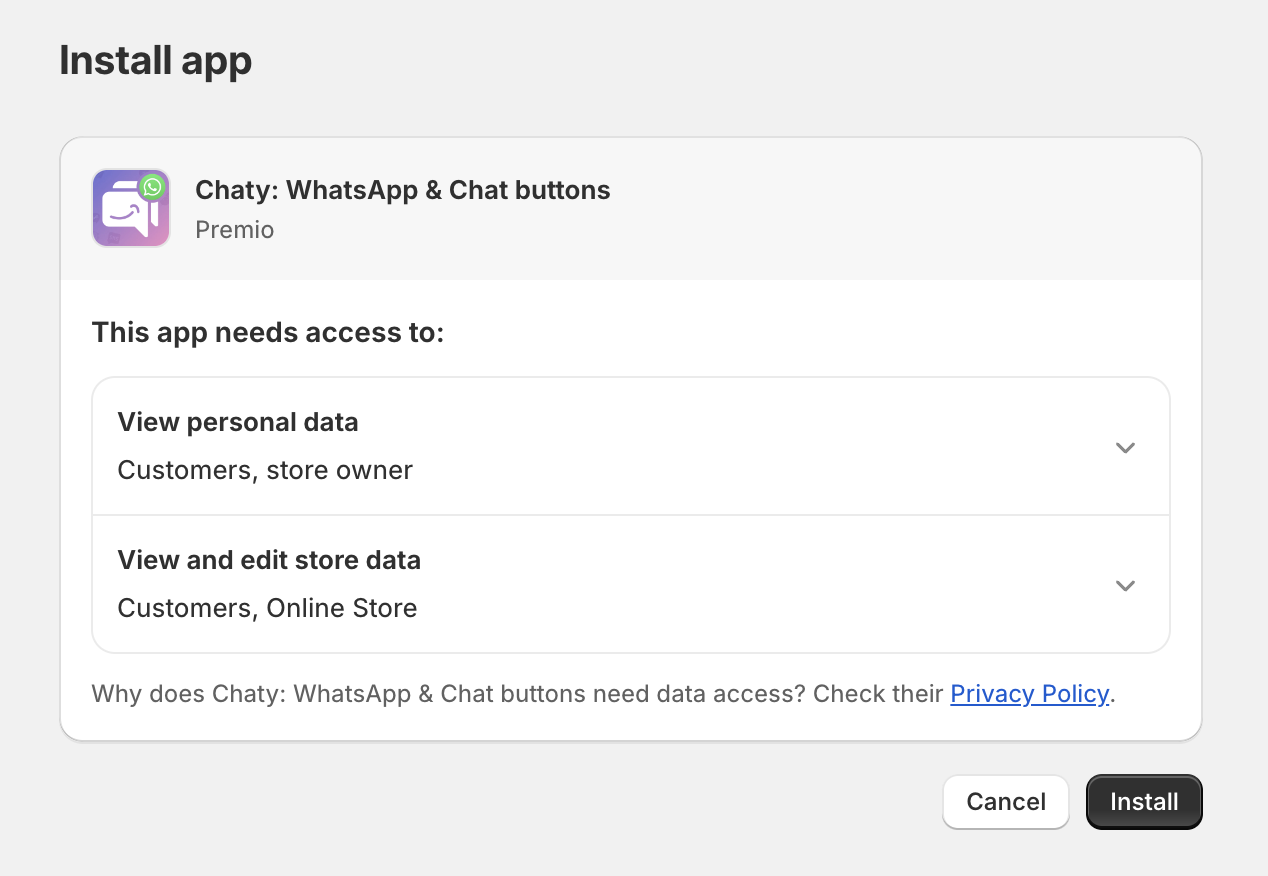
Once you’ve found the Chaty app, you’ll see an “Install” button. Click on this button to initiate the installation process. Shopify might ask you to confirm your choice, follow any on-screen instructions to complete the installation.
Step 3: Open the Chaty app (no account creation needed)
With Chaty installed, you’ll find it within your Shopify apps list. Click on the Chaty app to open it. The good news is that you won’t need to create a separate account to use Chaty’s basic features. You can start configuring your chat widget right away.
Select Your Plan
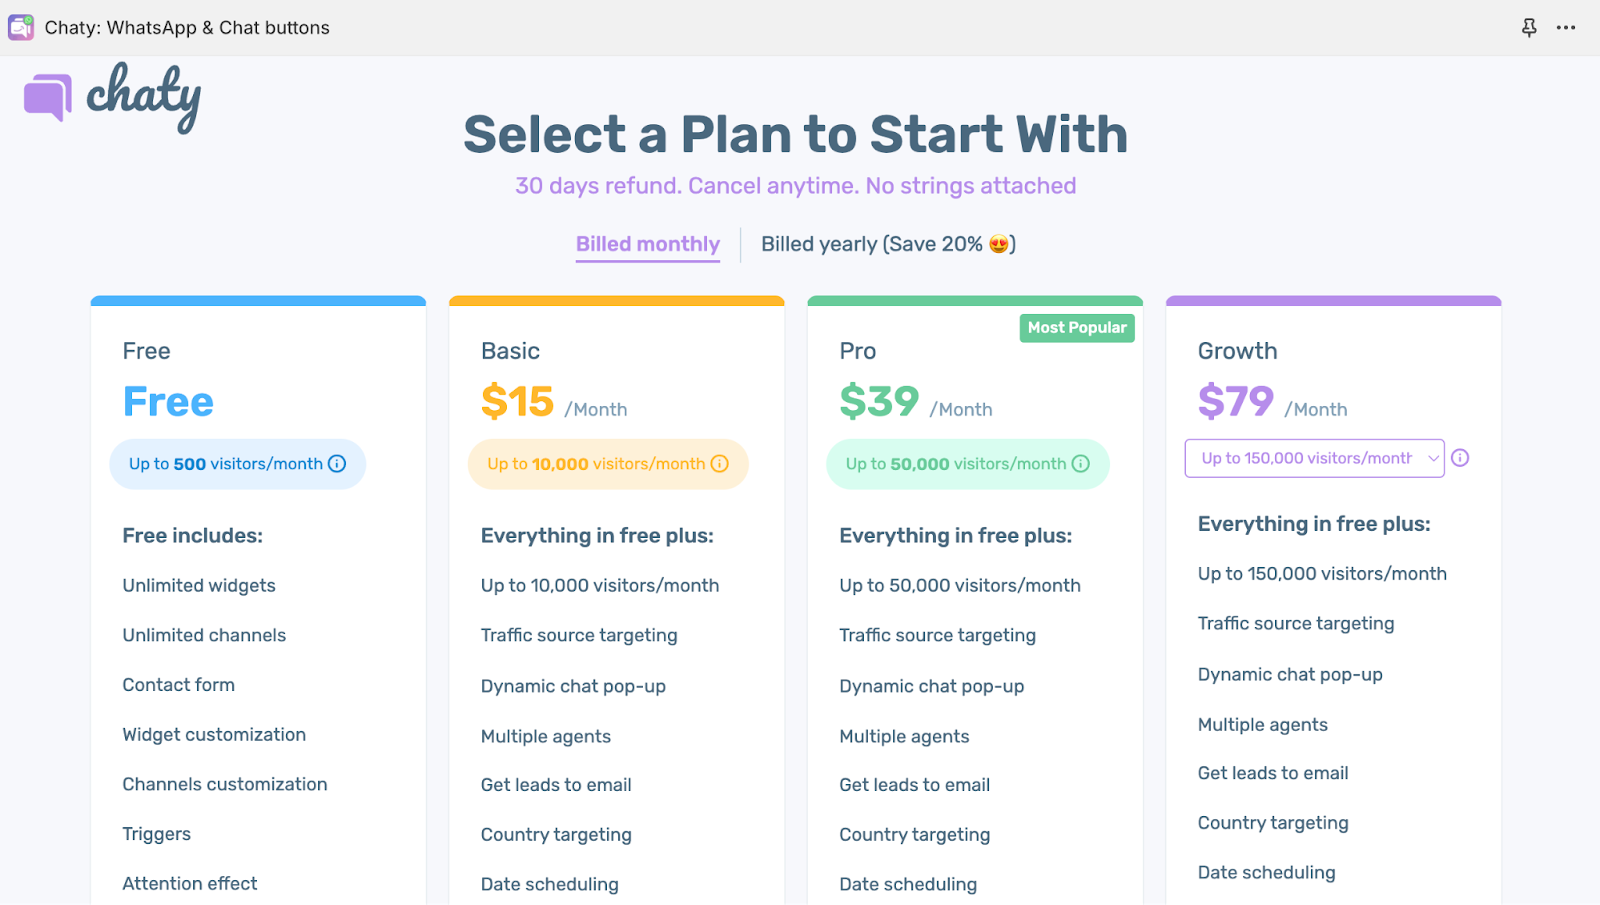
Next, you’ll choose a plan to get started with.
Free Plan: You can jump right in and experience the core functionality of Chaty at no cost. It’s perfect for trying it out or for smaller websites.
Paid Plans: Select any available paid plan for more powerful features like having multiple agents available to chat with visitors, advanced targeting options to reach specific audiences, and much more.

Plus, Chaty’s user-friendly design ensures a smooth setup process, so you can be up and running in no time, regardless of your technical expertise.
Design Your Chat Widget
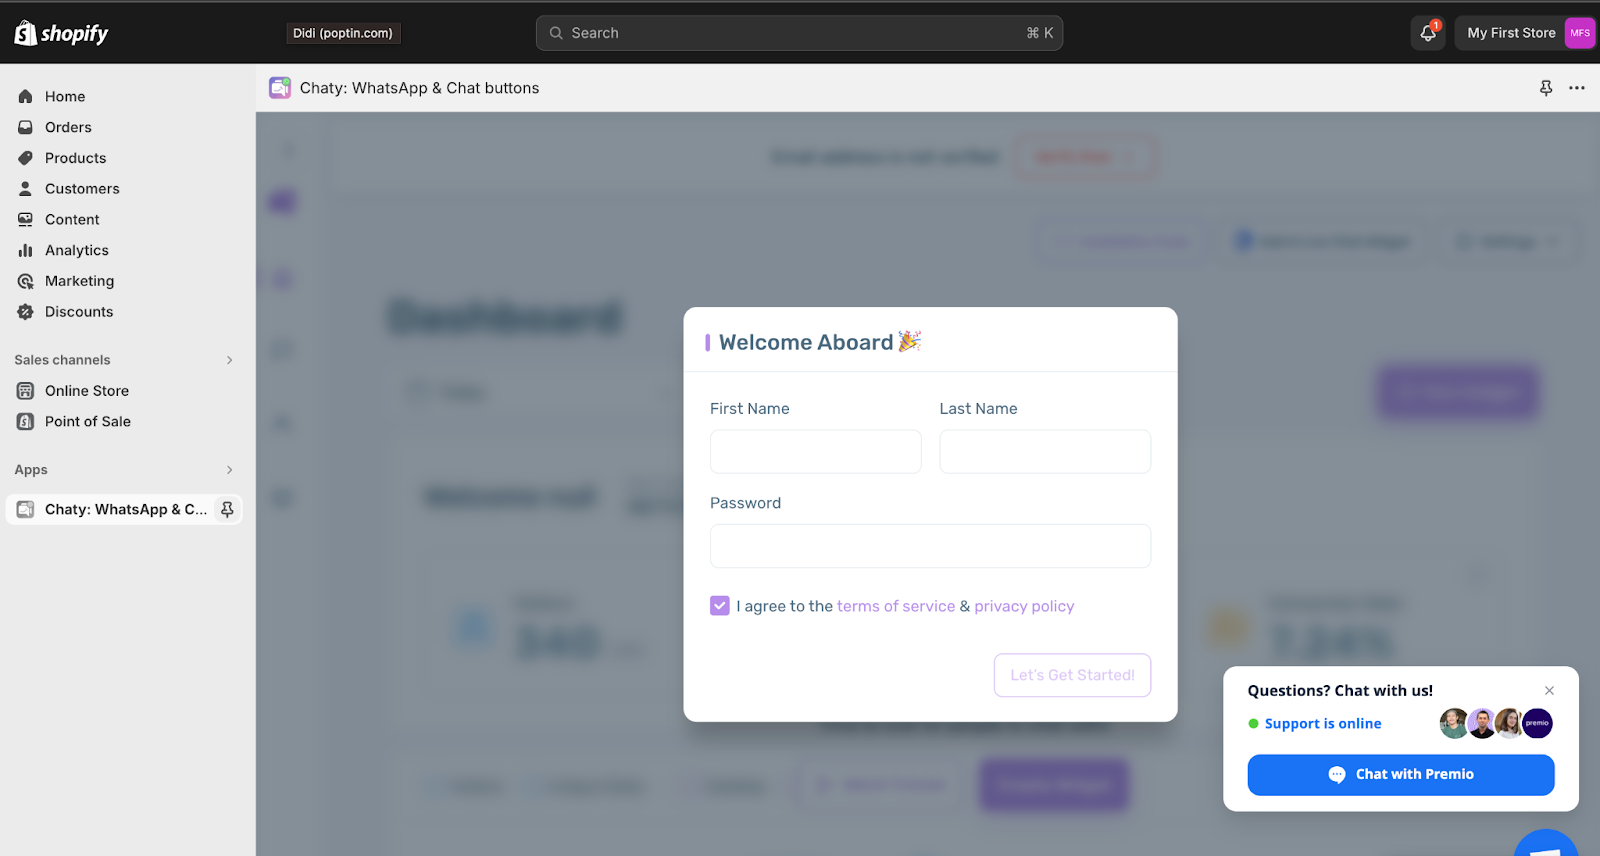
Once Chaty has been installed, proceed to filling out the details of your account (name and password). Once completed, click on the “Let’s Get Started” button to start creating your chat widget.
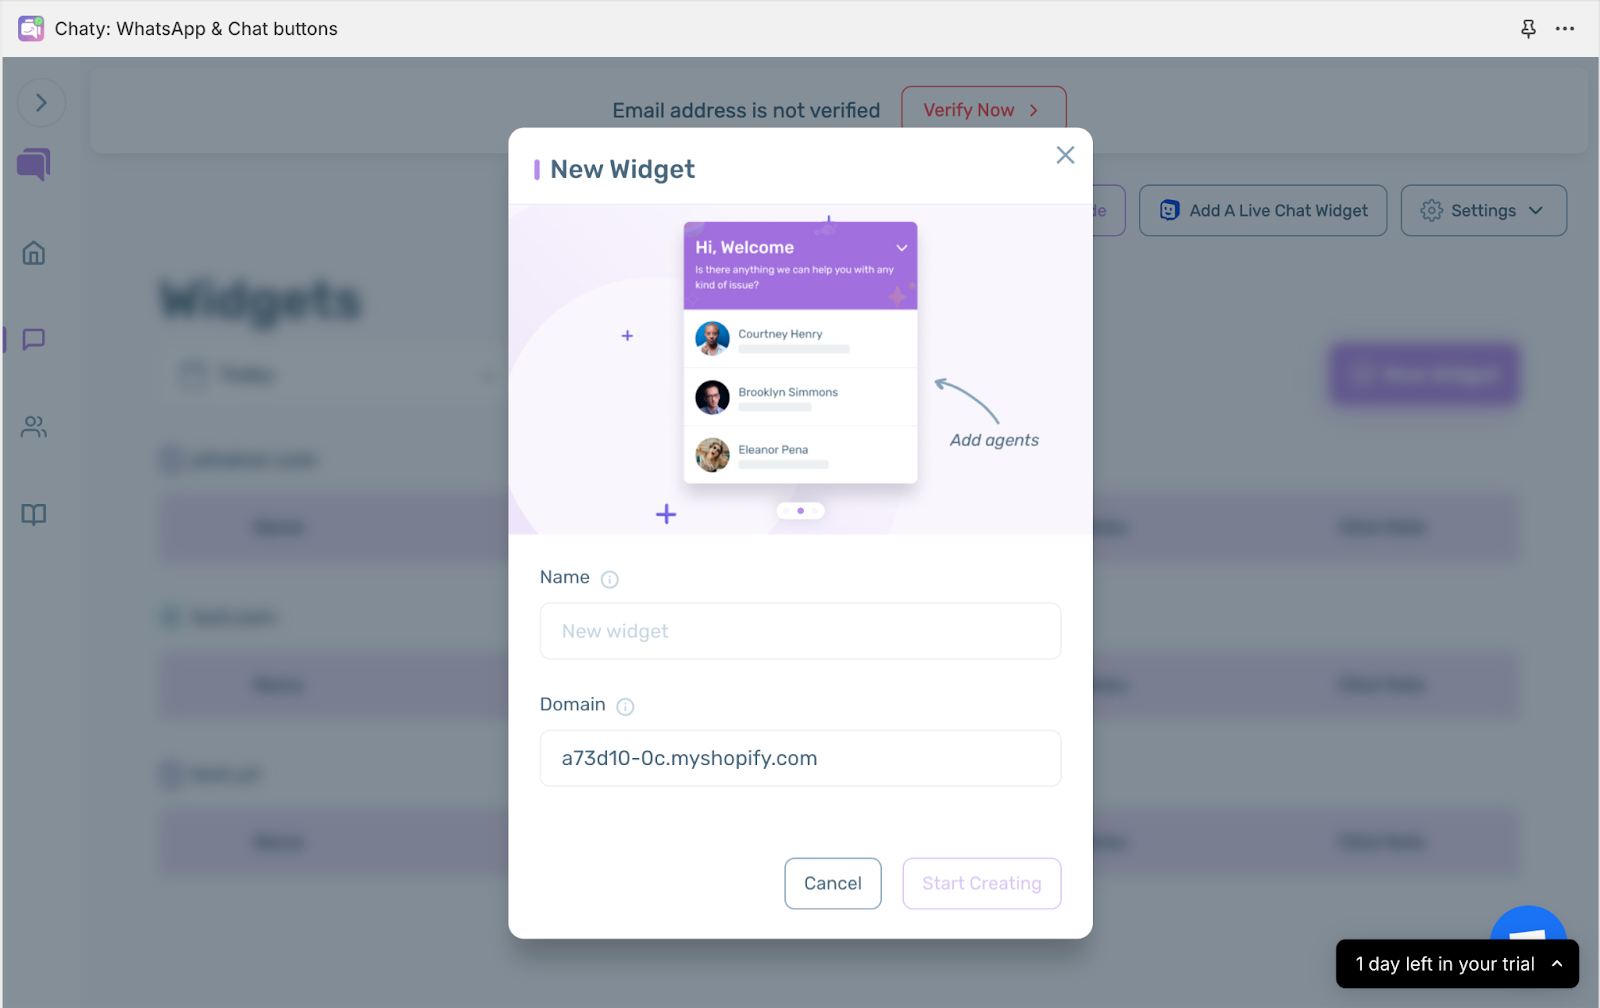
To create a new widget, click on the button and fill out the name of your widget alongside the details of your Shopify store domain.
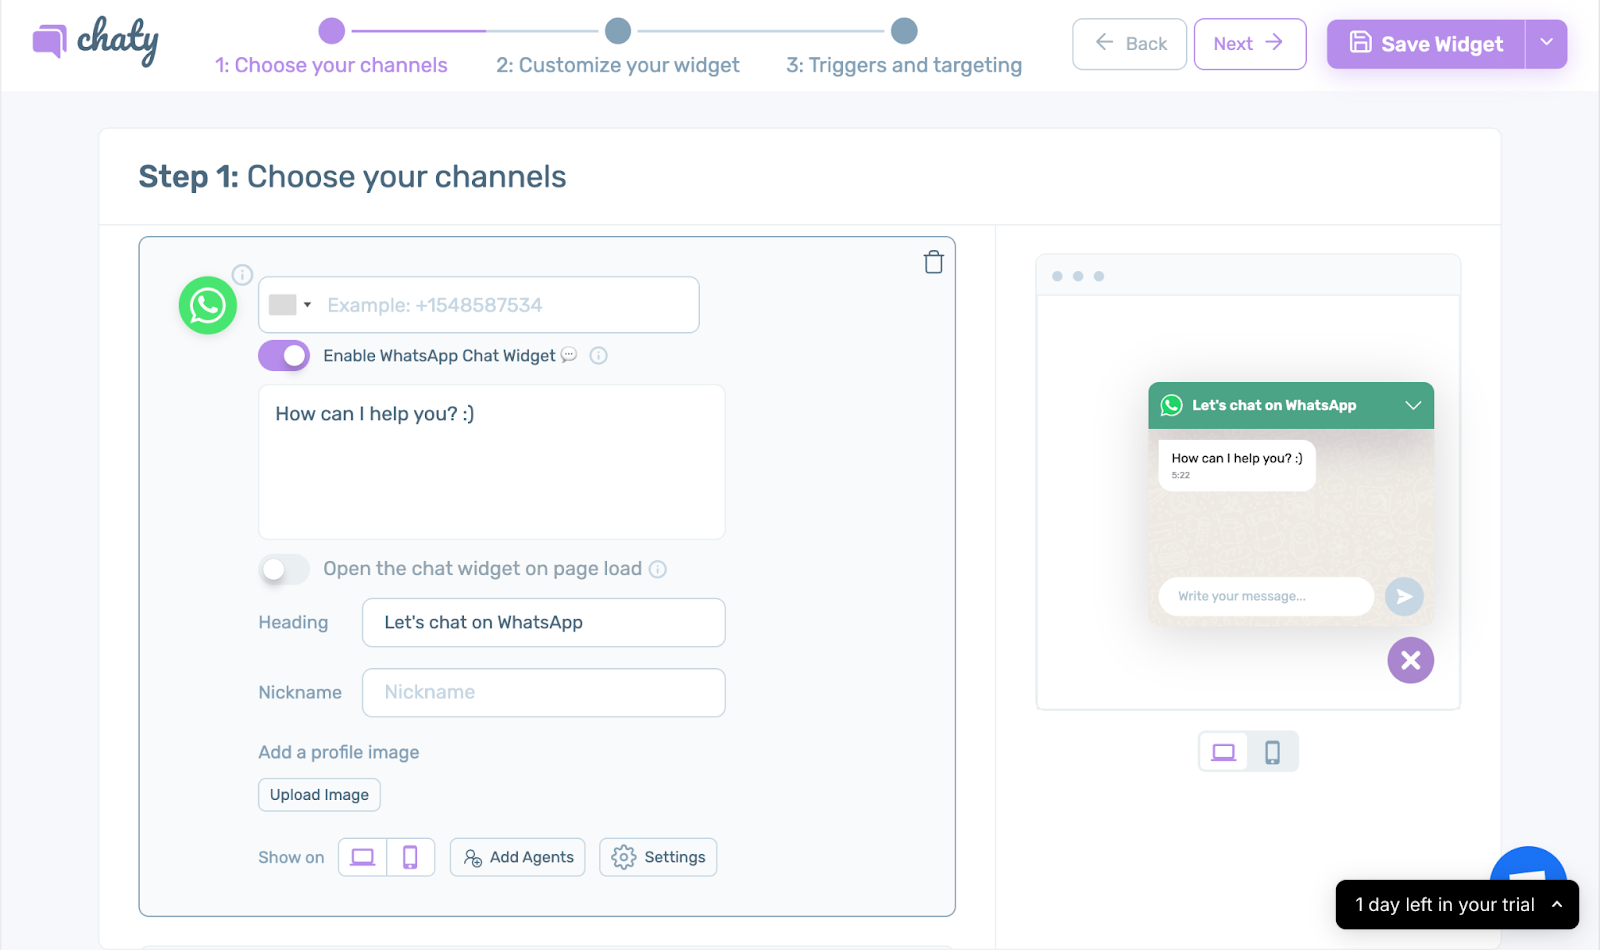
Step 1: Select Your Chat Channels
Chaty offers a wide range of communication options to cater to your customers’ preferences. In this step, you’ll choose the chat channels you want to include in your widget.
With Chaty, you can add traditional channels like Contact Form, Email, SMS, or Phone alongside messaging and social channels like WhatsApp, Facebook Messenger, Viber, Telegram, Instagram, X(Twitter), WeChat, Snapchat, TikTok, Skype, Waze, LinkedIn, Discord, Slack, Line, Google Maps, Microsoft Teams, and Vkontakte.
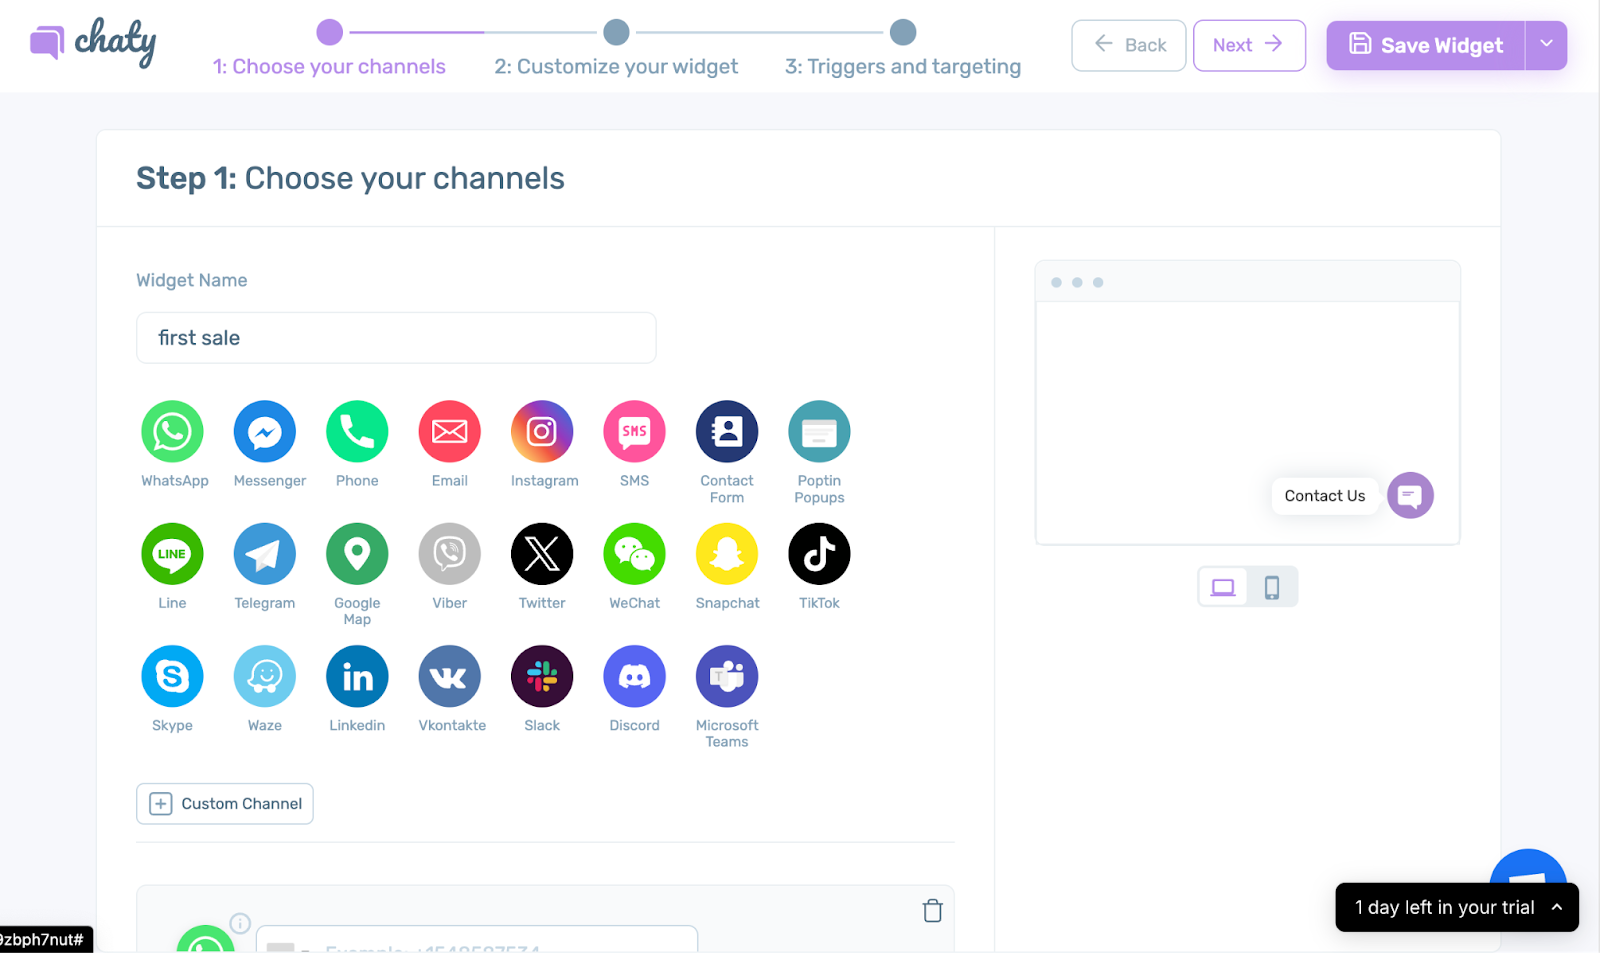
Furthermore, you can select as many channels as you wish to appear on your chat widget. Under each channel that you select, you have the ability to customize it to match your preferences. You ca upload custom images, or change the background color. For specific channels like WhatsApp, you can set a preset message, add multiple agents, or show a WhatsApp style chat window directly from your Chaty widget.
Chaty Tip: Consider your target audience and the demographics you’re trying to reach when selecting chat channels.
Step 2: Design Your Chat Widget
After you’ve selected your channels, the next step is to design and customize how your chat widget will appear on your website.
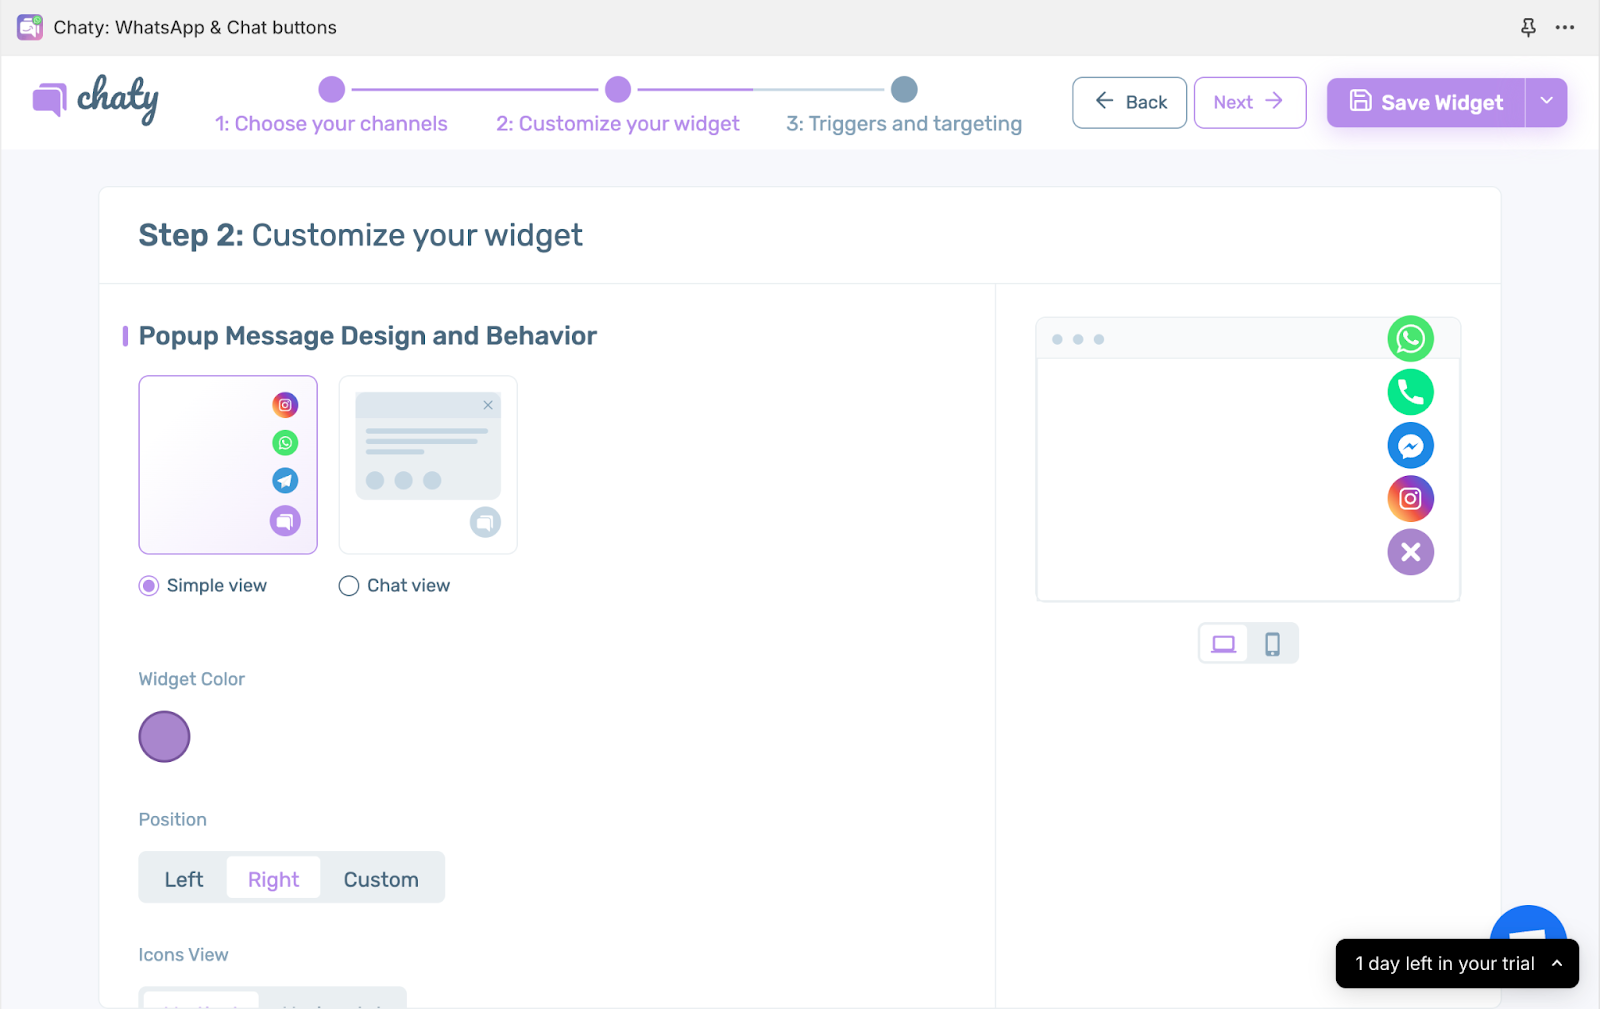
Chaty allows you to customize the appearance of your chat widget to match your store’s branding and enhance user experience. You can adjust the following:
- Font: Choose a font that complements your store’s overall design and ensures readability.
- Color: Select colors that are consistent with your brand palette and grab your visitors’ attention.
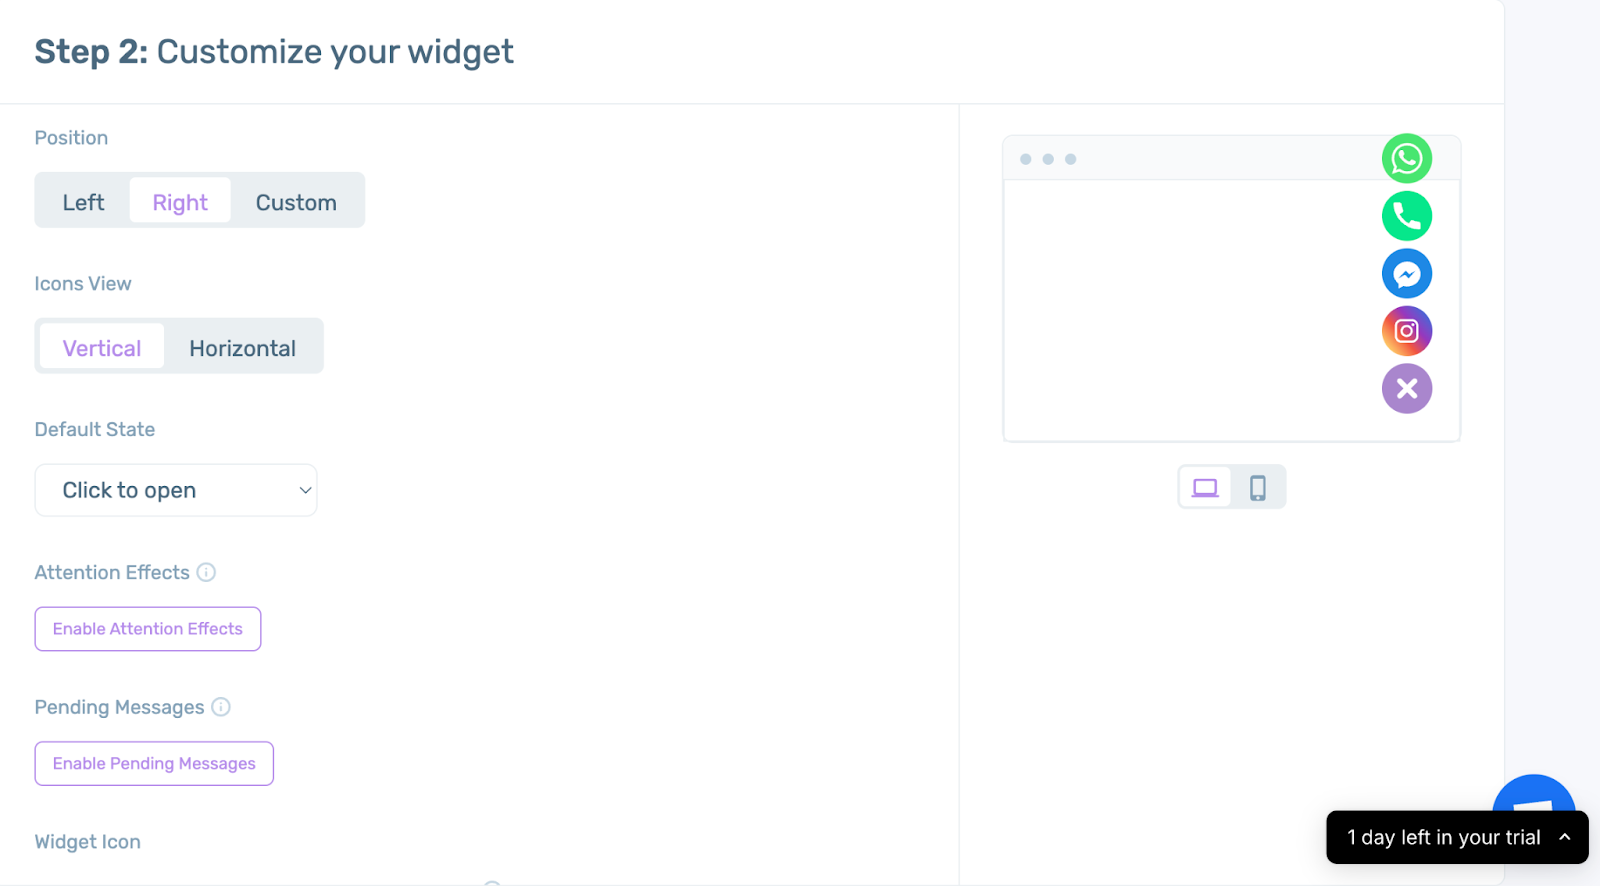
- Position: Decide where you want the chat widget to appear on your store (e.g., bottom left corner, bottom right corner).
- Icons view: Decide whether the channels should appear horizontally or vertically on your website.
- Attention effects: Choose how your chat widget will appear on your website pages (fade-in, slide-in etc)
- Pending Message: Add or removing a ‘pending message’ icon on your chat widget to draw the attention of your website visitor.
Also, when selecting your chat widget design, you have two options to choose from – the simple view and the chat view.
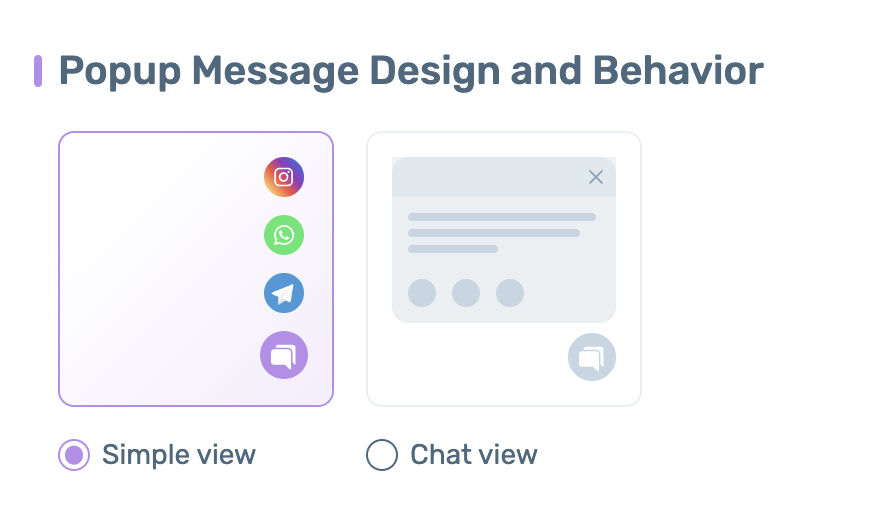
- Simple View: This option maximizes the number of chat channels you can show on your website, arranged horizontally or vertically. Visitors simply click the widget and choose their preferred way to chat.
- Chat View: This view offers the same functionality as the simple view, but with added power. You can personalize your chat widget by including a heading, body text (like a call to action, welcome message, or discount offer), and even merge tags. These merge tags can automatically insert details like the current page URL or title, creating a more customized experience for your visitors.
Configure Your Widget Behaviour (Triggers & Targeting Rules)
Chaty goes beyond a simple chat widget by offering powerful triggers and targeting features. This allows you to deliver the right support at the most opportune moments, enhancing the customer experience and potentially increasing conversions.
Here’s how Chaty personalizes the chat experience:
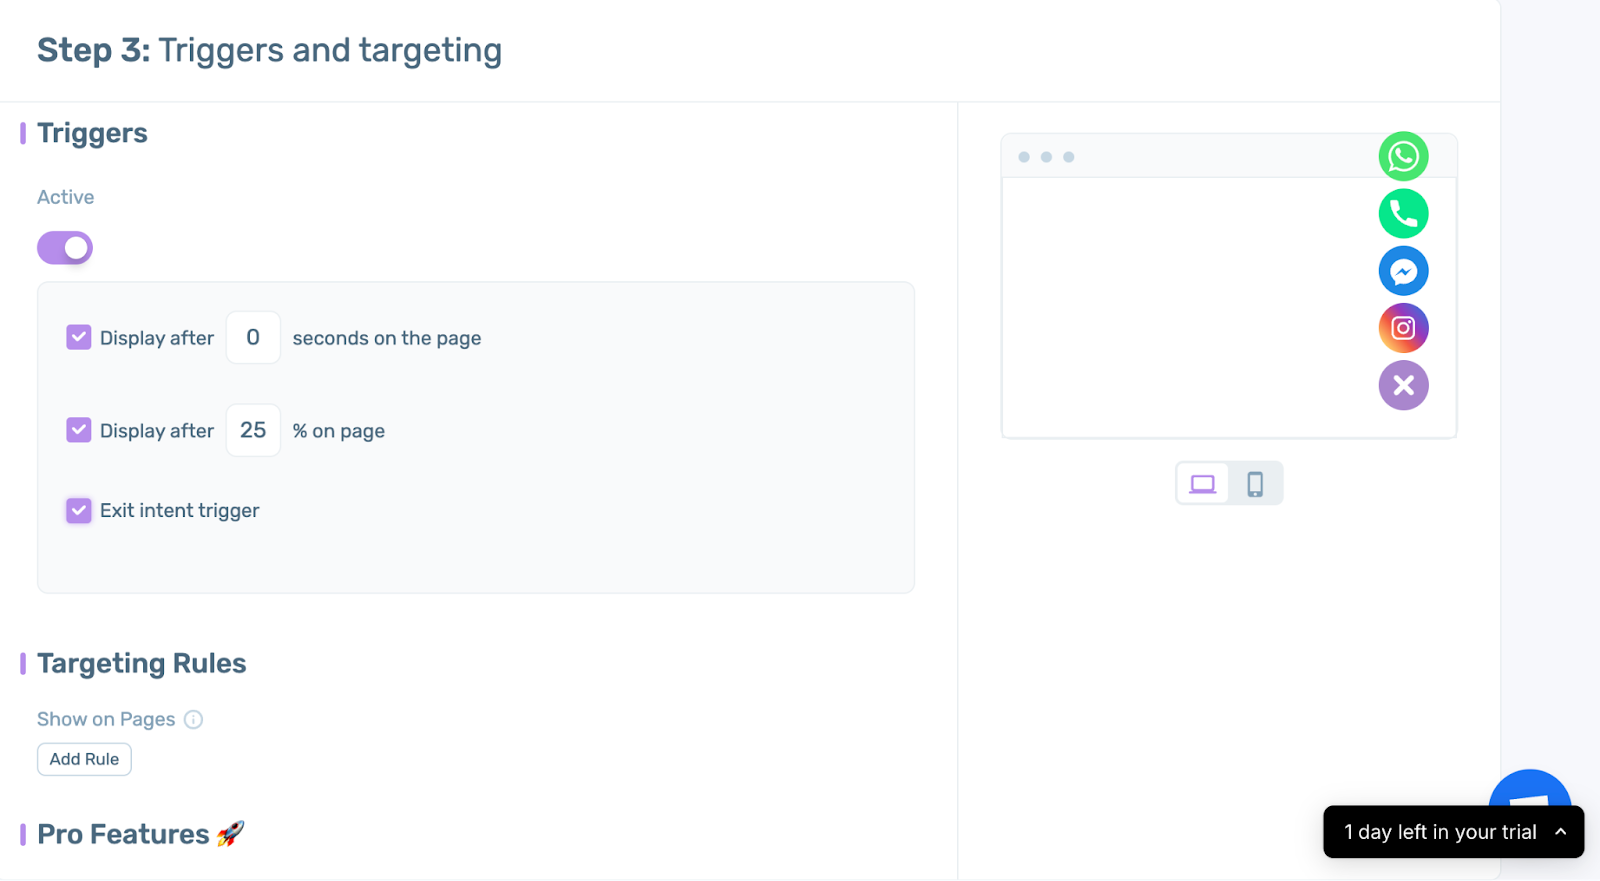
Triggers: This allows you engage visitors proactively based on their behavior.
- Exit-intent: Initiate a chat when a visitor shows signs of leaving, like hovering over the close button.
- Time-delay: Proactively reach out to visitors who have been on a specific page for a set amount of time.
- Page scroll: Trigger a chat when a visitor scrolls down to a certain point on a webpage, indicating their interest in the content.
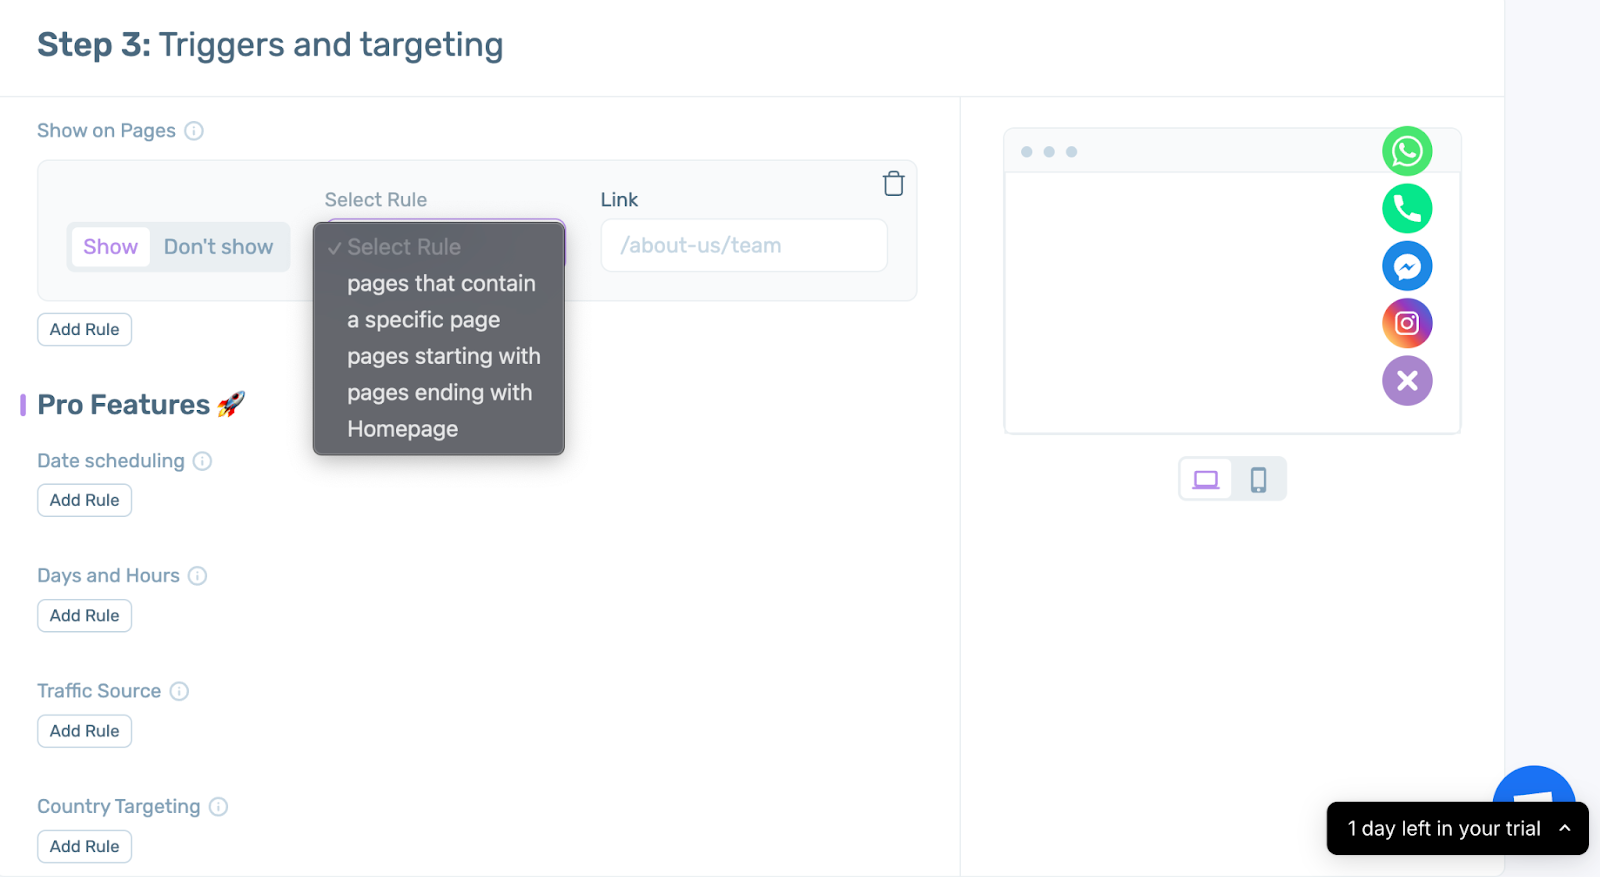
Targeting Rules: Control when and where the chat widget appears. You can target visitors based on:
- Specific pages: Show the chat only on relevant pages, like product pages or the checkout process.
- Geolocation: Target visitors from specific countries based on their IP address.
- Day and time: Set chat availability during your business hours or peak traffic times.
- Traffic source: Engage visitors arriving from particular channels, like organic search or social media referrals.
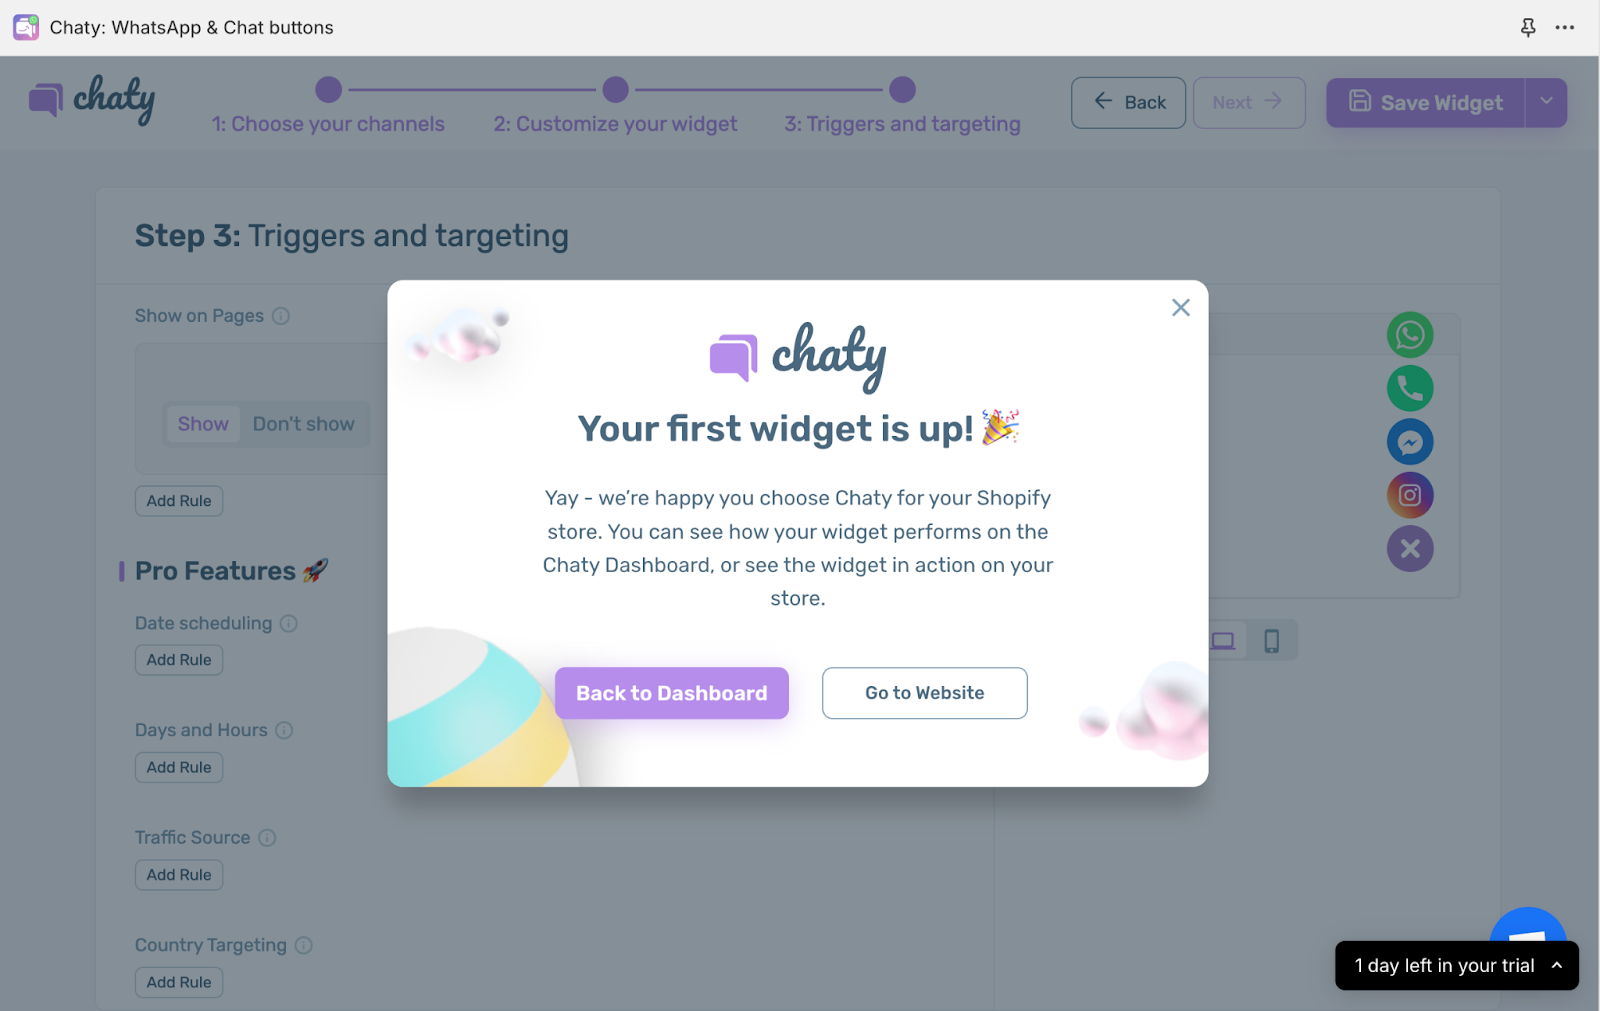
Save Your Widget
Once your triggers and targeting rules have been set, you’re all set to go. Simply save your widget and head over to your Shopify store to see it in action.
Final Thoughts
Once your first widget is live on your store, you can start tracking the success of your channels on your dashboard. This helps you finetune your efforts and make changes where necessary.
Remember that with Chaty, you can build stronger customer relationships, create a more convenient shopping experience, and ultimately drive success for your Shopify store.